Wireless Trivia Game Buzzers Using HopeRF RFM69

TV game shows follow a formula that hasn’t changed much in sixty years. The celebrity presenter, the glamorous assistant, the catch phrases, the gaudy plywood sets, the nervous contestants, and of course the buzzers.

If you want to do a trivia quiz of your own it’s easy enough to dispense with presenter, assistant, set, and catch phrase, but as well as the contestants you’ll still need the buzzers. You can make a mess of wires that the TV technicians of old would have concealed within that set, but in your home or at the pub that could rapidly become inconvenient.

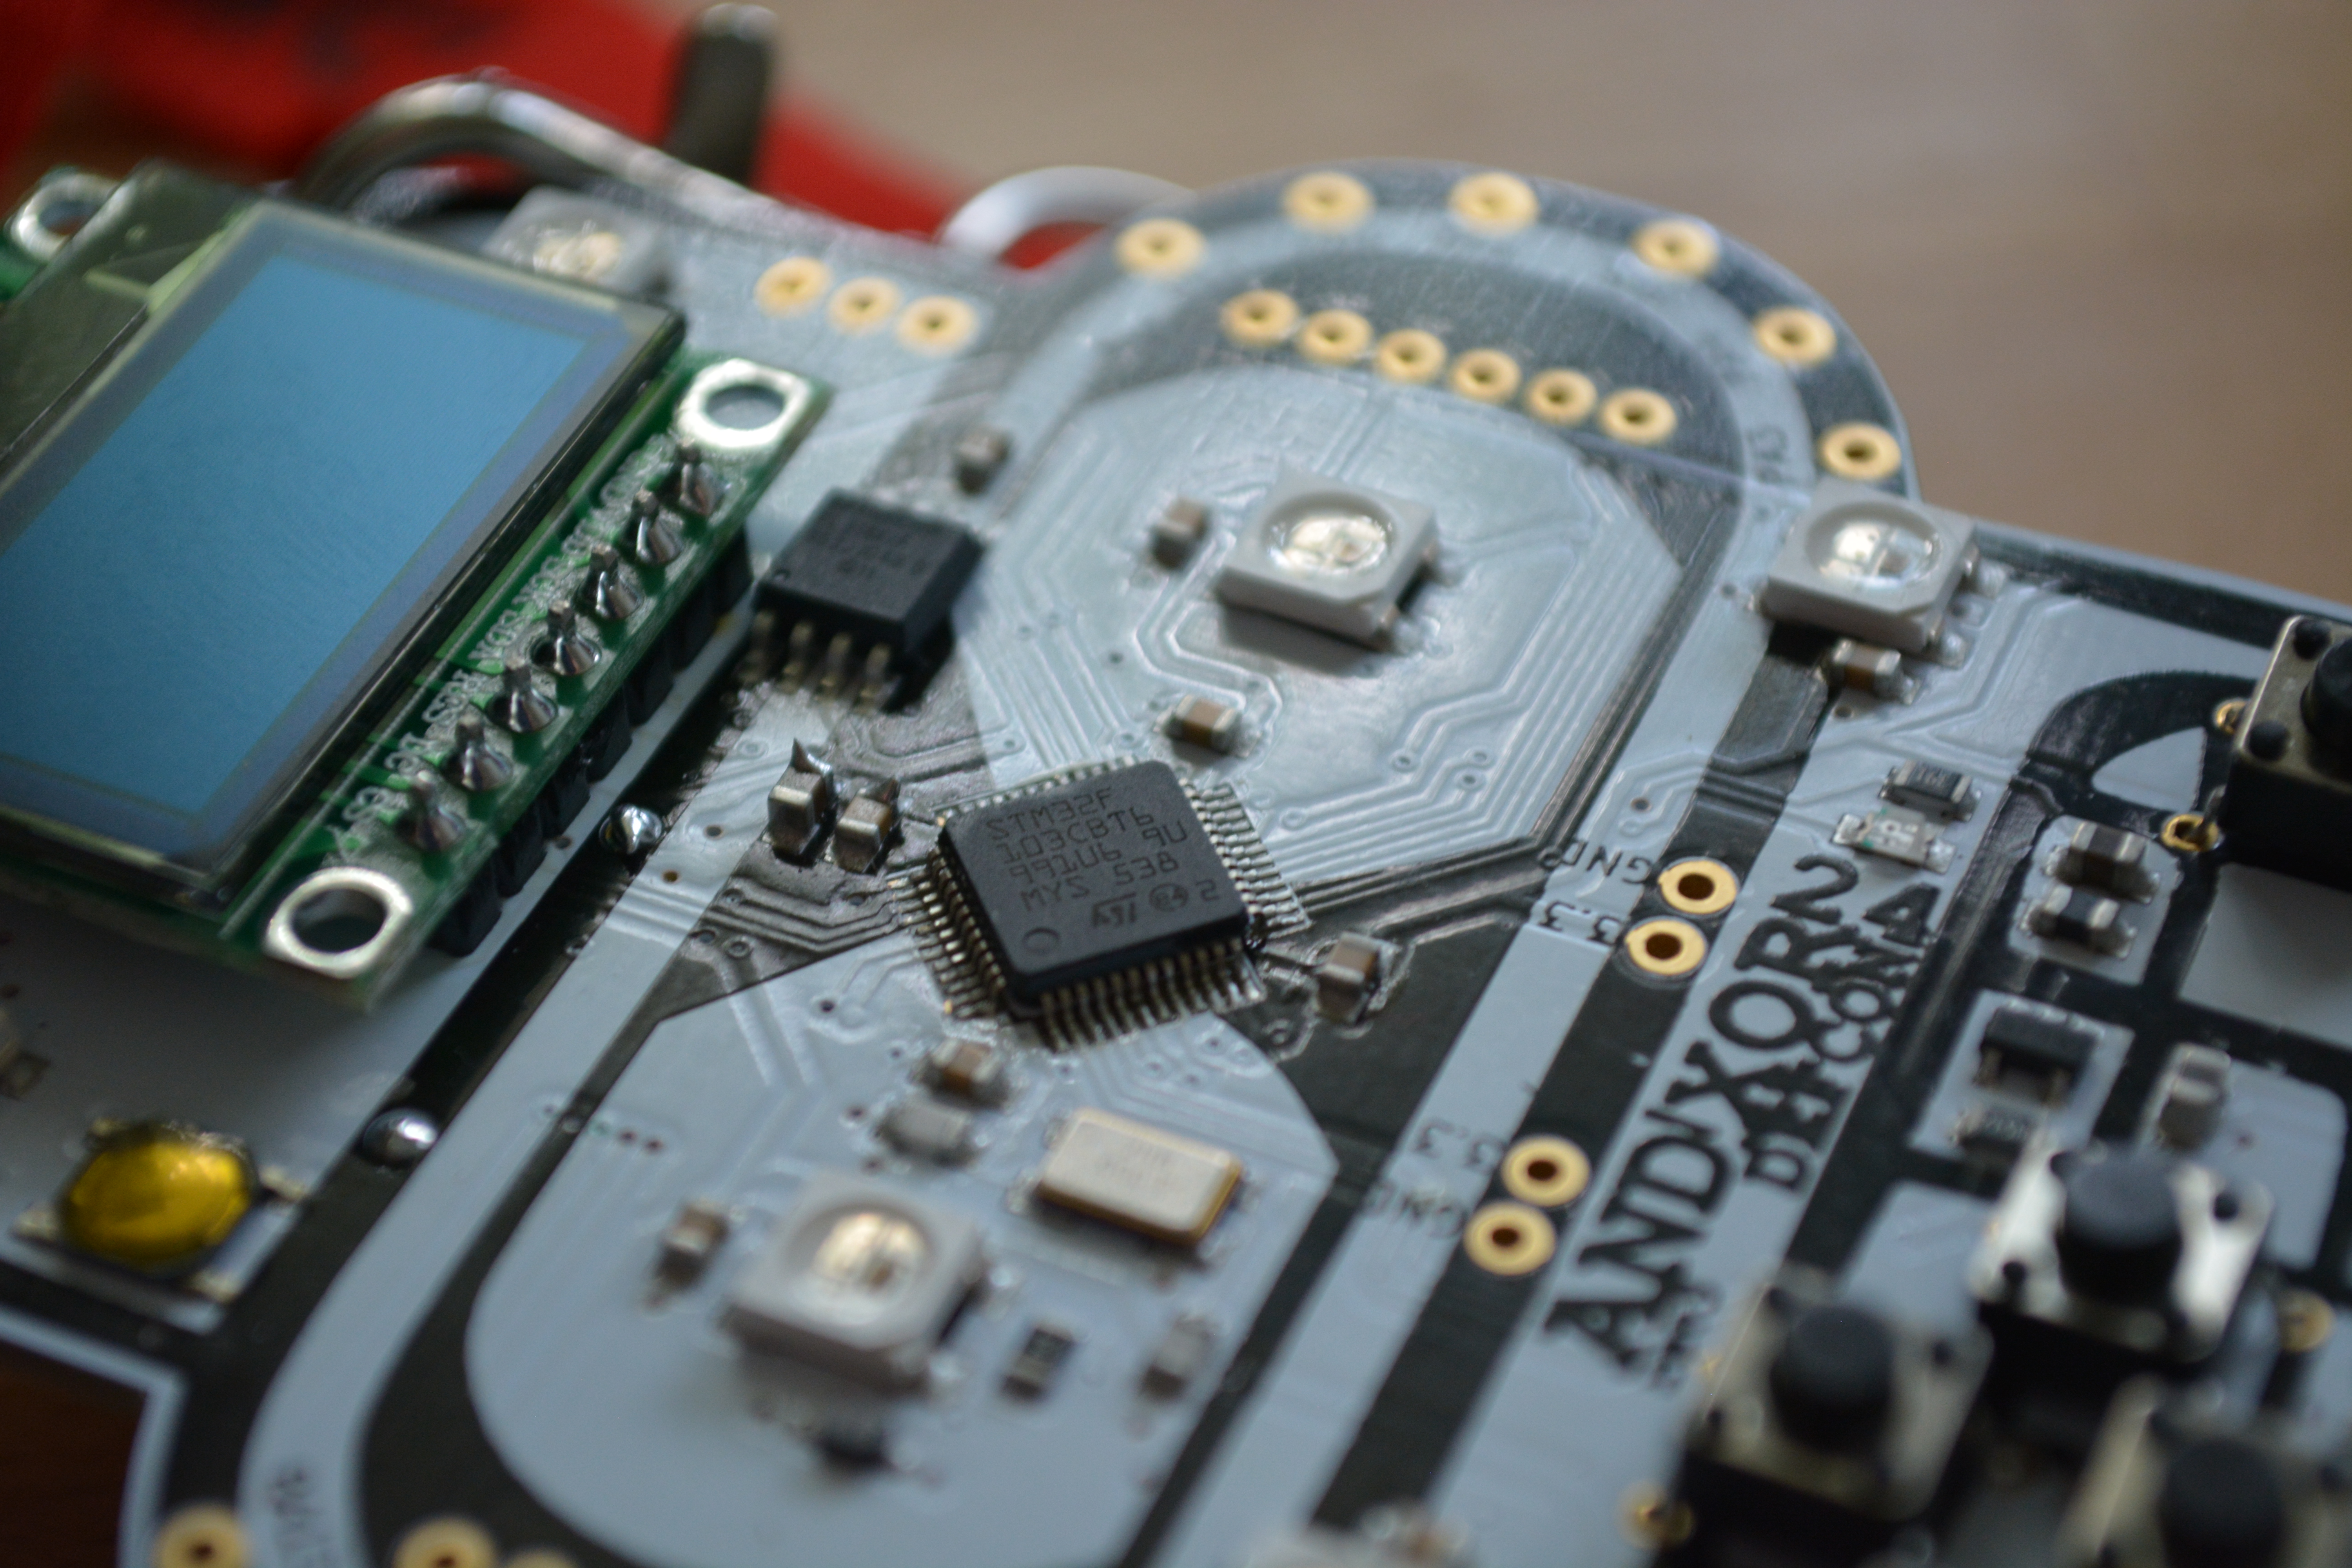
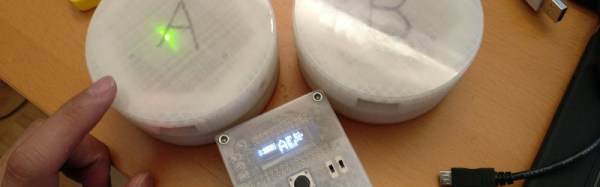
[Larry] solved his trivia game buzzer problems by building a wireless buzzer set. It features 3D printed enclosures containing Adafruit Feather microcontrollers, and instead of wires it uses RFM69 900MHz radio modules. The master unit displays the quickest contestant on an OLED screen, it features a low power standby mode between button presses to save battery power, and care has been taken to add a random timing to button presses to try to avoid collisions.

The buttons themselves started with a 3D printed button working a single tactile switch, but moved to a set of three switches in a triangle after edge presses failed to activate the single switch.

We’ve featured a wired game show buzzer before, but for the complete game show experience how about this countdown timer?

Hands-on The AND!XOR Unofficial DEF CON Badge

DEF CON 24 is still about two weeks away but we managed to get our hands on a hardware badge early. This is not the official hardware — there’s no way they’d let us leak that early. Although it may be unofficial in the sense that it won’t get you into the con, I’m declaring the AND!XOR badge to be officially awesome. I’ll walk you through it. There’s also a video below.

Over the past several years, building your own electronic badge has become an impromptu event. People who met at DEF CON and have been returning year after year spend the time in between coming up with great ideas and building as many badges as they can leading up to the event. This is how I met the trio who built this badge — AND!XORAndrew Riley, and Jorge Lacoste — last year they invited me up to their room where they were assembling the last of the Crypto Badges. Go check out my guide to 2015 Unofficial DEF CON badges for more on that story (and a video of the AM transmissions that badge was capable of).

The outline is this year’s badge is of course Bender from Futurama. Both eyes are RGB LEDs, with another half dozen located at different points around his head. The microcontroller, an STM32F103 ARM Cortex-M0 Cortex-M3, sits in a diamond pattern between his eyes. Above the eyes you’ll find 16 Mbit of flash, a 128×64 OLED screen, and a reset button. The user inputs are five switches and the badge is powered by three AA batteries found on the flip side.

bender's-nose-closeup

That alone makes an interesting piece of hardware, but the RFM69W module makes all of the badges interactive. The spring coming off the top of Bender’s dome is a coil antenna for the 433 MHz communications. I only have the one badge on hand so I couldn’t delve too deeply what interactive tricks a large pool of badges will perform, but the menu hints at a structure in place for some very fun and interesting applications.

Continue reading “Hands-on The AND!XOR Unofficial DEF CON Badge”

Two Great Radios Taste Great Together

[Johan Kanflo] sent us his latest recipe: a blend of one part RFM69 sub-gigahertz radio transceiver with one part ESP8266 module. The resulting dish looks absolutely delicious!

We’re all charmed with the ease of use that the ESP8266 brings to the table — plug it in and you’re talking to your existing WiFi network — but we hate the power consumption for battery-powered applications. WiFi is a power hog. And although ISM-band radio modules make point-to-point communications cheap and power-saving, getting them to talk with your computer takes an adapter.

So [Johan] combined the two radios and made a sweet ISM-radio-to-WiFi bridge. His demo application takes whatever data is sent over the ISM band and pushes it to an MQTT broker on his WiFi network. Hardware and firmware are up on GitHub.

We’ve been wanting a device like this for our home network for a while now. Kudos, [Johan] for making it so easy!

Ridiculously Complicated Home Automation Made Simple

[Eric T] wrote up his insanely-comprehensive home automation setup. What started out as a method to notify him when his dog barked grew into a whole-house, Arduino-powered sensor extravaganza. We’ve previously looked at two different steps from this mammoth article. One automated his dog, the other focused on the Wink hub to bridge with commercial hardware like smart lightbulbs. Now let’s look at the project as a whole.

The basic backbone of the project is actually quite straightforward. He made a radio gateway base station out of an Arduino, a RFM69 radio unit, and an Ethernet shield that connects to a Raspberry Pi to serve up a GUI interface. The open-source home automation project OpenHAB makes it all available through browser or smartphone.

Next, he made additional sensor nodes from Arduino and RMF69 radios. These sensor nodes can all be separate from each other, which has enabled [Eric] to expand his system incrementally over time.

Modules of particular interest are the Uber Sensor and the Washer-Dryer module. For the Uber Sensor, [Eric] basically threw every sensor he could at an Arduino; it sends noise levels, light levels, motion, temperature, humidity, and presence of smoke, flame, or flammable gas. Some of these conditions trigger e-mail alerts, while others are simply stored for future perusal.

On the simpler end of the spectrum, he uses a noise-level detector to detect the end of a laundry cycle and then trigger a notification. The clever bit is that the message is automatically cleared when an attached motion detector triggers, presumably because someone’s gone to the basement to empty the dryer. Very neat.

16All of this is basically made practical and affordable by the presence of simple Arduino libraries and cheap hardware modules purchasable over Ebay. If you’re at all interested in a DIY home automation project, this offering is worth a look for inspiration and a great overview.

An Awesome Wireless Motion Sensor

Wireless sensor networks are nothing new to Hackaday, but [Felix]’s wireless PIR sensor node is something else entirely. Rarely do we see something so well put together that’s also so well designed for mass production.

For his sensor, [Felix] is using a Moteino, a very tiny Arduino compatible board with solder pads for an RFM12B and RFM69 radio transceivers. These very inexpensive radios – about $4 each – are able to transmit about half a kilometer at 38.4 kbps, an impressive amount of bandwidth and an exceptional range for a very inexpensive system.

The important bit on this wireless sensor, the PIR sensor, connects with three pins – power, ground, and out. When the PIR sensor sees something it transmits a code the base station where the ‘motion’ alert message is displayed.

The entire device is powered by a 9V battery and stuffed inside a beautiful acrylic case. With everything, each sensor node should cost about $15; very cheap for something that if built by a proper security system company would cost much, much more.