Perhaps the weakest point in modern electronics when it comes to user servicability is the lifecycle of the batteries included from the manufacturer. Without easily replaceable batteries, many consumer goods end up in the landfill when they’re otherwise working perfectly. If you’d like to get more out of your devices than the manufacturer intends, you might have to go to great lengths like [Théo] did with his JBL speaker.
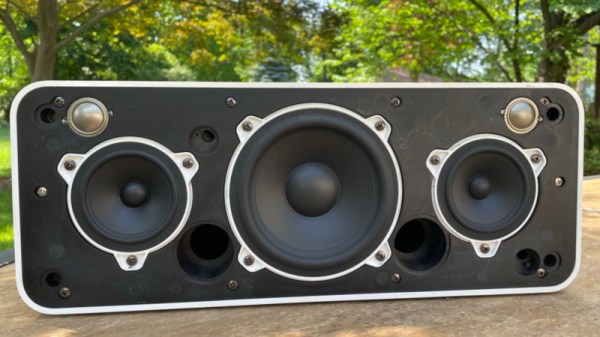
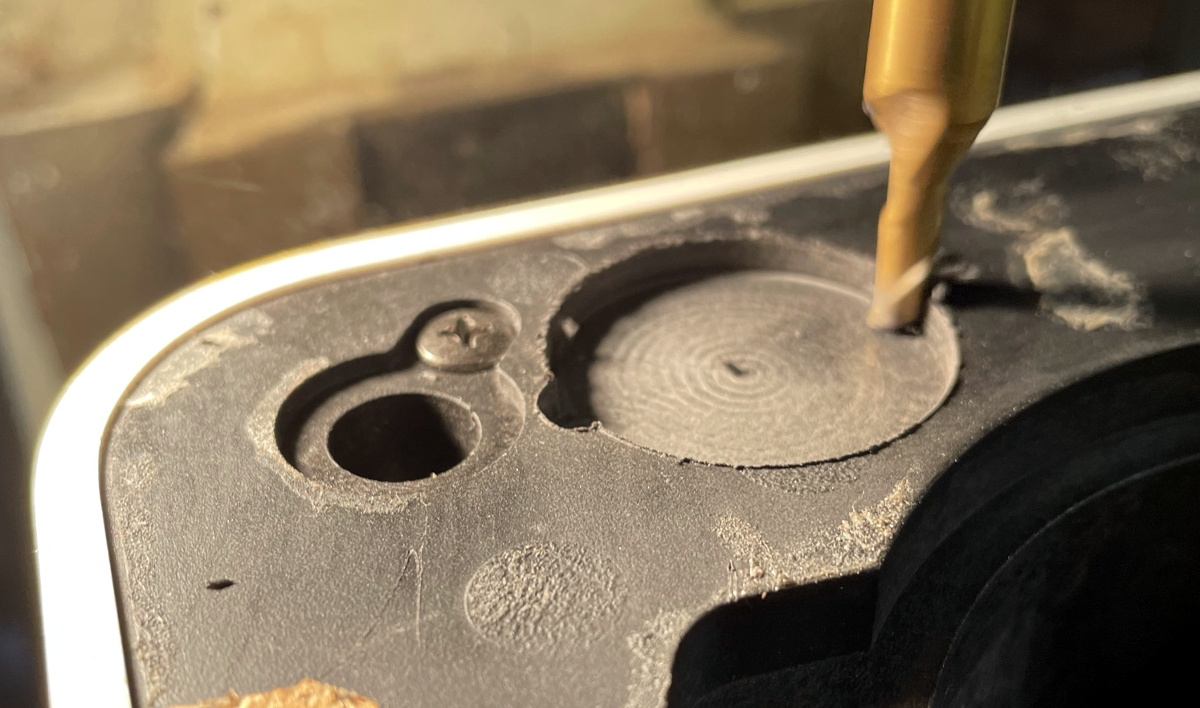
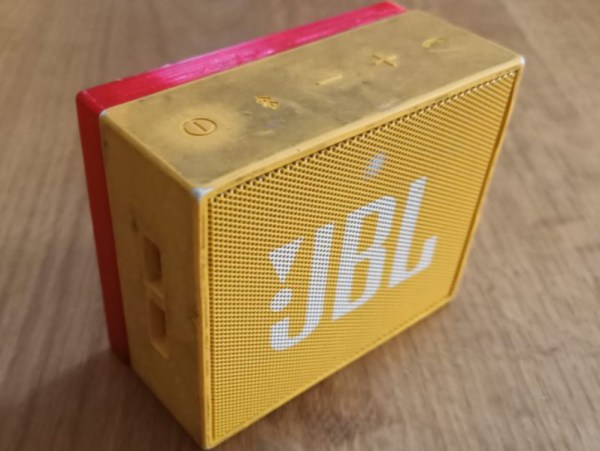
This was a Bluetooth device produced by JBL nearly a decade ago, and while the original device boasted several hours of battery life, after so many years of service, it was lucky to get a half hour before the battery died. To replace it, [Théo] removed the original battery and extended the case to be able to hold a larger cell phone battery. He also decided to use the original battery management circuit from the speaker with the new battery after verifying the voltage and chemistry were close enough to the original.
Since the phone battery is a proprietary Samsung device, [Théo] also decided to build a version that uses standard 18650 cells instead, although he prefers the slimmer design with the phone battery for his use case. Straightforward as this build may be, it does go a long way to demonstrate the principle that if you can’t fix your devices, you don’t really own them.
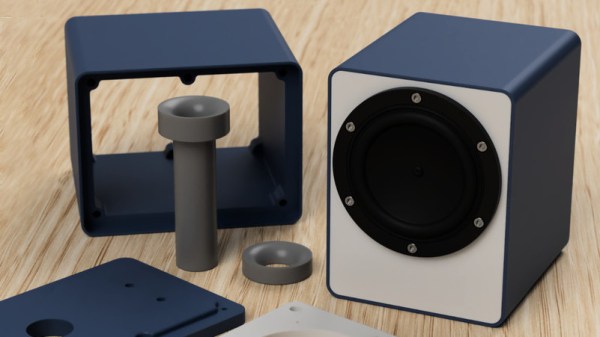
 The parts can be 3D-printed, but the design ensures that the front and back panels are flat, so one can use wood or some other material for those depending on preference and appearance. The assembly is screwed together using six M3 bolts per side with optional