Wrap Your Keyboard With A Vacuum Former

Coloured keycaps are a common customisation when it comes to making your input device special. If you are working with modern tech it’s easy, there are plenty of vendors who can sell you keycaps for any purpose. With retro tech it’s never so simple, if a keycap hasn’t been made for decades you’re out of luck. This doesn’t faze [Drygol] though, who has solved the coloured retro keycap in a unique and non-destructive way. Wrap them in vinyl film using a vacuum former.

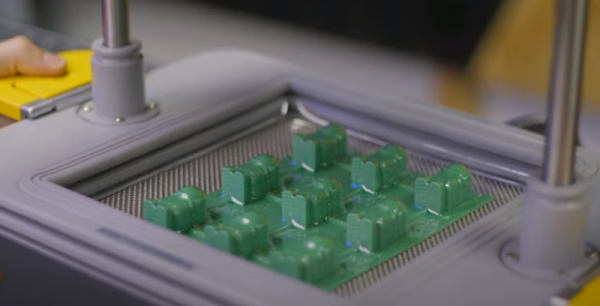
Vacuum formers are an often-underrated tool in the hardware arsenal, but as this project shows, they can produce startlingly good results. Original keycaps are placed on a 3D-printed scaffold before the vinyl is formed over them, then they are carefully cut out and a triangular edge on both sides is folded underneath, The result is an Amiga with a striking orange keyboard, and for us the best bit is that the original key is safely preserved under the vinyl.

[Drygol]’s exceptional work in the retrocomputing sphere has delighted us many times on these pages. There are too many examples to link here, but one we particularly liked was this nearly-all-new Amiga 2000.

Vacuum Forming With 3D Printed Buck Tutorial

[Matterhackers] has a nice video tutorial on using vacuum forming to create plastic items. Sure, you have a 3D printer, but vacuum forming has some advantages if you are making thin and flexible items quickly. But don’t feel bad. The master item in the process is from a 3D printer. Like a mold, the forming won’t produce a duplicate of the master, called a buck. Rather, the buck provides something like a die that the plastic wraps around.

While obvious vacuum-formed items include such things as take-out food containers and plastic blister packaging for retail items, you can also make more substantial items. Apparently, all theStar Wars movies in the original trilogy used vacuum forming to create stormtrooper armor.

Continue reading “Vacuum Forming With 3D Printed Buck Tutorial”

This Vacuum Former Sucks

Vacuum formers are useful tools to have around the shop and also an incredibly simple technology. All you need is a plastic sheet, a heater of some kind, a table with a bunch of holes in it, and a vacuum. The simplicity and usefulness of a vacuum former mean they’re perfect for a homebrew build. That said, we haven’t seen many DIY vacuum formers around the Interwebs. Now, there’s a Kickstarter that brings vacuum forming to the desktop. If nothing else, it’s an inspiration to build your own vacuum forming machine.

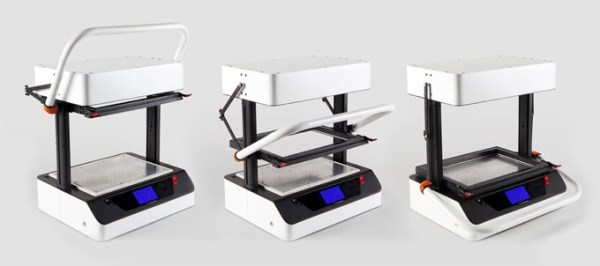
The Vaquform is pretty much what you would expect from a desktop vacuum forming machine. A 9 x 12 inch forming area is equipped with ceramic heaters to soften the plastic sheet, and interestingly, an infrared probe (think a non-contact digital thermometer) to ensure you’re pulling molds when the plastic is ready, not before.

You can’t push a Kickstarter without some new and novel technology, and the highlight of this product pitch is the Vaquform hybrid system vacuum pump. This vacuum pump, “combines high airflow and high vacuum” and looks like someone slapped a brushless motor on a turbo.

This is a Kickstarter campaign, and so far it appears Vaquform, the company behind this vacuum former, appears to only have prototypes. There’s a big difference between building one of something and building a hundred. As with all Kickstarter campaigns, ‘caveat emptor’ doesn’t apply because ēmptor means ‘buyer’. If you contribute to this Kickstarter campaign, you are not buying anything.

Even though this is a Kickstarter campaign, it is an interesting tool to have around the workshop. Of course, there’s not much to a vacuum former, and we’d be very interested in seeing what kind of vacuum former builds the Hackaday community has already made. Send those in on the tip line.

Maker Faire Kansas City: Entrepreneurial Spirit Taking Shape

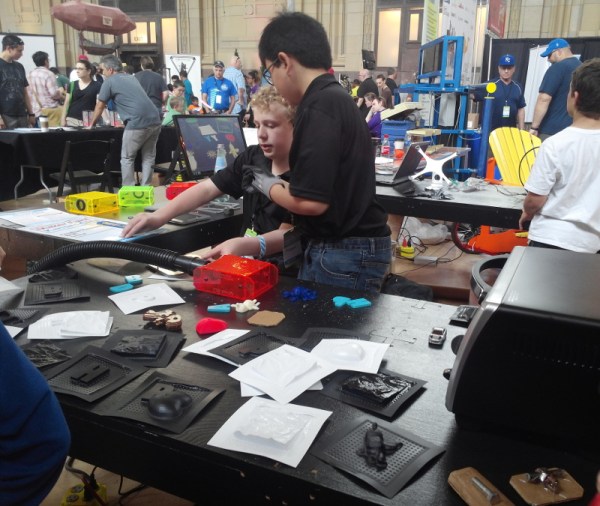
One of the great things about an event like the Kansas City Maker Faire is that there are so many reasons that makers sign up to show their things. Some makers come to teach a skill, and others to sell their handmade creations. Those with an entrepreneurial streak looking to launch a product might rent a booth to get a lot of eyes on their idea. That’s just what [Ted Brull] of Creation Hardware was after this weekend–exposure for Kevo, his small-scale vacuum former.

kevo-mt-dewKevo is a simple and affordable solution for makers of all stripes. It can be used to make molds, blister packaging for items, or even electronics enclosures. [Ted]’s Kickstarter campaign for Kevo has already been successfully funded, but there’s still plenty of time to get a Kevo kit for yourself. The basic reward includes the vacuum-forming chamber and two sizes of adapters that cover most vacuums. It also ships with an aluminium frame to hold polystyrene sheets during the heating and molding processes, and starter pack of pre-cut pieces in black, white, and clear plastic.

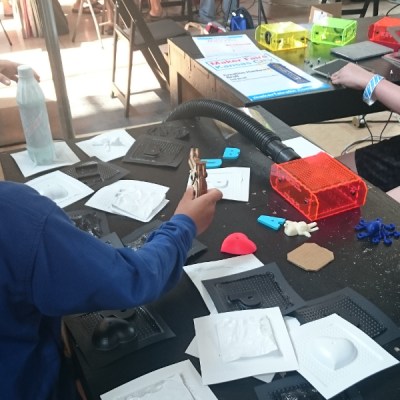
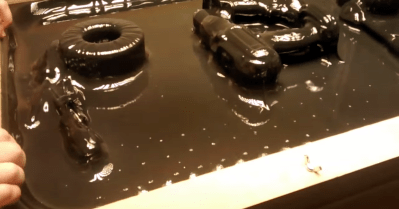
Creation Hardware had many vacuum-formed molds on display and were constantly making more from 3D-printed objects, toys, and other things. Our favorite mold was a 20oz bottle of Mountain Dew, which shows how far the small sheets of plastic can stretch.

“Easy Bake” Vacuformer

One of our favorite things about Hackerspaces is people tend to spend a lot of time building tools, or repairing/upgrading older ones. This is a case of the former. The vacuum former.

[Adam] wrote in to tell us about this vacuum forming machine which he and few other members built for FizzPOP, a hackerspace in Birmingham, England. The device is used to suck hot sagging plastic around a mold. This is accomplished in two parts, the vacuum table and the heating mechanism to put the sheet of plastic into that sagging state.

vacuum-forming-signThe vacuum part of these tools has been easy to DIY for a long time. Pegboard makes for a very good table surface, with some type of vacuum motor (usually a shopvac or two) in an enclosure below the surface. This design adheres to that common formula.

On the other hand, the heating mechanism is more difficult to solve. The plastic is unwieldy and fragile when hot so a frame is very common. Following the example of commercially available models, the FizzPOP crew built a frame that slides along four vertical rails (envision table legs) extending above the vacuum surface. These legs also hold up the heating element. Often this is a nichrome wire array, but not this time. They went with an array of 70 halogen bulbs in a 10×7 orientation. A PCB was milled for each, with a system of bus-bars connecting them all. The trial run showed that the intensity of the bulbs made hotspots directly below each. But a bit more testing helped them solve the issue by keeping the frame further from the array in the heating phase.

The team’s 13-seconds of fame are found after the break. A black sheet of High-Impact Polystyrene (HIPS) is formed around a compilation of tools spelling out the name of the hackerspace.

Continue reading ““Easy Bake” Vacuformer”

DIY Vacuum Former

DIY Vacuum Former On The Cheap

Vacuum Forming is a process used to mold plastic into a desired shape. A thin sheet of plastic is heated to a soft state and then air pressure is used to press the plastic down around or into a mold. Vacuum forming can be used to make a variety of items, anything from product packaging to bath tubs.

That being said, a vacuum former is probably one of those things that would be nice to have around but may not get a lot of use. Therefore, spending any significant amount of money on one would result in a low-value situation. For some folks, building one from scratch may be the way to go. [Amalgamized] built his own low-cost vacuum former and did a great job documenting the build.

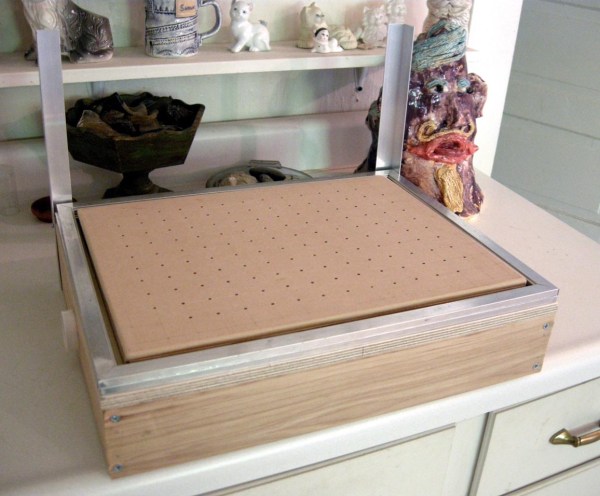
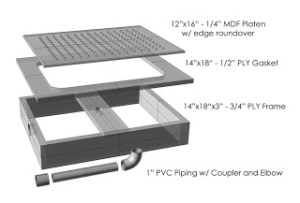
VacuumDiagramFlattenedSmallThere is a two-pronged attack to keep the costs down on this project. First, the frame is made from readily available materials that you probably have kicking around in your wood scrap bin. The sides of the frame are 3/4″ plywood and the hole-filled top is made from 1/4″ MDF. A piece of PVC pipe connects the chamber below the top piece of MDF to a shopvac. The shopvac pulls the air down through the top’s holes; think reverse air hockey table.
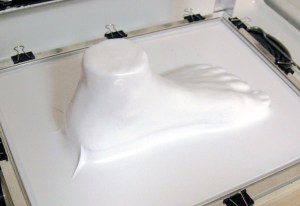
Attack prong #2 is that there is no dedicated heater. Binder clips secure the plastic sheets to an aluminum window frame which are then put in the oven for a few minutes between 250 and 300ºF. When the plastic starts to droop, it is quickly removed from the oven and placed over a mold. The shopvac creates a low pressure zone under the plastic and atmospheric pressure pushes the plastic down around the mold.

DIY Vacuum Former

Making And Selling Star Wars Costumes Ruled To Be Legal


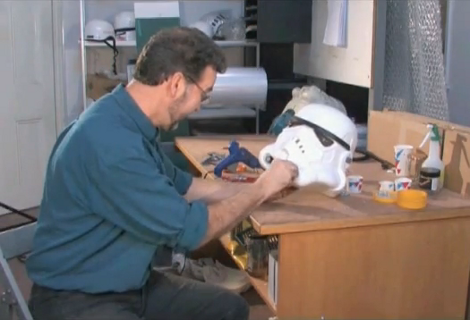
[Andrew Ainsworth] has been making and selling costumes based on Star Wars character (some original, and some of his own creation) for several years. Lucasfilm sued him for $20 million back in 2004 claiming infringement of intellectual property rights. He stopped selling them in the US (as it was a US copyright) but now the UK Supreme Court has ruled in his favor, siding with his claim that the costumes are functional items and not works of art.

Good for him, but copyright issues aren’t what interests us here. The BBC clip showing him using a vacuum former to make the Stormtrooper helmet really caught our attention. A bit of further searching led us to find the thirteen minute video after the break showing the entire process, from sculpting the mold by hand, to forming the components, and the final assembly seen above. It’s a fascinating process that makes use want to build our own vacuum former (preferably on a larger scale than this one). It would come in handy whether it’s Star Wars, Daft Punk, or any number of other projects you’ve got in mind.

Continue reading “Making And Selling Star Wars Costumes Ruled To Be Legal”