Tips For 3D Printing Watertight Test Tubes

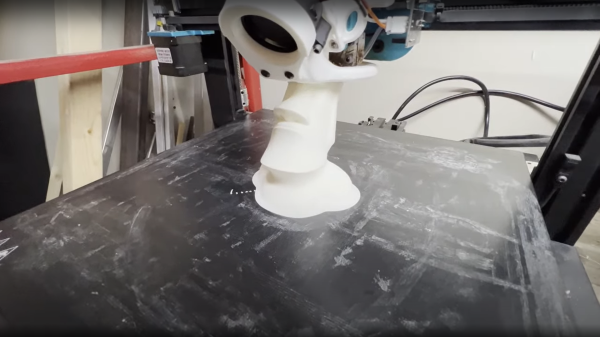
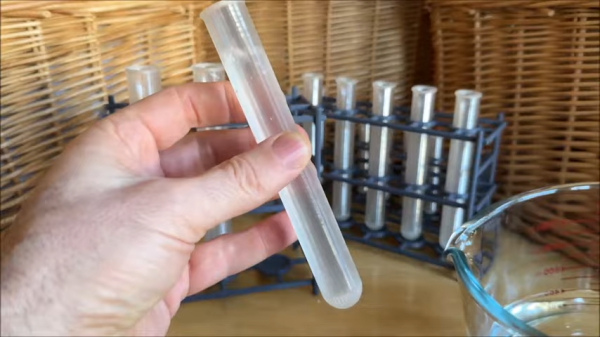
[DaveMakesStuff] uses 3D printed test tubes for plants and similar purposes, and he’s shared how to make them on a 3D printer, complete with different models each optimized for different nozzle sizes.

The slots in the model are a means of manipulating how the slicer creates a toolpath when printing in spiral vase mode. These areas end up denser and stronger than they otherwise would be.

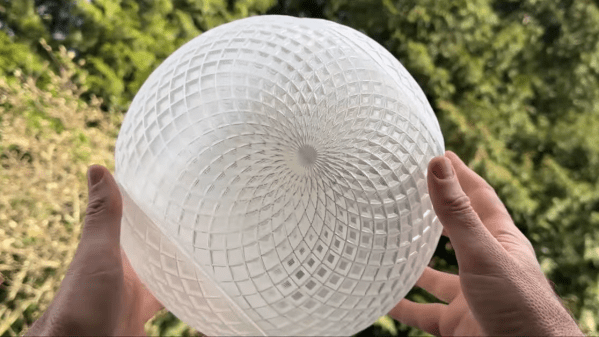
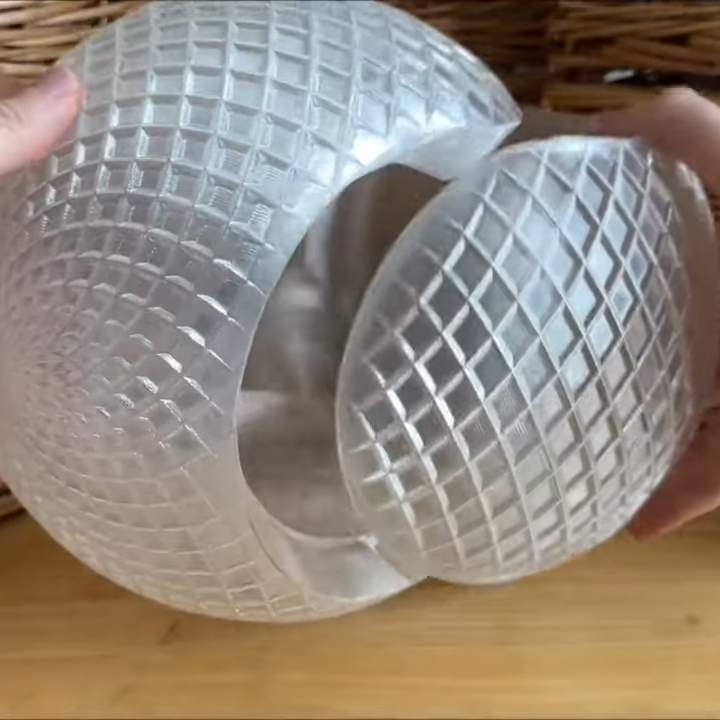
It’s not too hard to get clear-looking prints in spiral vase mode by using a transparent filament, but the real value in his design is that it comes out reliably watertight, with an extra-strong base and rim.

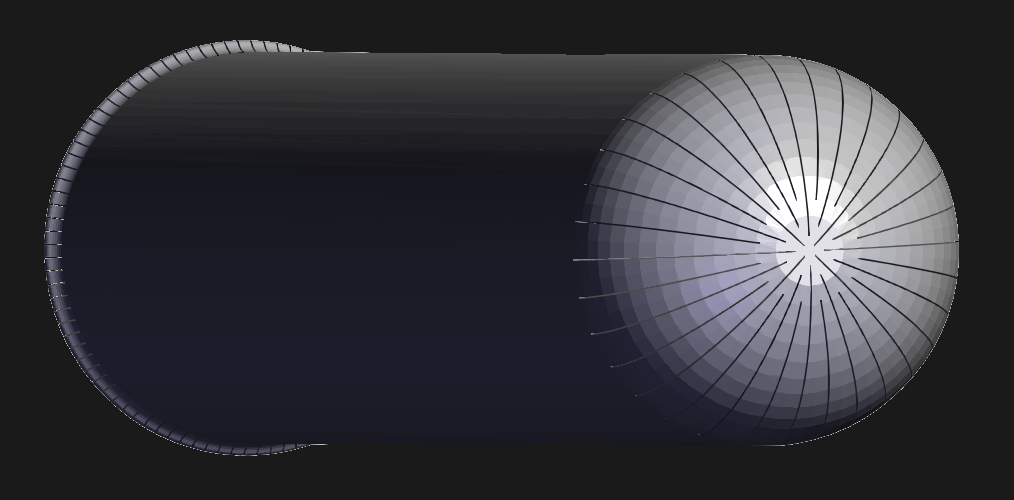
How is this accomplished when using spiral vase mode, which extrudes only a single wall perimeter? By using fancy geometry on the part, which makes the nozzle follow a high-density path that turns back onto itself multiple times, in concept a little like a switchback trail. The result is extra-dense areas on both the rim and the bottom of the tubes. This helps make them not only watertight, but far stronger than a single wall.

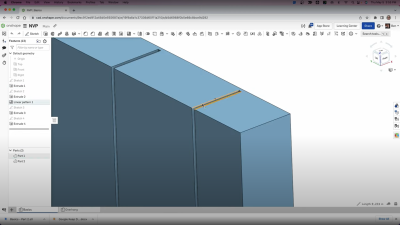
This technique is reminiscent of an earlier method we saw of enhancing the strength of vase mode prints by modeling thin slots into an object. After slicing, the model still consists of a single unbroken spiral extrusion. But in practice, the extruded plastic forms what resemble structural ribs. Why? Because those technically-adjacent extruded lines are so close to one another that they end up sticking together. Something similar is being done here by [DaveMakesStuff] to ensure that the bottom and top of the tubes are extra strong.

You can see a short video (embedded below) that showcases the tubes, as well as some modular 3D-printable racks that [DaveMakesStuff] also makes. And should you want some tips on getting better transparency from your 3D prints, the essentials boil down to printing with transparent filament, slightly hotter, and with a slightly higher extrusion rate.

Continue reading “Tips For 3D Printing Watertight Test Tubes”

3D Printing A Nifty Sphere Without Supports

[DaveMakesStuff] demonstrates a great technique for 3D printing a sphere; a troublesome shape for filament-based printers to handle. As a bonus, it uses a minimum of filament. His ideas can be applied to your own designs, but his Giant Spiralized Sphere would also just happen to make a fine ornament this holiday season.

Printing two interlocking parts and using vase mode ensures a support-free print that uses a minimum of filament.

The trick is mainly to print the sphere in two parts, but rather than just split the sphere right down the middle, [Dave] makes two hollow C-shaped sections, like a tennis ball. This structure allows the halves to be printed in vase mode, which minimizes filament use while also printing support-free.

Vase (or spiral) mode prints an object using a single, unbroken line of extruded filament. The resulting object has only one wall and zero infill, but it’s still plenty strong for an ornament. Despite its size, [Dave]’s giant ball uses only 220 grams of filament.

A video (also embedded below) shows the design in better detail. If you’d like to experiment, we’ve previously covered how PETG’s transparency is best preserved when 3D printing by using vase mode, slightly overextruding, and printing at a higher temperature to ensure solid bonding between each layer. Continue reading “3D Printing A Nifty Sphere Without Supports”

3D Printing Hack Leverages Vase Mode Structurally

Conceptually, FDM 3D printing is quite a simple process: you define a set of volumes in 3D space, then the slicing software takes a cut through the model at ever-increasing heights, works out where the inner and outer walls are, and then fills in the inside volume sparsely in order to tie the walls together and support the top layers that are added at the end.

But as you will find quite quickly, when models get larger and more complex, printing times can quickly explode. One trick for large models with simple shapes but very low structural needs is to use so-called ‘vase mode’, which traces the outline of the object in a thin, vertical spiral. But this is a weak construction scheme and allows only limited modelling complexity. With that in mind, here’s [Ben Eadie] with a kind-of halfway house technique (video, embedded below) that some might find useful for saving on printing time and material.

This solid shape is mostly cut-through to make supporting ribs between the walls of the shell

The idea is to use vase mode printing, but by manipulating the shell of the model, adding partially cut-through slots around the perimeter, and critically, adding one slot that goes all the way.

First you need a model that has an inner shell that follows the approximate shape of the outer, which you could produce by hollowing out a solid, leaving a little thickness. By making the slot width equal to half the thickness of the nozzle size and stopping the slots the same distance from the outer shell, vase mode can be used to trace the outline of shape, complete with supporting ribs in between the inner and outer walls of the shell.

Because the slot is narrower than the extrudate, the slot walls will merge together into one solid rib, tying the objects’ walls to each other, but critically, still allowing it to be printed in a continuous spiral without any traditional infill. It’s an interesting idea, that could have some merit.

There are other ways to stiffen up thing printed parts, such as using surface textures, But if you’re fine with the thin shell, but want to have a little fun with it, you can hack the g-code to make some really interesting shapes.

Continue reading “3D Printing Hack Leverages Vase Mode Structurally”