Illustrated Kristina with an IBM Model M keyboard floating between her hands.

Keebin’ With Kristina: The One With The Curious Keyboards

I love first builds! They say so much about a person, because you see what’s paramount to them in a keyboard. You can almost feel their frustration at other keyboards come through their design choices. And the Lobo by [no-restarts] is no exception to any of this.

There’s just something about this Corne-like object with its custom case and highly-tappable and variously tilted keycaps. The list of reasons for being begins innocently enough with [no-restarts] wanting a picture of their dog on the case.

A nicely-tented split keyboard with really interesting, 3D-printed keycap profiles.
Image by [no-restarts] via reddit
From there, things get really personal. You may notice the thumb cluster is slightly different — [no-restarts] doesn’t like the thumb tuck required by the Corne to reach the innermost keys. I really dig the homing bumps on the middle thumb keys. Another difference is the splayed layout, as [no-restarts] is especially prone to pinky splay. Finally, there are a pair of OLEDs hiding on the inner sides of the case, which are designed to be visible when tented.

Overall, [no-restarts] is happy with it, but has some ideas for revision. Yep, that sounds about right. The Lobo is all hand-wired, and there’s a PCB with hot swap sockets in its future. If you’re interested in the case files, GitHub is your friend.

Continue reading “Keebin’ With Kristina: The One With The Curious Keyboards”

Two sides of a business-card shaped device are shown. On the left, it’s clear that the device is about half a centimeter thick, with a large scroll wheel visible in the center. The device cover is 3D-printed in black plastic, and has cutouts to mark where three buttons ar. On the right, the underside of the device is visible. It is a black PCB, with white text giving contact information.

Building A Macro Pad Into A Business Card

A business card is a convenient way to share your contact information, but it’s unfortunately prone to being thrown away or forgotten. PCB business cards try to get around this problem, but while impressive, most won’t keep the recipient engaged for a very long time. [Cole Olsen]’s macro pad business card, on the other hand, might actually get regular use.

The card has three buttons and a rotary encoder as controls, with an RGB LED to indicate the card’s current mode. It can perform three sets of functions: general productivity, serving as a presentation remote, and controlling music. The scroll wheel is the main control, and can switch through windows, desktops, and tabs, page through slides, and control music volume.

The card itself is made out of a PCB, the exposed side of which contains [Cole]’s contact information, and the other side of which is covered by a 3D-printed case. As thick as it is, this might be stretching the definition of “card” a bit, but as a mechanical engineer, [Cole] did want to demonstrate some mechanical design. A nice!nano wireless keyboard development board running ZMK firmware reads the sensors and sends commands. Conveniently for a presentation remote, the card is powered by a rechargeable battery and can work wirelessly (as a side benefit, if a recipient were minded to get rid of this card, the lithium-polymer battery would probably substantially delay disposal).

[Cole] writes that he was inspired by many of the other impressive business cards we’ve covered. Some of the macro pads we’ve seen have been marvels of miniaturization in their own right.

Illustrated Kristina with an IBM Model M keyboard floating between her hands.

Keebin’ With Kristina: The One With The KiCad Plugin

A low-profile split keyboard with a sliding, round track pad on each half.
Image by [fata1err0r81] via reddit
The most striking feature of the Tenshi keyboard has to be those dual track pads. But then you notice that [fata1err0r81] managed to sneak in two extra thumb keys on the left, and that those are tilted for comfort and ease of actuation.

The name Tenshi means ‘angel’ in Japanese, and creator [fata1err0r81] says that the track pads are the halos. Each one slides on a cool 3D-printed track that’s shaped like a half dovetail joint, which you can see it closer in this picture.

Tenshi uses a pair of RP2040 Zeros as controllers and runs QMK firmware. The track pads are 40 mm each and come from Cirque. While the Cirques have been integrated into QMK, the pull request for ZMK has yet to be merged in. And about those angled keys — [fata1err0r81] says they tried risers, but the tilting feels like less effort. Makes total sense to me, but then again I’m used to a whole keyboard full of tilted keys.

Continue reading “Keebin’ With Kristina: The One With The KiCad Plugin”

A batarang-shaped keyboard with a Batmobile that we wish was a mouse.

Holy Keyboard Case, Batman!

Whoever thought a keyboard could look so sinister? Well, [rain2] aka [AffectionateWin7178], that’s who. Vengeance is the sixth keyboard they’ve designed, and let’s just say we wouldn’t mind seeing the other five.

This is a takeoff of Zazu, a custom case printed for the monoblock split designed by [AlSaMoMo]. A friend of [rain2] made a ZMK PCB for the Zazu about a month ago, and they dreamed up the case design together. Among our first questions were of course, how do you type without those bat wings digging into your palms? But evidently, they are designed not to get in the way at all during use.

We particularly like the gold skirt around the edge which joins the two printed halves. It goes nicely with the bank vault elements like the dial around the trackball and the five-way switch that resembles a handle. And yeah, we wish the Batmobile was a mouse, too. While it seems that [rain2] hasn’t released the STLs for the case, you can find the ZMK Zazu repo on GitHub. Happy designing! As always, let us know what you come up with.

Here’s another BAT keyboard you might be interested in.

Screenshot of the blog post, showing how you can optimize your battery level measurement resistor dividers, among many other things

Making Your Wireless Keyboard Truly Low-Power

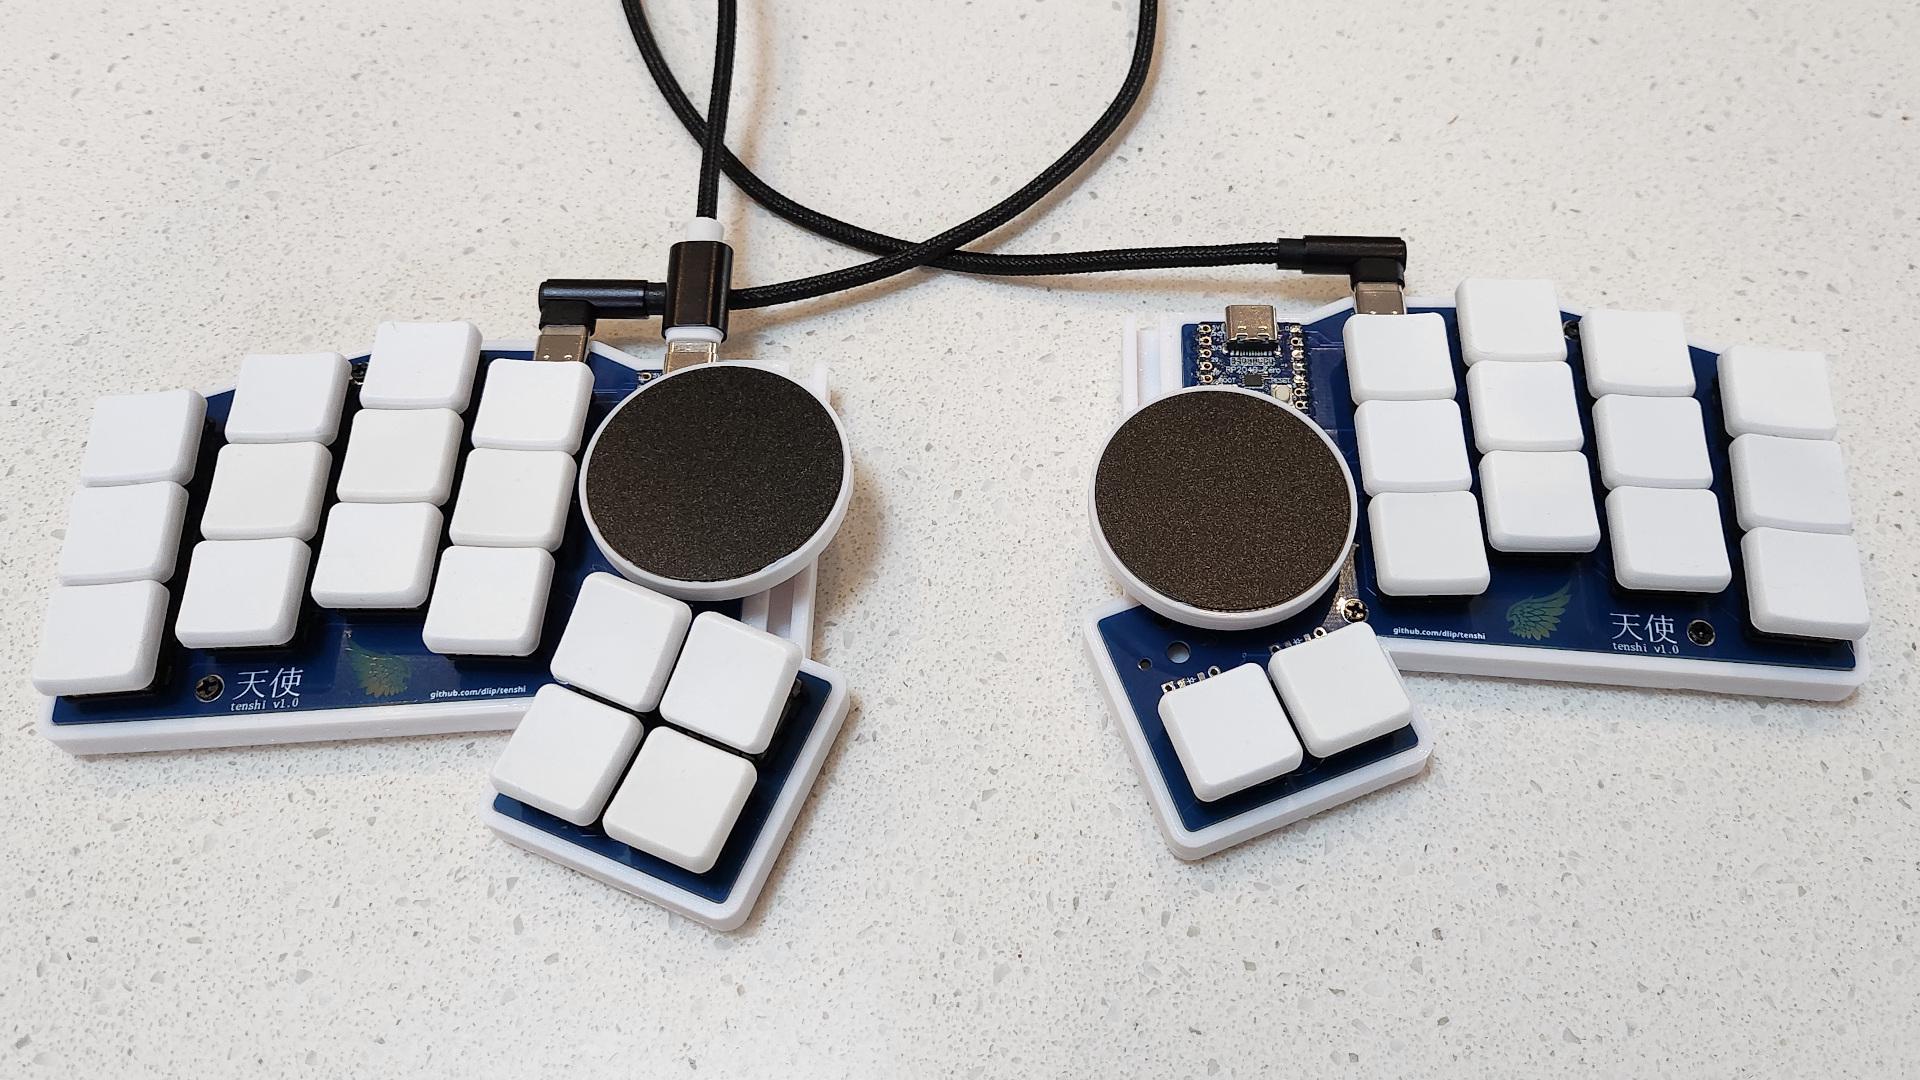
The basics of keyboard design are tried and true at this point, but there are still a few aspects yet unconquered. One of them is making your keyboards wireless. You might think it’s easy, but if you just slap a wireless-enabled microcontroller onto your board, you’ll soon be left with a dead battery. Rejoice – [Pete Johanson], creator of ZMK, tells all that you want to know about making your keyboard low-power.

In a lengthy blog post, he goes through everything that a typical keyboard consists of, and points out factor after factor that you never knew could cause a spike in power consumption. Are you using muxes or config options that will force your MCU to always stay alert? Is your voltage regulator’s quiescent current low enough, and can the same be said about other parts you’re using? Does your MCU have to work extra hard transmitting bytes because you’ve put a copper fill under its antenna? Most importantly, is the firmware you’re using designed to optimize power consumption at its core?

If you’ve ever thought about designing low-power keyboards, hell, any low-power device, you seriously should read this post – it will set you at ease by giving you a checklist of things to do, and it also links to quite a few other useful resources, like the ZMK power profiler. Perhaps, if you’re building a wireless keyboard or just creating battery-powered device, you should consider ZMK, as it sure seems to be written with energy efficiency in mind.

Want to learn more about what it takes to build a low-power device? Our 2023 Low-Power Contest attracted a wide range of entrants, and they’ve shared a flurry of methods and tricks you can use to build any sort of battery-juice-sipping gadget.

A Google Pixel 7 with a detachable Bluetooth keyboard.

BlueBerry Is A Smartphone-Agnostic Keyboard Firmware

If you’re anything like us, you really, really miss having a physical keyboard on your phone. Well, cry no more, because [Joe LiTrenta] has made it possible for any modern smartphone whatsoever to have a detachable, physical keyboard and mouse at the ready. [Joe] calls this creation the BlueBerry.

A couple of metal plates and a mag-safe pop socket connect a Bluetooth keyboard to a Google Pixel 7. The keyboard/mouse combo in question is a little BlackBerry Bluetooth number from ZitaoTech which is available on Tindie, ready to go in a 3D printed case. What [Joe] has done is to create a custom ZMK-based firmware that allows the keyboard be device-agnostic.

In order to easily mount the keyboard to the phone and make it detachable, [Joe] used adhesive-backed metal mounting plates on both the phone and the keyboard, and a mag-safe pop socket to connect the two. The firmware makes use of layers so everything is easily accessible.

Check out the demo video after the break, which shows the board connected to a Google Pixel 7. It makes the phone comically long, but having a physical keyboard again is serious business, so who’s laughing now? We’d love to see a keyboard that attaches to the broad side of the phone, so someone get on that. Please?

Do you have a PinePhone? There’s an extremely cute keyboard for that.

Continue reading “BlueBerry Is A Smartphone-Agnostic Keyboard Firmware”

Illustrated Kristina with an IBM Model M keyboard floating between her hands.

Keebin’ With Kristina: The One With The 200% Typewriter

Image by [jefmer] via Hackaday.IO
You know, the really sad truth about cyberdecks and cyberdeck-adjacent builds is that many of them just end up on the shelf, collecting dust while waiting for the dystopian future. Well, not this one. No, [jefmer] says their Portable Pi sees daily use, and even comes along on the go.

Since [jefmer] is “temperamentally unsuited to 3D printing”, the Pi 4B and its accessories are nestled in a rugged, splash-proof case under some acrylic sheets. One of those accessories, the keyboard, is a KPrepublic BM40 with Gateron Yellows. In order to get used to the number and symbols layer, [jefmer] laid down some great-looking labels above the keyboard.

Although the build started with an SD card for storage, [jefmer] has since upgraded to a 120 GB SSD. This required a beefy battery pack, but the difference is that it gets around four hours of power versus five hours when using an SD card.

Continue reading “Keebin’ With Kristina: The One With The 200% Typewriter”