3D Whiteboard Without The Whiteboard

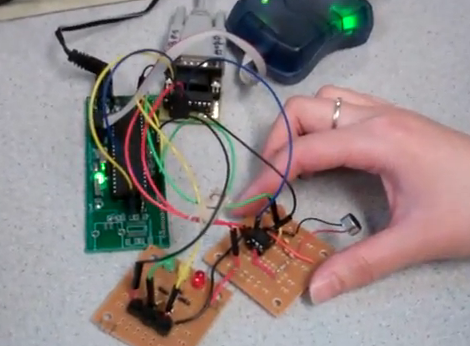
This one is so simple, and works so well, we’d call it a hoax if April 1st hadn’t already passed us by. But we’re confident that what [William Myers] and [Guo Jie Chin] came up with exists, and we want one of our own. The project is a method of drawing in 3 dimensions using ultrasonic sensors.

They call it 3D Paint, and that’s fitting since the software interface is much like the original MS Paint. It can show you the movements of the stylus in three axes, but it can also assemble an anaglyph — the kind of 3D that uses those red and blue filter glasses — so that the artists can see the 3D rendering as it is being drawn.

The hardware depends on a trio of sensors and a stylus that are all controlled by an ATmega644. That’s it for hardware (to be fair, there are a few trivial amplifier circuits too), making this an incredibly affordable setup. The real work, and the reason the input is so smooth and accurate, comes in the MATLAB code which does the trilateration. If you like to get elbow deep in the math the article linked above has plenty to interest you. If you’re more of a visual learner just skip down after the break for the demo video.

Continue reading “3D Whiteboard Without The Whiteboard”

DIY Segway: Fast, Silent, And Open

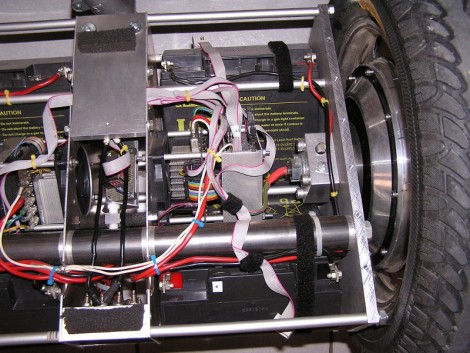
This is a picture of the guts of a diy Segway project (translated). Everything fits into a tiny space under the platform upon which the rider stands. It’s tight, but makes for a sleek look when the diamond plate is covering up all of the internals.

An ATmega644 controls the vehicle. It does so by using a PID control scheme to monitor a gyroscope, driving the wheels to maintain the center of balance. Electronically, the most complicated part of the build is the motor controller. It seems to be an original design, using an ATmega48 and several other integrated circuits. It was hard for us to figure out how this was implemented, but with some intensive study of the three schematics that go into the module we’d bet you can get to the bottom of things. We certainly like the outcome, as this personal transport is whisper quiet. Take a look at the clip after the break to hear for yourself.

Note: Be careful if you’re reusing the code from the translated link at the top. Google translator also translates the variable names in the code and might break how it works due to inconsistencies in the translation.

Continue reading “DIY Segway: Fast, Silent, And Open”

Vowel Recognition Using An ATmega644

[Youchun Zhang] and [Annie (Wei) Dai] found a way to differentiate vowel sounds using an ATmega644 as their final project for a microcontroller design class. Voice recognition is not out of the ordinary, but most of the time it uses a computer, smart phone, or specially designed hardware. This implementation uses an ATmega644, a microphone connected via an op-amp, and a few buttons. In the demonstration after the break you’ll see that they’re outputting status data to Putty via an RS232 connection, but that’s just so you can see what’s going on inside the chip. It’s what’s doing all of the hard work.

In order to tell the difference between vowels, the waveforms of each sound were analyzed using MATLAB during the research phase. That analysis allowed the team to assemble data for each sound that contained the peaks least often found in the other sounds. Now the microcontroller analyzes incoming sound, comparing it to that data set. The analysis is snappy, happening in real-time thanks to the team’s use of the Fast Walsh Transform. It turns the sound into a set of square waves and presents them as a 64 bit sample. The result can be used as a password protection scheme, but as far as we can tell this doesn’t key to just one person, anyone who knows the vowels of the password can use it.

Continue reading “Vowel Recognition Using An ATmega644”

Bootloader Burning Basics

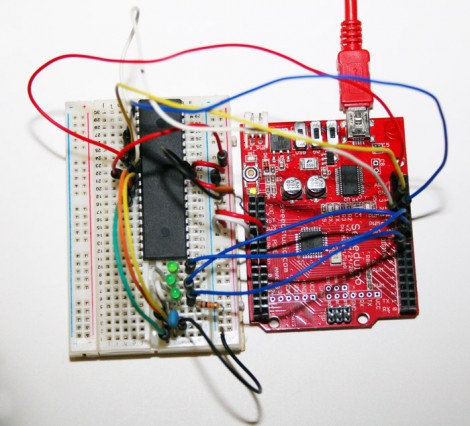
[Charles Gantt] and a few others were having trouble burning the Sanguino bootloader to an ATmega644 chip. With some help from the [Nils Vogil] via the RepRap IRC [Charles] got it worked out and wrote a guide for burning the bootloader using an Arduino as an ISP programmer.

We’re not familiar with the specifics of the Sanguino bootloader, but [Charles] mentioned that he was unable to flash it onto the AVR chip without a resonator. The resonator serves as an external clock source for the chip. We’d bet the programming process changes the fuse settings on the chip to use an external source. Without that source, you won’t be able to communicate with the chip afterwards.

The solution just adds the resonator to the programming circuit. This should be useful when burning any bootloader using an Arduino. But it does make us wonder if there isn’t an alternative method that would let you draw the clock signal from the Arduino itself?

Automating Rock Band Vocals

rockband_audio_simulator

When it comes to Rock Band, our friends suck at singing. No, really.

We’re cool with them beating on the drum set completely off-time, but the sound of them trying to sing “Tom Sawyer” makes us want to cut out our eardrums.

We’re willing to bet that Cornell students [Gautam Kamath and Dominick Grochowina] have friends like ours. Their Electrical and Computer Engineering final project aims to remove the tone deaf from in front of the microphone, allowing a computer to sing vocals instead.

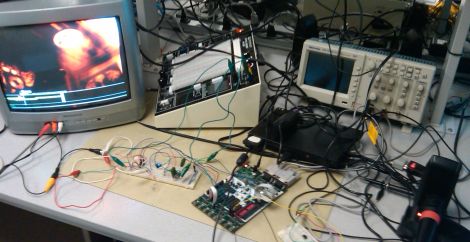
Since Rock Band simply listens for the proper frequency to be sung, the pair figured it would be easy enough to monitor the game’s output and feed computer-generated signals back into the microphone. Once the game’s vocal bar is isolated via a series of filters, an ATMega644 is used to interpret the notes and generate the corresponding tone via a speaker.

While automating Rock Band gameplay is nothing new, we don’t recall seeing anyone try to cut the singer from the band. We think it’s a pretty cool concept – rock on!

Edit: Updated with video

Continue reading “Automating Rock Band Vocals”

Touch-based Synthesizer Is A Wiring Nightmare

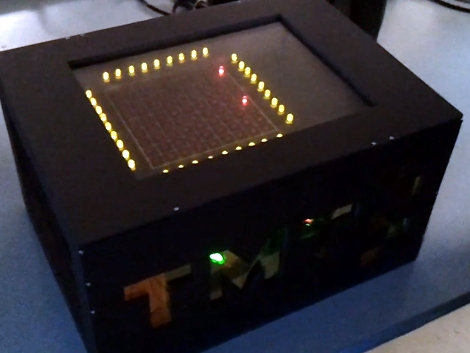
[Jane] wrote in to let us know about the touch-based synthesizer she and her classmates just built. They call it the ToneMatrix Touch, as it was inspired by a flash application called ToneMatrix. We’re familiar with that application as it’s been the inspiration for other physical builds as well.

A resistive touch screen in the surface glass of the device provides the ability to interact by tapping the cells you wish to turn on or off. Below the glass is a grid of LEDs which represent sound bits in the looping synthesizer track. Fifteen shift registers drive the LED matrix, with the entire system controlled by an ATmega644 microcontroller. Although the control scheme is very straight forward, the jumper wires used to connect the matrix to the shift registers make for a ratsnest of wireporn that has been hidden away inside the case. Check out the demonstration video after the break to see what this looks like and sounds like when in use.

Continue reading “Touch-based Synthesizer Is A Wiring Nightmare”

DIY Hot Air Reflow Station

Add to you bench tools by building this hot air reflow station. [Tobi] had a difficult time and was getting frustrated with the reflow oven he was building. He ditched that and set out on this project after drawing inspiration from a hot-air pencil project.

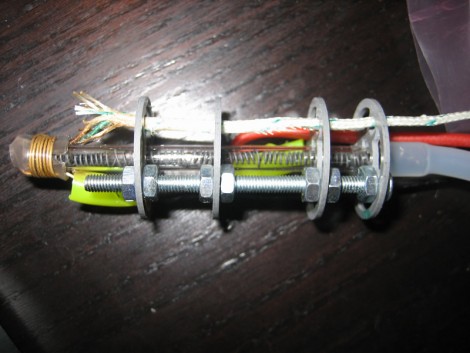
Pictured above is the business end of the device. On the right you can see the tubing that delivers air from an aquarium pump. At the center of the probe is a glass tube containing the heating element. A thermocouple is monitored by an ATmega644 to maintain the desired air temperature which can be dialed in on the base unit. This thing can put out air that’s around 500 degrees Celsius which has cause some problems with melted tubing and singed spacers. The final design includes a cover that fits over everything and hopefully provides adequate thermal isolation for the user’s hand.

[Tobi’s] base unit include faceplates for the front and back milled out of copper clad board. This really makes the tool look a bit more trustworthy. He assures us that there is a demonstration video on the way.