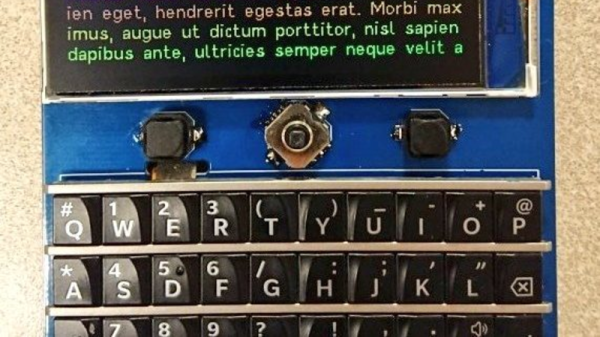
The Landel Mailbug was a weird little thing. It combined a keyboard and a simple text display, and was intended to be a low-distraction method for checking your email. [CiferTech] decided to repurpose it, though, turning it into an AI console instead.
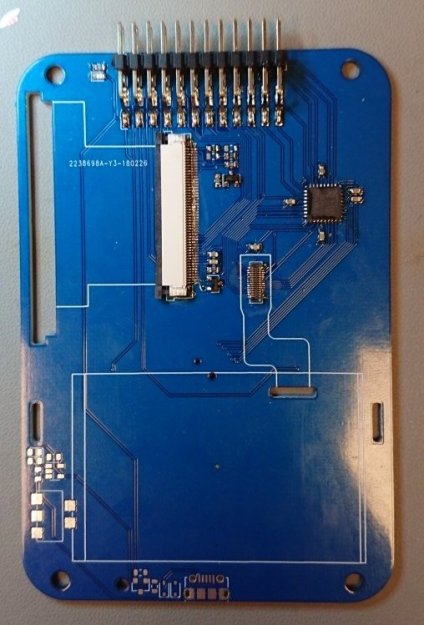
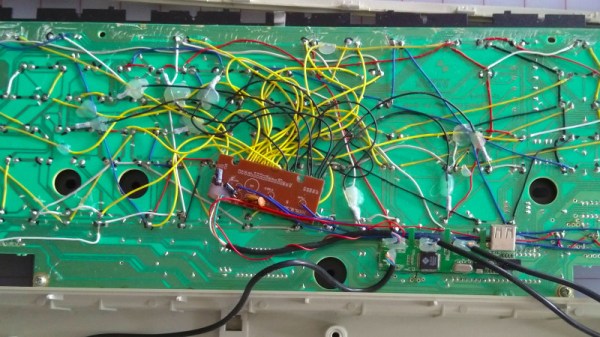
The first job was to crack the device open and figure out how to interface with the keyboard. The design was conventional, so reading the rows and columns of the key matrix was a cinch. [CiferTech] used PCF8574 IO expanders to make it easy to read the matrix with an ESP32 microcontroller over I2C. The ESP32 is paired with a small audio output module to allow it to run a text-to-speech system, and a character display to replace the original from the Mailbug itself. It uses its WiFi connection to query the ChatGPT API. Thus, when the user enters a query, the ESP32 runs it by ChatGPT, and then displays the output on the screen while also speaking it aloud.
[CiferTech] notes the build was inspired by AI terminals in retro movies, though we’re not sure what specifically it might be referencing. In any case, it does look retro and it does let you speak to a computer being, of a sort, so the job has been done. Overall, though, the build shows that you can build something clean and functional just by reusing and interfacing a well-built commercial product.
Continue reading “Weird Email Appliance Becomes AI Terminal”


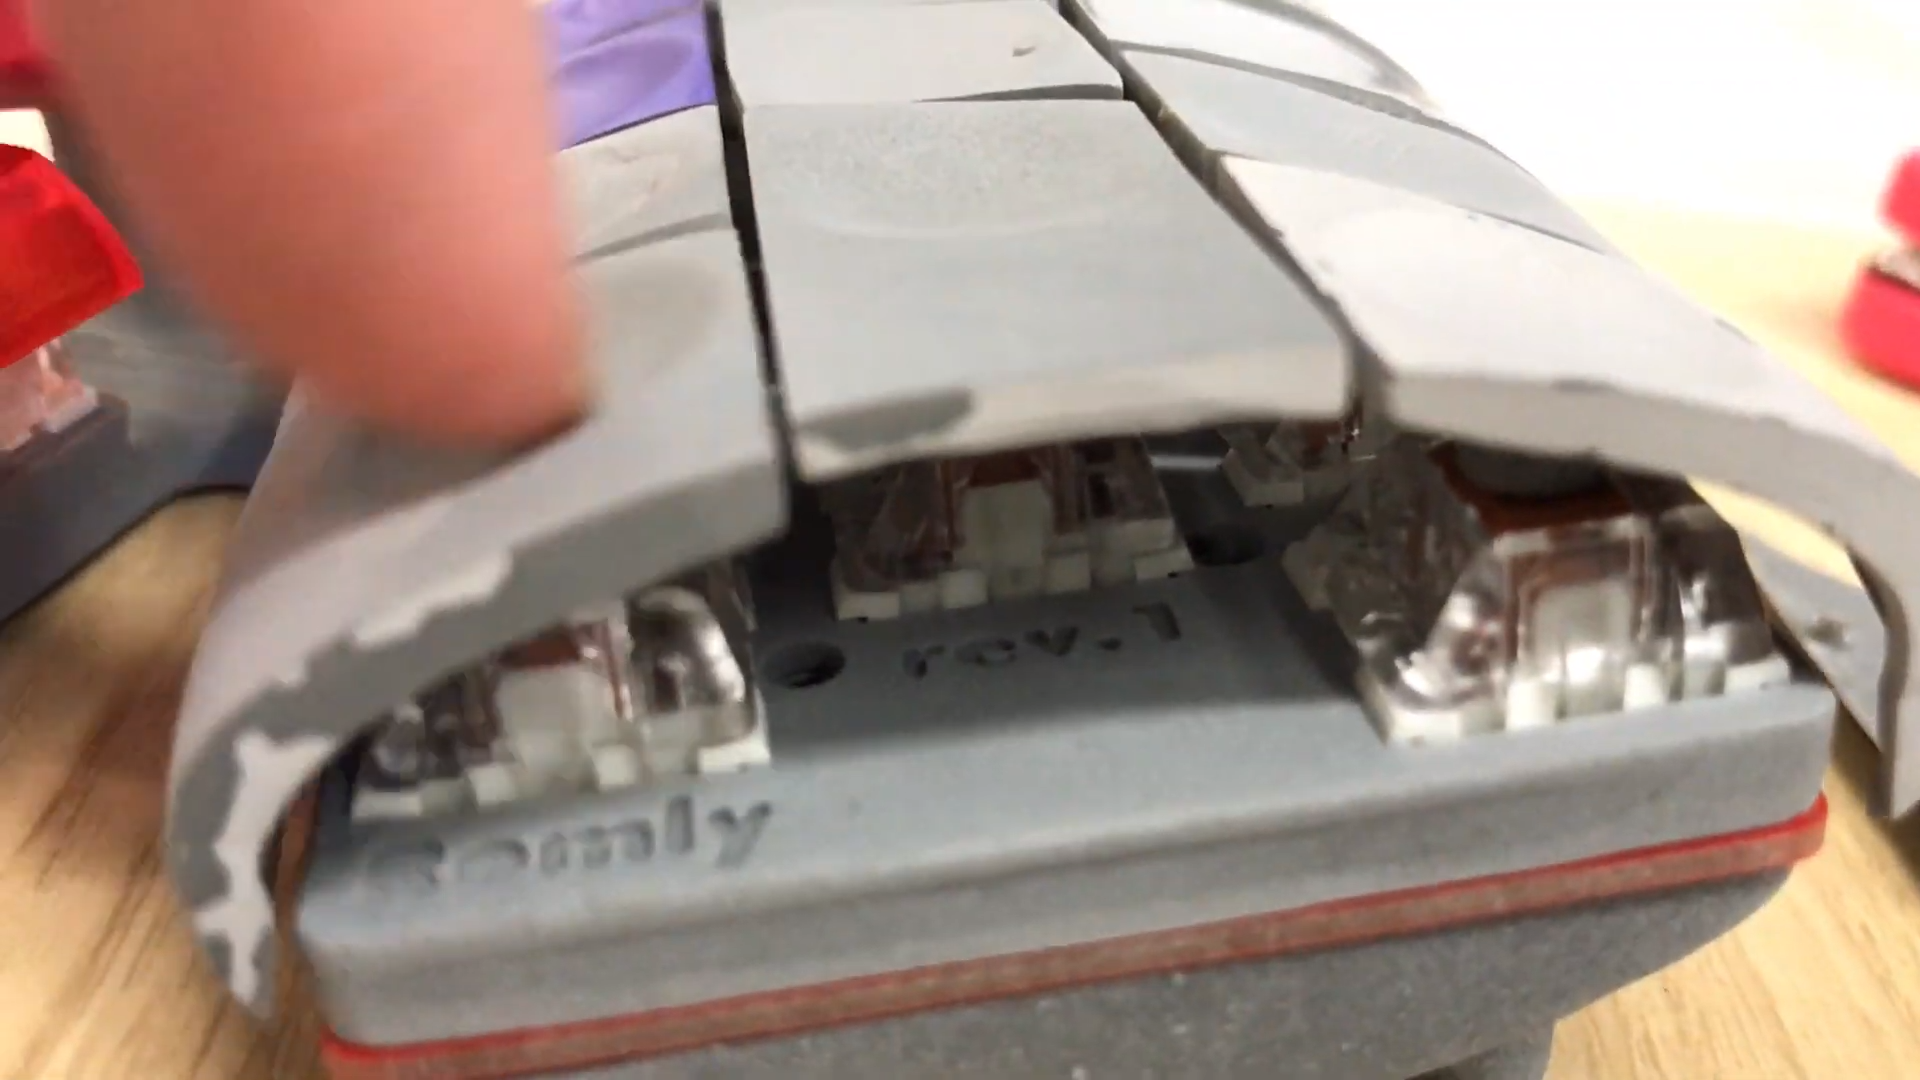 Speaking of [romly], one of their designs stands out as particularly unusual. There are a few things to note here. One is the very conspicuous
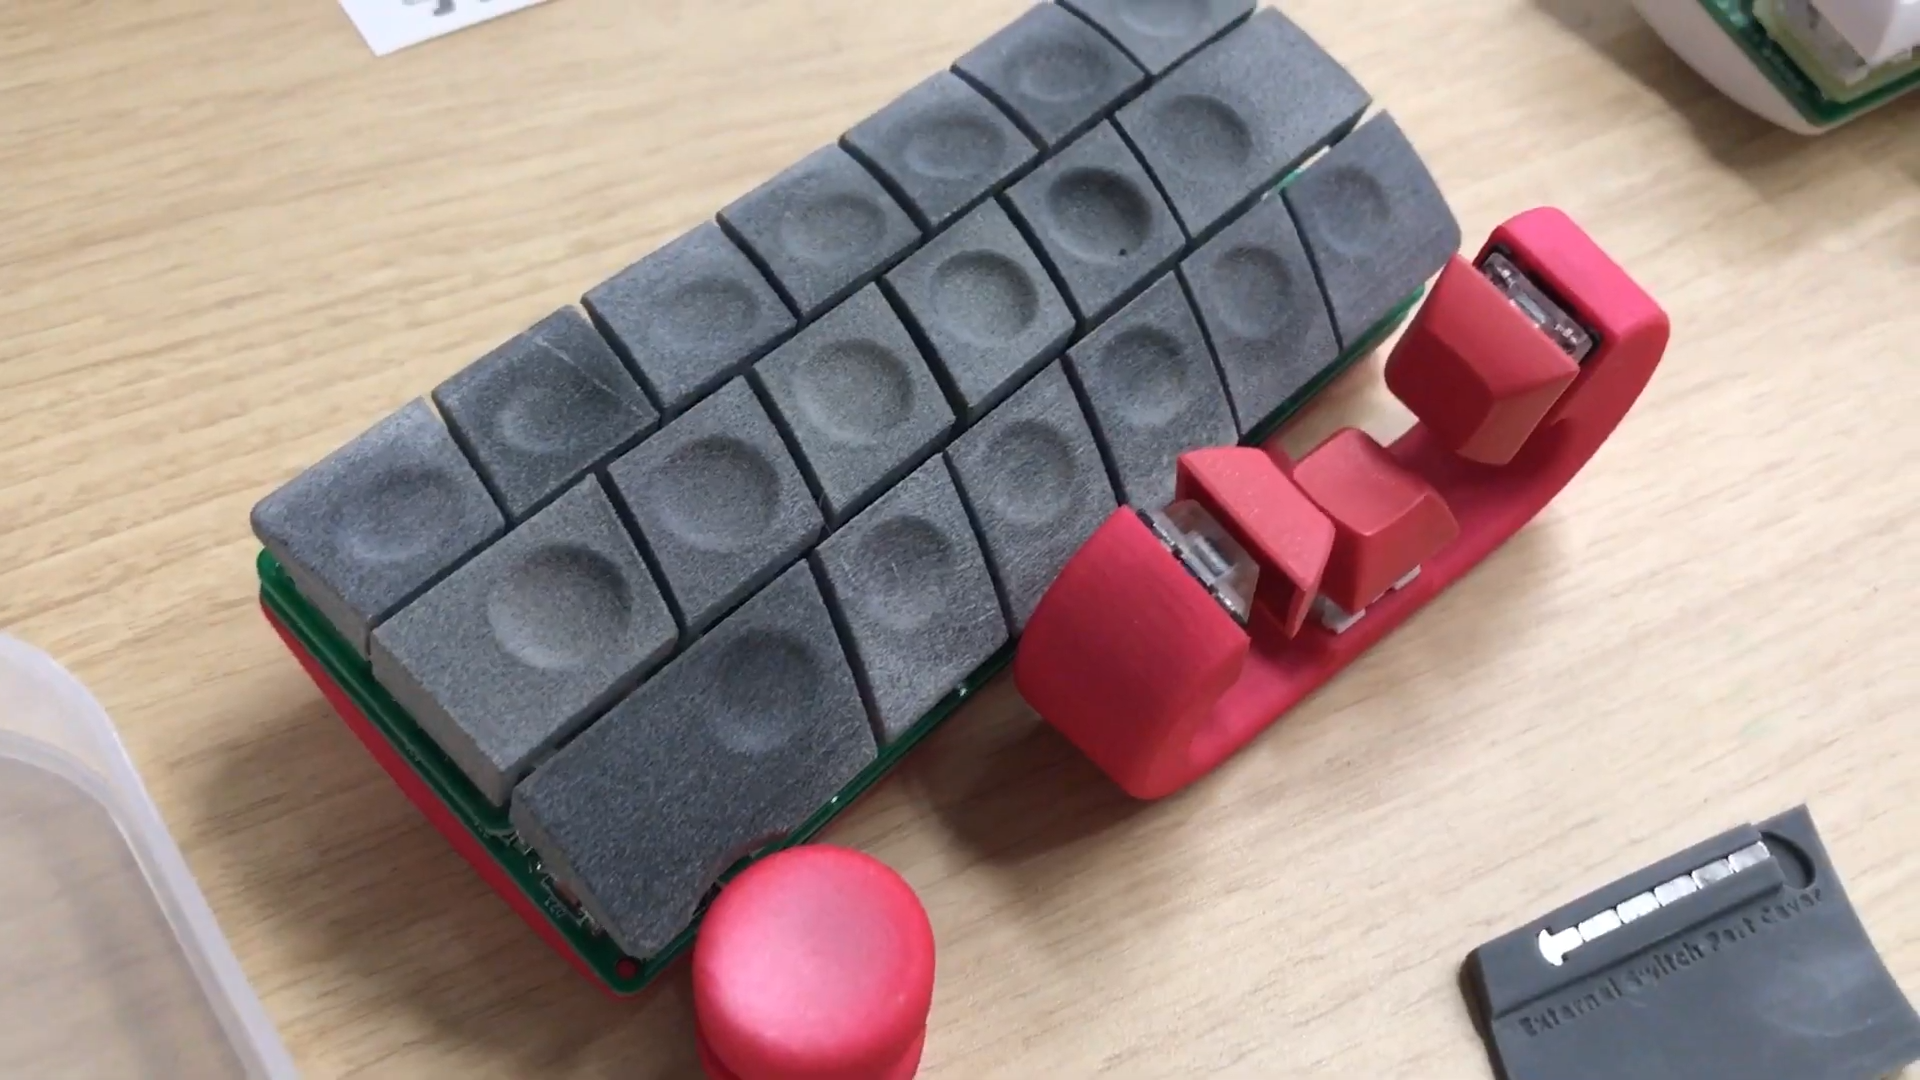
 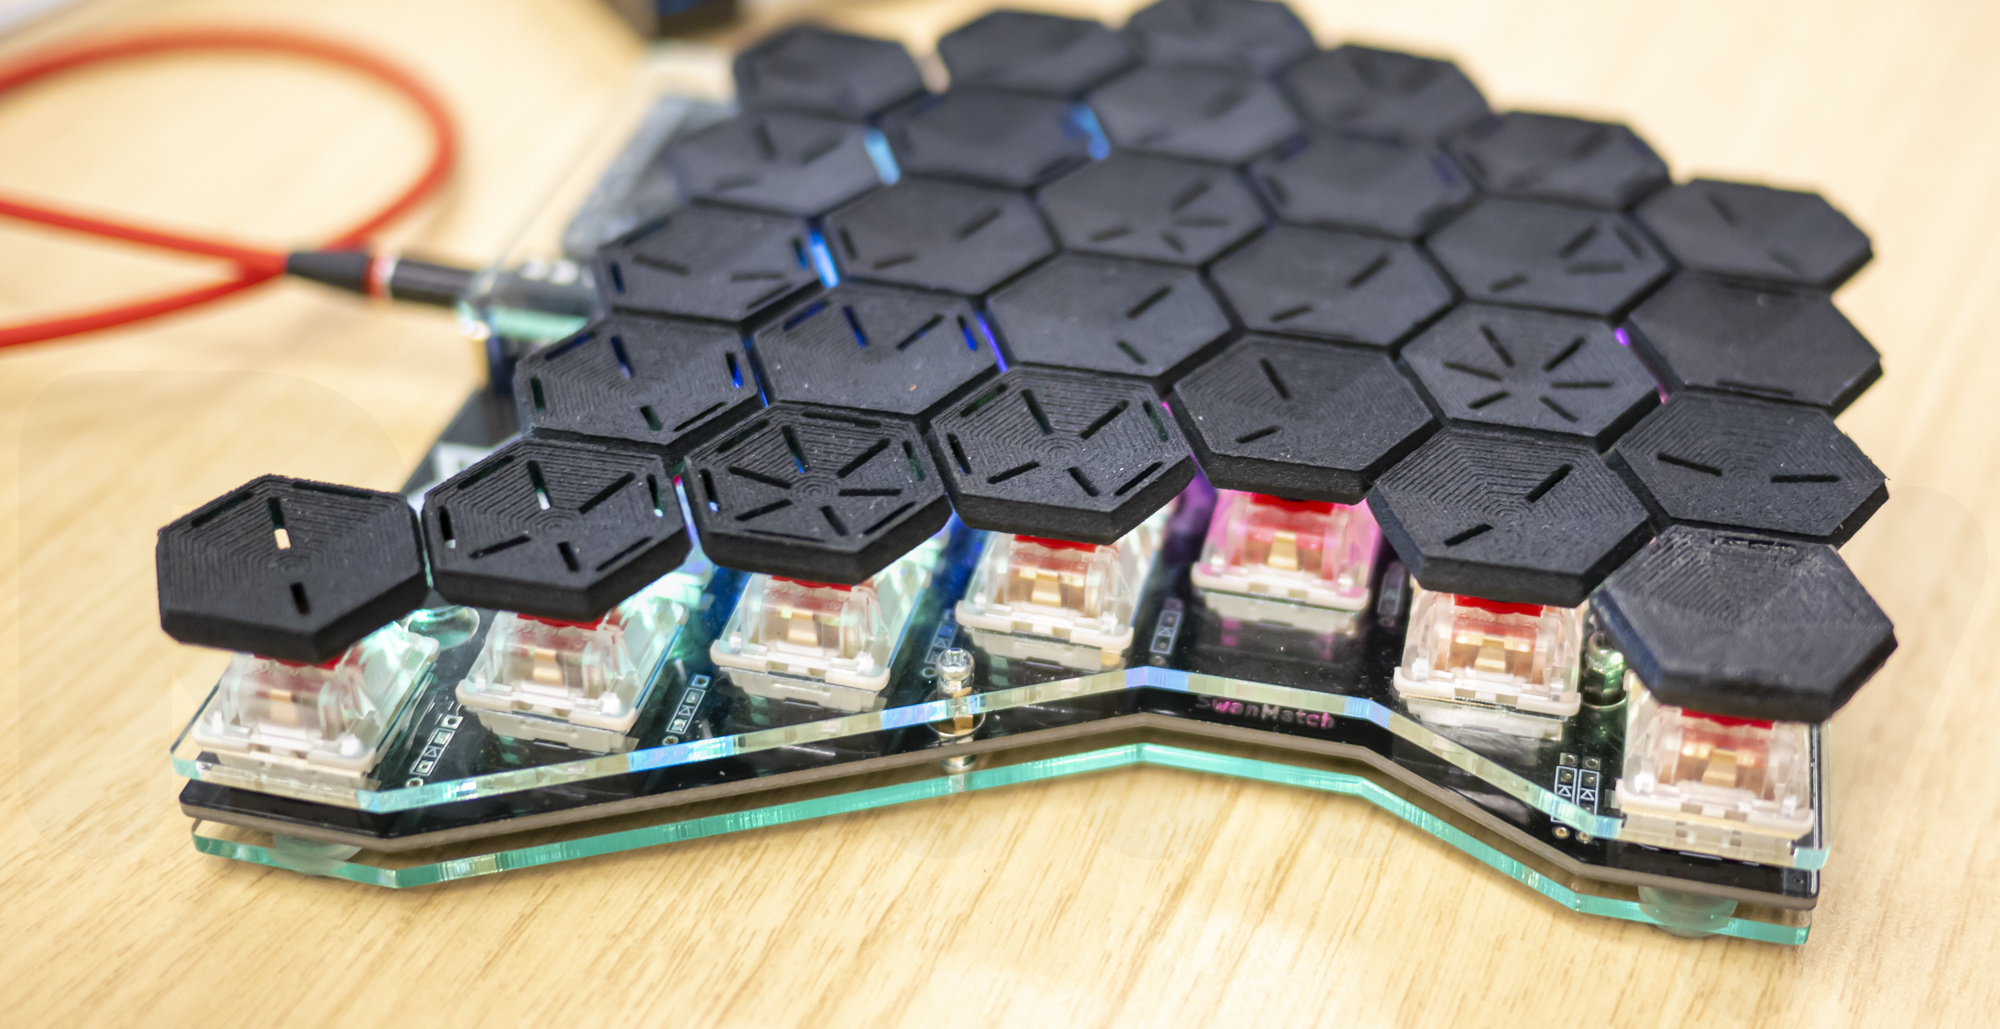 Another interesting entrant is this keyboard with unusually staggered switches and hexagonal caps (check out the individual markings!). Very broadly there are two typical keyboard layout styles; the diagonal columns of QWERTY (derived from a typewriter in the 1800’s) or the non slanted columns of an “