Getting Started With The Stellaris Launchpad

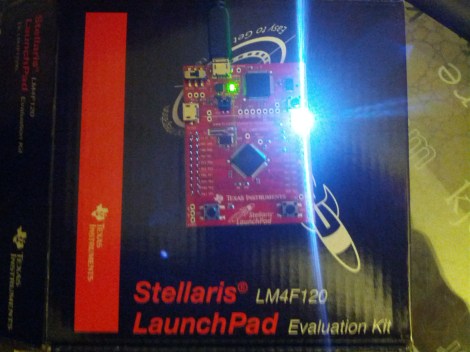
We’ve already given an overview of the Stellaris Launchpad, but lets look at the first steps to running code on the device. First we’ll get the development software working, then we’ll build and run a very simple example.

TI allows use of the full version of their IDE, Code Composer Studio, with the Launchpad’s on-board debugger. To work with Stellaris microcontrollers, you’ll also need to grab StellarisWare. This free software package contains support for the Stellaris devices including peripheral drivers, a USB library, and code examples. Finally, you’ll need the ICDI drivers to communicate with the debugger. TI has all the required software for this board available here. See the TI getting started directions for a walk-through of how to install the required software.

Continue reading “Getting Started With The Stellaris Launchpad”

Stare Deep Into This Well-lit Interactive Infinity Mirror

infinity-mirror

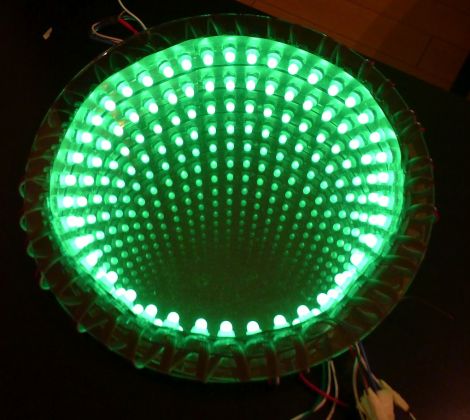
[acorv] recently sent us a link to a cool, interactive infinity mirror (Translation) he built. He was originally a bit gun-shy about sending the project our way, but our recent Reddit AMA inspired [acorv] to submit it via our tip line, and we’re glad he did.

Having been lucky enough to score $100 of gear from Sparkfun’s 2012 Free Day, he picked up a pair of addressable LED strips and a Teensy++. He built an LED ring from reflective foil, sandwiching the strips between a mirror and a piece of mirror glass. The resulting infinity mirror looked nice enough, but [acorv] wanted to make the static display a bit more interesting.

He added an IR receiver and ultrasonic rangefinder to the mirror’s frame, allowing him to both control the display remotely and detect when people were standing nearby. As you can see in the video below, [acorv] can change the patterns on a whim, and the mirror speeds up the display when someone stops to take a closer look.

Continue reading “Stare Deep Into This Well-lit Interactive Infinity Mirror”

Nixie Clock Without A PCB

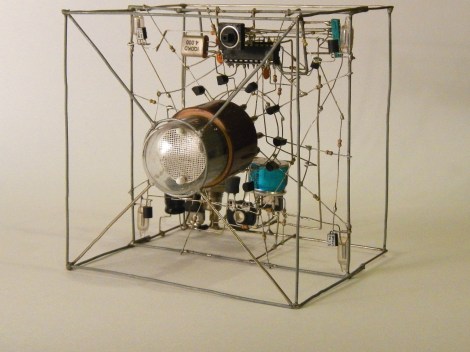
Looking for an artistic way to build circuits? Don’t want to design a PCB? The Lethal Nixie Tube Clock is a free form circuit that gives you the time one digit at a time. It uses a IN-1 Nixie tube to display the digits. This is driven by ten MPSA42 high voltage transistors. A IRF520 N-FET, inductor, and a diode are used as a switching power supply that generates the high voltage needed to drive the Nixie tube. It’s probably not lethal, but there are exposed high voltages in the cube. You’d definitely regret touching it.

An ATMega8 is used to control the clock. It drives the various digits of the Nixie tube, and generates a PWM output to switch the high voltage supply. Unfortunately, the schematic has been lost. If you’re interested in the switching supply, it’s likely similar to the one explained here.

Check out a video of the clock after the break.

Via Dangerous Prototypes

Continue reading “Nixie Clock Without A PCB”

Motivating Engineering Students With Microcontrollers

We see a lot of microcontroller based hacks around here, and it’s not hard to see why learning how to use microcontrollers is valuable to prospective engineeer. Unfortunately, microcontroller courses are dreaded by students since they focus on theory instead of application. In The First Lecure, [Colin] talks to a class of engineering students about how to get practical with microcontrollers.

He starts with an overview of a bomb countdown project that he used to learn the basics of microcontrollers. This started as a 555 based timer, but he ended up using a PIC18 after having issues with timing and reliability. Next, he discusses a paintball sentry gun inspired by a Hackaday post.  He finishes off some advice and gives the students some hardware: a Pickit2 programmer and a Saleae Logic Analyzer.

It’s easy to lose motivation due to the heavy focus on theory in engineering. [Colin]’s advice to start building stuff will hopefully motivate these students to take an interest in microcontrollers. We also like how he advises students to read Hackaday. Check out the full video of the lecture after the break.

Continue reading “Motivating Engineering Students With Microcontrollers”

Build Your Own Water Rocket Launcher

We feel like the days when you want to play in the water are far behind us. But if you can still find a warm afternoon here or there this water rocket launcher build is a fun undertaking. We figure most of the time spent on the project will be in shopping for the parts. They’re all quite common, and once you have them on hand it can be assembled in under an hour.

The concept is simple, but that doesn’t stop people from building rather complicated water rocket rigs. This one which [Lou] devised is rather simple but it does offer connections to a hose and air compressor (the alternative being to fill the bottle with water ahead of time and use a bike pump for air pressure). PVC is used to connect the two inputs to the bottle via a pair of valves. The bottle is held in place while water and air are applied. The launch happens when a pull on that rope  releases the bottle.

Check out the build process and bottle launch after the break. We think that rocket needs a few fins.

Continue reading “Build Your Own Water Rocket Launcher”

Turning A Plush Dalek Into A WiFi Enabled Robot

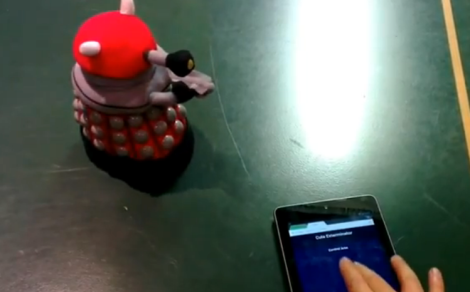
You can now “EX-TER-MIN-ATE!” with one finger since this plush Dalek from Doctor Who has been turned into a wireless robot. The build started out with the toy whose only trick was to spout quotes from the popular science fiction television series. [Madox] took it apart to see how it worked, then added some of his own goodies to make it better.

We just looked in on a project from this guy on Tuesday. It was a light painting wand that used the TP-Link TL-WR703N wireless router. This uses the same tiny hardware as the controller. Since it’s a WiFi router it’s quite simple to serve up a control interface on any browser. To make it all work [Madox] designed and printed a new base plate. This provides brackets on which the two servo motors can  be mounted. It also gives him a place to anchor the driver board and the router itself. The original voice hardware is still there, driven by a connection to the router hardware. See the final product in the clip after the jump.

Continue reading “Turning A Plush Dalek Into A WiFi Enabled Robot”

Edge-lit Musical Birthday Card

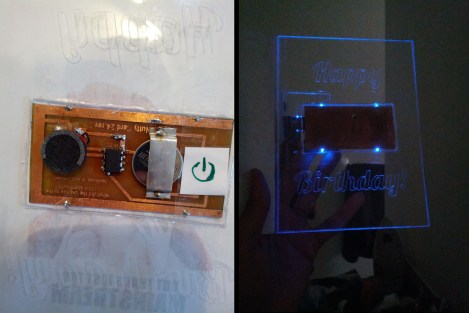
[Monirul Pathan] decided to make the card as unique as this gift when getting ready for a birthday. He designed and built his own musical card with LED edge-lit acrylic to display the message.

The electronic design seeks to keep things as flat as possible. The card-shaped acrylic panel has a void to fit the PCB exactly, and the components are relatively flat. One thing we found quite interesting is that the ATtiny85 which drives the device is surface mounted, but it is not a surface mount component. The layout includes though-hole pads, but instead of drilling holes [Monirul] clipped off the excess of the DIP legs and soldered the remainder directly to the copper. We suppose this isn’t going to get a lot of use so it just needs to hold together for one day.

As you can see in the video after the break, the speaker plays ‘Happy Birthday’ followed by ‘Under the Sea’. At the same time, four blue LEDs pulse to the music, lighting up the words that are engraved in the plastic.

Continue reading “Edge-lit Musical Birthday Card”