Solar Energy Provides An Outlet For Hurricane-Related Woes

Hurricane season in the US Atlantic region officially began on June 1st. While [mikesoniat] is hoping for a mild one in his Gulf Coast town, he’d like to be as prepared as possible in the event of a power outage. He’s been experimenting with solar power lately, and while he’d love to go all out with some hefty system that could keep all his appliances running, solar outlet
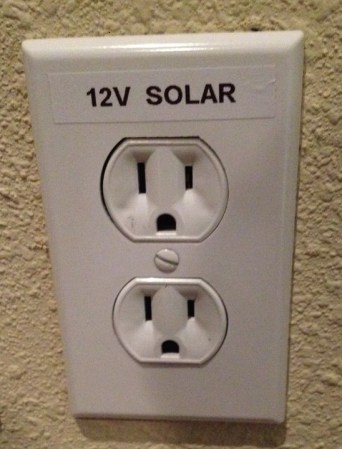
he’s not quite ready for that kind of investment. While thinking about this dream system, he noticed all the phone jacks around his house that he hasn’t used for several years. After consulting the phone company and researching the capabilities of 22-26AWG POTS copper lines, he devised a solar-powered system to provide enough power to run lights, fans, and a couple of phone chargers.

At the heart of this hack are two 12V solar panels, two 12V batteries in a weatherproof junction box, and a 100W solar charge controller.  He started by re-wiring Ma Bell’s junction box up to the panels with thermostat wire. After prying out the RJ11 jack panels all over his house, he wired in regular outlets and marked them as 12V solar to avoid confusing his house guests. He was able to find 12V LED bulbs with standard bases, so all he has to do is screw in these bulbs and plug the lamps into his solar outlets. He also installed a floodlight outside and ran all of the wiring through the floodlight box.

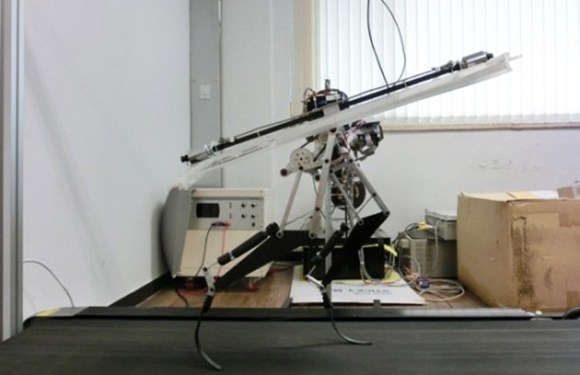
To soak up more sun for this or any other solar hack, try a 2-axis solar tracker.

RetroPie Portable Build Uses No Fancy Tools!

retro pie portable

RetroPie Portable builds are great fun, but lots of them make use of expensive tools like 3D printers and laser cutters, which tends to dismay — [Kaushlesh] proves you don’t need any of that!

To build his unit he’s using a Raspberry Pi, a USB controller, a 6 x 4″ project box, a cheap LCD screen, a hot glue gun, and various electrical components — you will still need some soldering skill to complete this project!

By modifying the case he assembled the control boards by taking apart the USB controller. Protoboard made for an easy way to mount his new buttons, with it simply hot glued in place. Quite a bit of soldering later and everything is connected. He notes you’d better make sure everything works as you go otherwise it will be hard to find out what’s wrong when it is assembled!

Future upgrades include a rechargeable li-ion pack and built in speakers (he’s currently using headphones). Take a look after the break!

Continue reading “RetroPie Portable Build Uses No Fancy Tools!”

Velociraptor Robot Ready To Run With The Big Dogs

velociraptor-robot

[Jongwon Park] and his team of students at the Korea Advanced Institute of Science and Technology have created a fast biped robot based upon the Velociraptor. Raptor weighs in at just 3Kg, and stands only 470mm tall, yet it is capable of running at 46 km/h. That’s almost as fast as Boston Dynamic’s Cheetah.

Raptor uses carbon fiber composite legs to absorb and release energy while running. The system is similar to that used in high performance prosthetic legs. A rotating tail assembly further helps to balance Raptor on rough terrain. We have to admit, the tail system does look a bit dangerous for any humans who might need to interact with the robot. It does work though, as evidenced by Raptor bounding over Styrofoam blocks.

The Raptor robot is quite impressive when running at full speed. Considering this project’s budget was nowhere near the resources of Boston Dynamics, it’s an amazing accomplishment. The video reminds us of  Boston Dynamics founder [Marc Raibert’s] early robots at the MIT Leg Lab. We can’t wait to see what this team produces in the future.

Continue reading “Velociraptor Robot Ready To Run With The Big Dogs”

The Laser Cutter Attachment For A 3D Printer

cheapo 
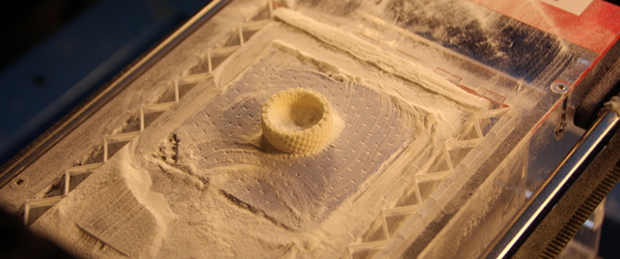
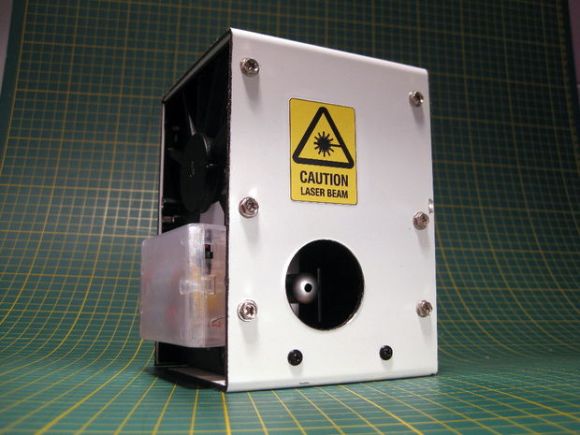
If you already have a 3D printer, you already have a machine that will trace out gears, cogs, and enclosures over an XY plane. How about strapping a laser to your extruder and turning your printer into a laser cutter? That’s what [Spiritplumber] did, and he’s actually cutting 3/16″ wood and 1/4″ acrylic with his 3D printer.

[Spiritplumber] is using a 445nm laser diode attached directly to his extruder mount to turn his 3D printer into a laser cutter. The great thing about putting a laser diode on an extruder is that no additional power supplies are needed; after installing a few connectors near the hot end, [Spiritplumber] is able to switch from extruding to lasing by just swapping a few wires. The software isn’t a problem either: it’s all just Gcode and DXFs, anyway.

There’s an Indiegogo for this, with the laser available for $200. Compare that to the Chinese laser cutters on eBay, and you can see why this is called the L-CHEAPO laser cutter.

Turning A Laser Cutter Into A 3D Printer With OpenSLS

STL

[Andreas Bastian] has been working on a device that turns an off-the-shelf laser cutter into something capable of selective laser sintering of powdered plastics into 3D objects. He’s put in a lot of work, but now he gets to see the fruits of his labor: he’s successfully printed a few objects out of wax and powdered nylon.

Unlike just about every other inexpensive 3D printer, [Andreas]’ design doesn’t rely on either squirting plastic onto a bed or curing liquid resin with UV light. Instead, a fine layer of powder is spread over a build platform and melted with a laser. The melted layer drops down, another layer of powder is applied, and the cycle repeats until the part is finished. It’s a challenge to build one of these machines, but [Andreas] had the great idea of retrofitting an off-the-shelf laser cutter, allowing him to focus on the difficult task of designing the powder and piston system.

It’s an extremely interesting project, and most of the custom parts are made from laser cut acrylic: easily cut to size on whatever laser cutter you’re retrofitting with 3D printing capability. There’s a lot of info over on the Wiki, and a few videos showing the sintering process and powder distribution below.

Oh. One last note. [Andreas] developed this while at [Jordan Miller]’s amazing lab at Rice University. There’s a lot of interesting things happening at this Advanced Manufacturing Research Institute, including bioprinting, DLP resin printers, and using inkjets for cell cultures. Check out this post for a great talk at the Midwest RepRap Festival.

Continue reading “Turning A Laser Cutter Into A 3D Printer With OpenSLS”

Automatic Laser Level Made From Hard Drive Components?

hard drive laser level

[Crispndry] found he needed a laser level, but didn’t want to spend a few hundred dollars on a tool he might only get a few uses out of… So he decided to build one himself.

If you’re not familiar, a laser level projects a laser beam, level to wherever you put it — it works by having a very precise gimbal assembly that keeps the laser perpendicular to the force of gravity. To build his, [Crispndry] needed a highly precise bearing assembly in order to build his gimbal — what better to use one out of a hard drive?

He used the main bearing from the platter for one axis, and the bearing from the read and write arm for the second axis. A square tube of aluminum filled with MDF is then mounted to the bearings, creating a weighted pendulum. The laser pointer is then attached to this with an adjustment screw for calibration.  Continue reading “Automatic Laser Level Made From Hard Drive Components?”

The Hackaday Prize: A Ternary Computer

Bender: Ahhh, what an awful dream. Ones and zeroes everywhere… and I thought I saw a two.
Fry: It was just a dream, Bender. There’s no such thing as two.

– Futurama: A Head In The Polls, S02E07

The computer you’re using right now is simply just a highly organized state of electrons, commonly expressed in states of zero and one. Two? What is two? A ternary, or base-3, computer would be odd, disturbing, but nevertheless extremely interesting, making it a great candidate for The Hackaday Prize.

A base-3 computer isn’t a new thing, despite how odd it sounds. Moscow State University built a few dozen ternary computers named Setun back in the late 50s, and some research is being done using quantum computers and ternary arithmetic. Still, building a ternary computer from first principles – gates, truth tables, and transistors – isn’t something that’s done nowadays.

[ThunderSqueak] has been hard at work over the last few months working out the basic building blocks of her ternary computer project. She’s already figured out the basic NAND, NOR, and inverter structure that could be easily translated into assemblies made of discrete components or an IC mask.

A iDevice app, iCircuit, is being used to test out some larger circuits, using +5, -5, and 0 Volts to represent 1, -1, and 0. Going further, there are a few academic resources for constructing a ternary ALU and even ternary SRAM. While a homebrew ternary computer has little practical use, it’s an awesome example of the, ‘because it’s there’ engineering we’re looking for in a great Hackaday Prize entry.


SpaceWrencherThe project featured in this post is an entry in The Hackaday Prize. Build something awesome and win a trip to space or hundreds of other prizes.