Whether you’re making, repairing, or hacking something together, we all need fastners. Screws, nuts and bolts, and pop rivets are handy sometimes. Various resins and even hot glue are equally useful. In some cases however the right fastener for the job eludes us, and we need another trick up our sleeve.
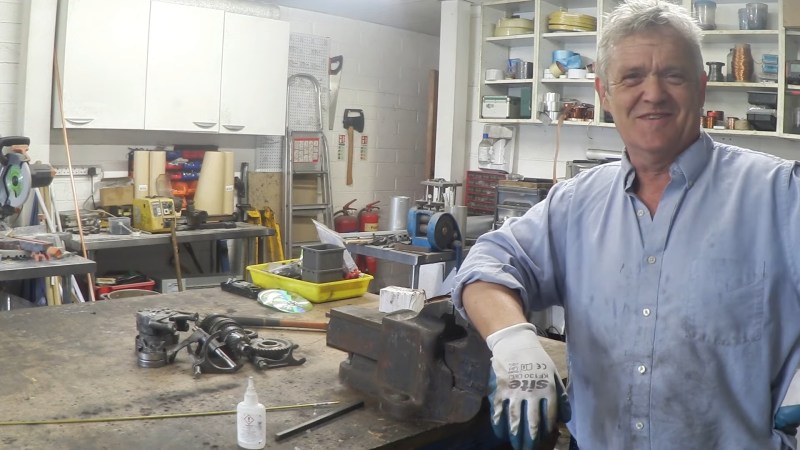
[Robert Murray-Smith] found himself in such a position. His goal was to join two pieces of aluminum that need a nice finish on both sides. Neither glue, pop rivets, screws, nuts or bolts would have been appropriate. [Robert] is always flush with ideas both new and old, and he resorted to using an old school fastener as explained as explained in his video “How To Make And Use Rivets“.
In the video below the break, [Robert] goes into great detail about making a simple rivet die from a 5 mm (3/16”) piece of flat steel, creating the rivet from a brass rod, and then using the flush rivet to join two pieces of aluminum. The simple tooling he uses makes the technique available to anybody with a propane torch, a vise, some basic tools, and a simple claw hammer. We also appreciate [Robert]’s discussion of cold riveting, hot riveting, and annealing the rivets as needed.
Not only is riveting a technique thousands of years old, its advancement and application during the Industrial Revolution enabled technologies that couldn’t have existed otherwise. Hackaday’s own [Jenny List] did a wonderful write-up about rivets in 2018 that you won’t want to miss!


Metal shop in Jr High a long time ago… built a nice tool tray with handle using only rivets for fasteners. Do they even have metal shop any more?
I made a screwdriver, about 1974. It’s big. The blade forged, the handle made on a lathe, fastened with a rivet.
But never since. I have used pop rivets.
Nope. Everything is STEM. Its more important to put kids in front of desks than teach them things to do with their hands
… and ironically some of them will grow up and eventually figure out that they don’t like it as much as doing things with their hands.
Brass or steel rivets for aluminum is asking for corrosion. Keep the rivet and base metal the same material.
Galvanic corrosion is a thing, glad someone pointed that out.
One of the coolest things about riveting something together is, if done as hot riveting, on cooling the rivet will contract, tightly joining the two objects together even more.
Of course, cold riveting can be done as well with softer materials, but you lose that thermal contraction advantage. I used to metal repair ultrasonic baskets with nickle wire rivets for a watchmaker’s lab I oversaw after hours, did that cold. As a blacksmith now, hot rivets hold my tongs together.
Galvanic corrosion is a thing *in the presence of an electrolyte*. I see this statement in every single post or video where someone makes something with dissimilar metals touching, but never with the caveat of it requiring an electrolyte. Sure, it’s something to be aware of, but 9 times out of 10 the thing is never going to end up outside, let alone come into contact with salt water so will be perfectly fine.
correct me if i am wrong, but i think brass screw terminals were used to connect aluminum wiring all the time…
Reminds me of my grandpa replacing teeth on an old sickle mower. He had to cut out the old rivets with a torch or grinder and install new rivets with the new teeth. He had what looked like a large punch with a spherical hole in the end for shaping the head.
A rivet bucker.
I use rivets for a surprising range of things – some of them helped along by a good pneumatic rivet gun I bought for my air compressor a few years ago. Fast and tight..
Good notes for one off building.
For everyday riveting, look to the aircraft folks. Aircraft spruce and wicks aircraft have catalogs full of rivets.
https://www.wicksaircraft.com/shop/solid-rivet-kit/
There are hand and pneumatic squeezers available from tool suppliers:
https://aircraft-tool.com/shop/search.aspx?qid=5697&page=3
Rivet guns are also available (don’t use muffler cutters, they look similar but don’t hammer as hard)
https://aircraft-tool.com/shop/search.aspx?keyword=Rivet+gun
The aircraft home builders rivet thousands of rivets for their airplane.
Aircraft & aerospace riveting is a serious science, much more demanding and exact than normal riveting. They have a lot of specific chamfer angles and other things that are absolutely critical otherwise the fuselage skins peel off in the air.
It’s the same technique as normal riveting in name only. Things like bridges, tools, really anything other than sheet metal riveting for aerospace is what the main post applies to here.
If you’re curious though about aerospace riveting, here’s an overview. https://youtu.be/IDbTUt3OG9s
Back about 1975 I took a sheet metal class, we got to the section of fastening two pieces of sheet metal together. The instructor had some solid iron rivets out and was going over the proper way to use a solid rivet. One of the students ask why not use Pop Rivets, the instructor ask the student “why Pop-Rivets?” – to which the student replied “much faster.” The instructor was probably 60 or so with gray hair decided decided arguing the point would be useless. So without saying anything he took a couple pieces of scrap sheet metal put them together and punched a few holes in them with a Whitney Punch, he then put solid rivets in the holes with the assembly setting on a small anvil proceeded to peen the six rivets over with on hammer blow per rivet, (perfect head by the way) the student that had ask about “speed” just stood there with his jaw open about down to the floor. I think the instructor might have said something to the effect of “fast enough” The instructors skill and experience in setting thousands and thousands of rivets over his career was on full display.
And yes a solid rivet looks way better than a Pop-Rivet.
McMaster Carr has a large selection of solid rivets (page down the a bit)
https://www.mcmaster.com/rivets/
I can’t believe I didn’t know Master still carried traditional rivets. I always just make my own from scratch on a lathe 😂
Sometimes I set Pop-Rivets by hand. Remove the nail and put the “tubular rivet” in the (snug fitting) hole, flange side down against a solid surface. Start the riveting with a center punch to flare the rivet outwards, then finish by hammering. A flat punch can help. When things go right, the rivet doesn’t tear and the result is very pleasing. I prefer stainless rivets for this.
Without the center, all you have is a thin tube holding the metal together!
Aviation has what are called “pulled rivet” similar to pop rivets, but the arbor center stays in place.
Most of the rivets I have set are copper ones in leatherwork. Hollow ones set with a tool made for leatherwork is great. But I have used solid rivets and washers on occasion.