A Thermometer Probe For A Hotplate, Plugging Stuff Into Random Holes

[NurdRage], YouTube’s most famous chemist with a pitch-shifted voice, is back with one of our favorite pastimes: buying cheap equipment and tools, reading poorly translated manuals, and figuring out how to do something with no instructions at all.

[NurdRage] recently picked up a magnetic stirrer and hotplate. It’s been working great so far, but it lacks a thermometer probe. [NurdRage] thought he was getting one with the hotplate when he ordered it, he just never received one. Contacting the seller didn’t elicit a response, and reading the terribly translated manual didn’t even reveal who the manufacturer was. Figuring this was a knock-off, a bit more research revealed this hotplate was a copy of a SCILOGEX hotplate. The SCILOGEX temperature probe would cost $161 USD. That’s not cool.

The temperature probe was listed in the manual as a PT1000 sensor; a platinum-based RTD with a resistance of 1000Ω at 0°C. If this assumption was correct, the pinout for the temperature probe connector can be determined by sticking a 1kΩ resistor in the connector. When the hotplate reads 0ºC, that’s the wires the temperature probe connects to.

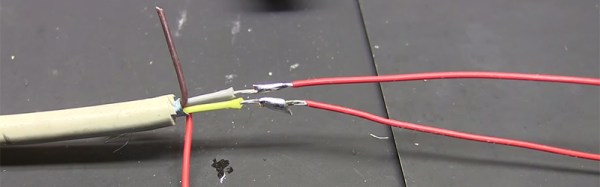
With the proper pin connectors found, [NurdRage] picked up a PT1000 on eBay for a few dollars, grabbed a DIN-5 connector from a 20 year old keyboard, and connected everything together. The sensor was encased in a pipette, and the bundle of wires snaked down piece of vinyl tube.

For $20 in parts, [NurdRage] managed to avoid paying $161 for the real thing. It works just as good as the stock, commercial unit, and it makes for a great video. Check that out below.

Thanks [CyberDjay] for the tip.

Continue reading “A Thermometer Probe For A Hotplate, Plugging Stuff Into Random Holes”

New Round Of Astronaut Or Not: Most Likely To Save The Planet

Last Friday we closed the first round of Astronaut or Astronot, the first round of community voting for the Hackaday Prize. We tried to give away a $1000 gift card for the Hackaday Store to a random person on Hackaday.io if they have voted. The random person selected didn’t vote, but we did manage to give away some t-shirts to people who did vote.

Now that we’re well into the second round of community voting, and it’s time to select the community choice for the project Most Likely to Save The Planet. DO THAT HERE.

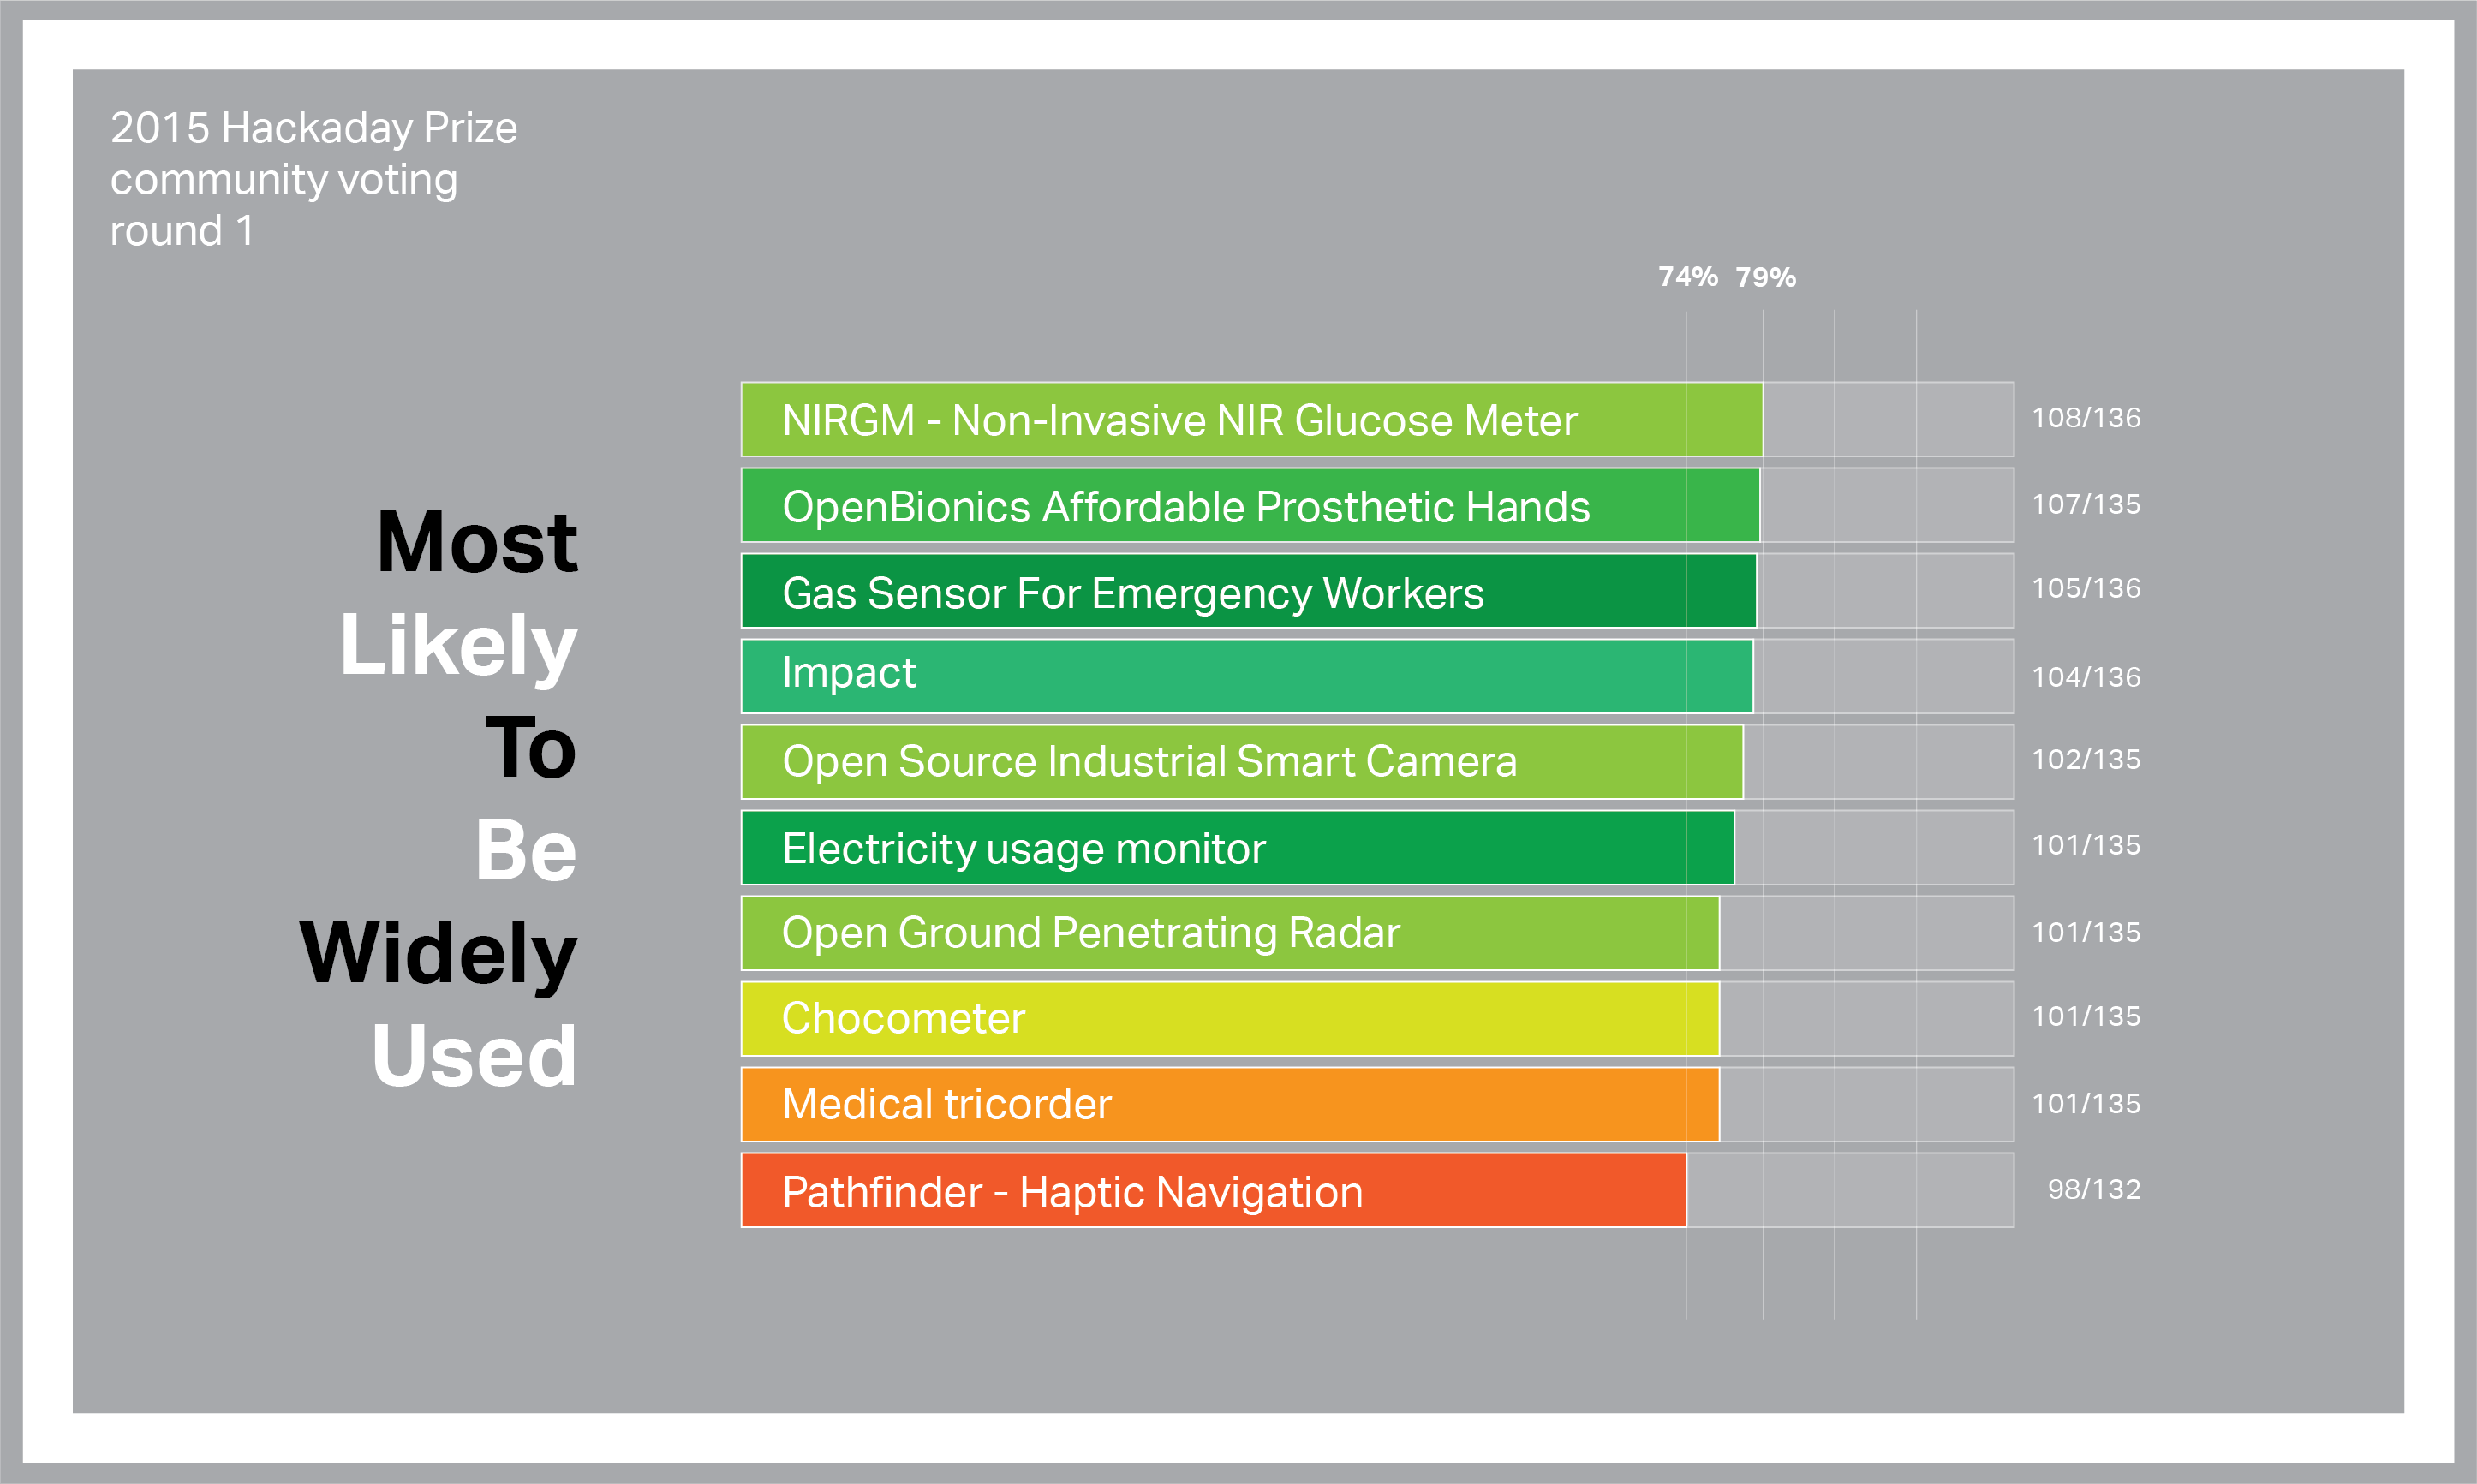
With that said, here are the projects voted by the hackaday.io community that are the Most Likely To Be Widely Used:

CommunityVoting1

The projects voted Most Likely To Be Widely Used by the hackaday.io community are, in order:

Congratulations everyone who was voted to the top. These projects will be getting a fancy Hackaday Prize t-shirt that even I don’t have.

Round Two: Most Likely To Save The Planet

Right now we’re in the middle of the second round of voting. The theme is “Most Likely To Save The Planet”. How do you pick which projects you think are most likely to save the planet? Head on over to the voting page and pick some projects.

Next Friday, around 22:00 UTC, I’m going to go through the voting database and pick a random person on hackaday.io. If that person has voted in the current round of voting, they get a $1000 gift card for the Hackaday store. Your votes from the last round do not carry over. If you want a chance at winning the gift card, you need to vote this week.

At this stage in the community voting during last year’s Hackaday Prize, I calculated the cumulative probability of giving away a big prize to someone on Hackaday.io who voted. The result was about 0.70. We ended up giving away an oscilloscope, a Bukito 3D printer, an awesome power supply, and a goodie bag filled with programmers, bench tools, and dev boards. That’s four winners, when I originally guessed we would have had – maybe – one winner. We’re going to give away a gift card for the Hackaday Prize eventually, the only question is if you’re going to vote or not. Vote now.

If you are incapable of understanding how this works, here’s a video tutorial on how to vote. Vote now, and good luck to everyone who has a project up in the Hackaday Prize.


The 2015 Hackaday Prize is sponsored by:

Hackaday Prize Entry: An Urban Kitchen Garden

[Eric] is used to growing his own food, and looked at the commercial options for growing veggies and herbs year round. It turns out the commercial options are terrible, with proprietary lighting, proprietary ‘seed pods,’ and no climate control.

Unsatisfied with the commercial options, [Eric] looked for a DIY solution. His entry for The Hackaday Prize is just that: an Urban Kitchen Garden.

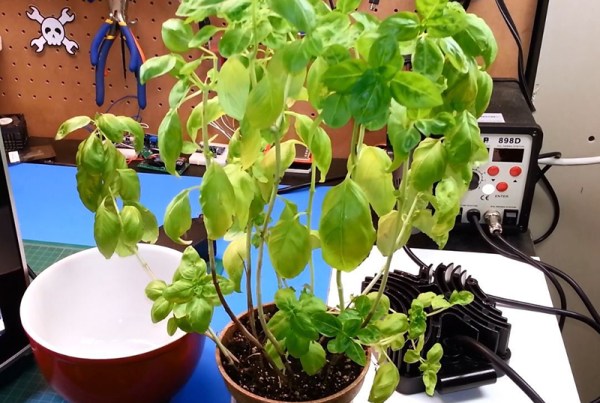
The Urban Kitchen Garden was a peltier wide cooler in its former life, turned into a grow chamber with LED grow lights, an Arduino, a DHT11 temperature and humidity sensor, a soil moisture sensor, and an old Nokia LCD to keep track of everything. He’s been growing basil in it over the winter, and it just won’t die.

[Eric] won’t be growing tomatoes or beans in his tiny, desktop-sized garden, but it’s not really designed for that. It’s meant for herbs and seedlings, mostly, with larger plants moved outside when [Eric]’s Canadian winters finally subside.

There’s a video of the build, you can check that out below.


The 2015 Hackaday Prize is sponsored by:

Continue reading “Hackaday Prize Entry: An Urban Kitchen Garden”

Hackaday Links Column Banner

Hackaday Links: Summer, 2015

[Elia] was experimenting with LNAs and RTL-SDR dongles. If you’re receiving very weak signals with one of these software defined radio dongles, you generally need an LNA to boost the signal. You can power an LNA though one of these dongles. You’ll need to remove a few diodes, and that means no ESD protection, and you might push the current consumption above the 500mA a USB port provides. It does, however, work.

We’ve seen people open up ICs with nitric acid, and look inside them with x-rays. How about a simpler approach? [steelcityelectronics] opened up a big power transistor with nothing but a file. The die is actually very small – just 1.8×1.8mm, and the emitter bond wire doesn’t even look like it’ll handle 10A.

Gigantic Connect Four. That’s what the Lansing Makers Network built for a Ann Arbor Maker Faire this year. It’s your standard Connect Four game, scaled up to eight feet tall and eight feet wide. The disks are foam insulation with magnets; an extension rod (with a magnet at the end) allows anyone to push the disks down the slots.

[Richard Sloan] of esp8266.com fame has a buddy running a Kickstarter right now. It’s a lanyard with a phone charger cable inside.

Facebook is well-known for the scientific literacy of its members. Here’s a perpetual motion machine. Comment gold here, people.

Here’s some Hackaday Prize business: We’re giving away stuff to people who use Atmel, Freescale, Microchip, and TI parts in their projects. This means we need to know you’re using these parts in your projects. Here’s how you let us know. Also, participate in the community voting rounds. Here are the video instructions on how to do that.

Visualizing Magnetic Fields In 3D Space

[John] is working on his PhD in experimental earthquake physics, and with that comes all the trials of becoming a PhD; tuning students into the cool stuff in the field, and demonstrating tech created after 1970 to his advisers. One of the biggest advancements in his line of work in the last 30 or 40 years is all those sensors you can find in your cell phone. The three-axis magnetometer in your phone is easily capable of measuring the Earth’s magnetic field, and this chip only costs a few dollars. To demonstrate this, [John] built a 3D compass to show off the capability of these sensors, and have a pretty light show for the undergrads.

The magnetometer [John] is using is just a simple I2C magnetometer that can be found on Adafruit or Sparkfun. It’s not really anything special, but with a little bit of code, [John] can read the magnetic field strength in the x, y, and z axes.

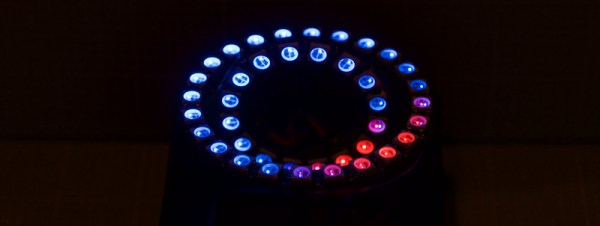
Having a microcontroller spit out a bunch of numbers related to the local magnetic field just doesn’t seem fun, so [John] picked up two neopixel rings – one inside the other, and set 90 degrees out of plane with each other. This turns his magnetometer and Arduino setup into a real 3D compass. With this device, the local magnetic field can be visualized in the x, y, and z axes. It looks cool, which is great for undergrads, and it’s a great demonstration of what you can do with small, cheap electronic sensors.

[John] put up a screencast of a talk he gave at the American Geophysical Union meeting last year. You can check that out below.

Continue reading “Visualizing Magnetic Fields In 3D Space”

New Part Day: Nordic’s New Bluetooth SoC

You don’t need to look very hard to find Nordic’s nRF51 wireless module; it’s found in hundreds of products and dozens of projects over on hackaday.io. The nRF51 is a SoC that includes an ARM Cortex M0 processor and a variety of radios for Bluetooth and other protocols. Useful, if a bit limited in processing power.

Now, Nordic has a new SoC. It’s the nRF52, a Cortex M4F processor, a Bluetooth radio, NFC, and a bunch of Flash and RAM to make just about anything you can think of possible. Yes, it’s an upgrade to the nRF51 – a better processor and NFC, and all the possibilities that come with that. Currently there’s only one part and two package options: a 6x6mm QFN48, or a wafer chip that will be covered with impregnable goo.

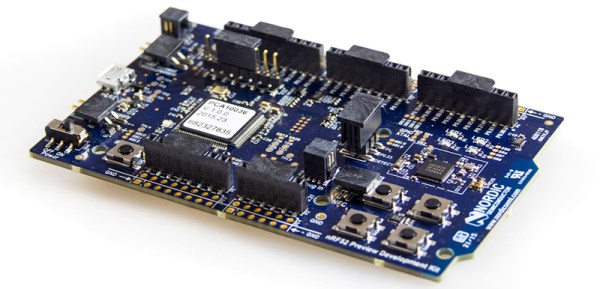
Already there are SDKs for IAR Workbench, Keil4 and 5, and gcc. The SDKs won’t help you quite yet; it’s not available through the usual distributors yet, but the nRF52 Preview develoment kit is. That’s a single board development kit for the nRF52, with Arduino pinouts and Mbed support.

Thanks [Alvin] for sending this in from Trondheim.

Hackaday Prize Entry: A Reagent Robot

If you’re testing the amount of ammonia, nitrates, or just the pH of a pond, pool, or aquaculture setup, there’s two ways to do it. The first is with test tubes and chemicals: put some water in the test tube, add some chemicals, and match it to a color card. The second option is with expensive sensors.

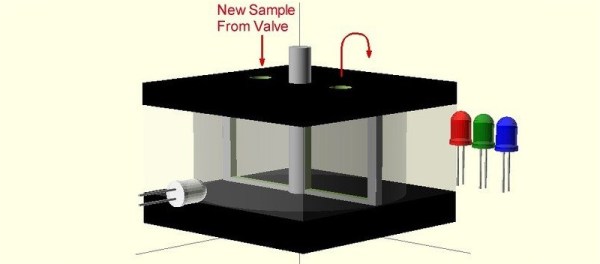
[James] has a better idea. Since pumps, RGB LEDs, and light sensors exist, he’s building a reagent robot that will be able to measure ammonia, chlorine, nitrates, and pH without purely electronic sensors. The idea is to fill a clear container with water, add those fancy chemicals that come from aquarium supply stores, and measure the color of the water.

Right now, [James] has a bunch of stepper motors, valves, and solenoids all working together to pump water into his clear container. The next step will be to mount some RGB LEDs, a light sensor, and calibrate everything so colors can be measured.

It’s a great idea for electronic monitoring of aquaponics, ponds, and aquariums; those indicator chemicals are pretty inexpensive compared to electronic sensors, and once [James] has one measurement/reagent working, adding another is just a matter of putting in a few more tubes and pumps. You can check out a video of the progress so far below.


The 2015 Hackaday Prize is sponsored by:

Continue reading “Hackaday Prize Entry: A Reagent Robot”