It’s a wet November evening across Western Europe, the steel-grey clouds have obscured a rare low-latitude aurora this week, and Elliot Williams is joined by Jenny List for this week’s podcast. And we’ve got a fine selection for your listening pleasure!
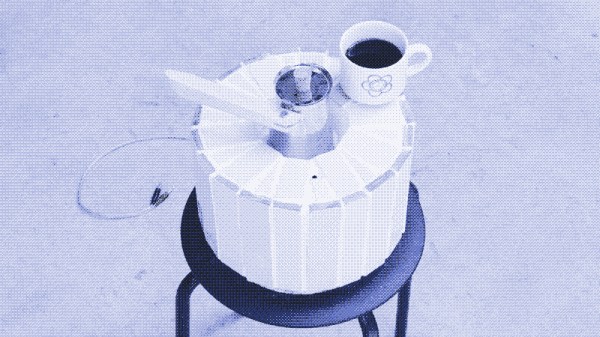
The 2025 Component Abuse Challenge has come to an end, so this week you’ll be hearing about a few of the entries. We’ve received an impressive number, and as always we’re bowled over by the ingenuity of Hackaday readers in pushing parts beyond their limits.
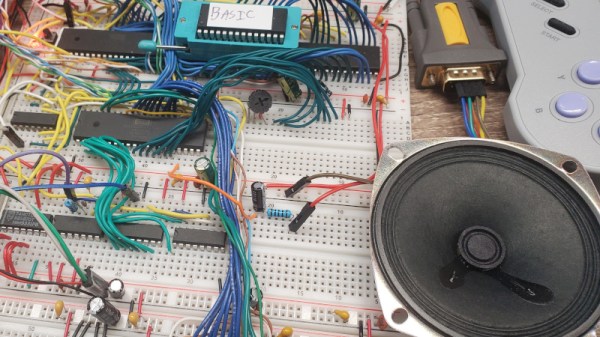
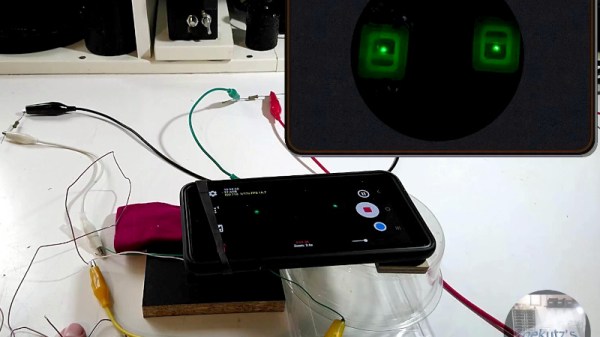
In the news is the potential discovery of a lost UNIX version in a dusty store room at the University of Utah, Version 4 of the OS, which appeared in 1973. Check out your own stores, for hidden nuggets of gold. In the hacks, we have two cameras at the opposite end of the resolution spectrum, but sharing some impressive reverse engineering. Mouse cameras and scanner cameras were both a thing a couple of decades ago, and it’s great to see people still pushing the boundaries. Then we look at the challenge of encoding Chinese text as Morse code, an online-upgraded multimeter, the art of making lenses for an LED lighting effect, and what must be the best recreation of a Star Wars light sabre we have ever seen. In quick hacks we have a bevvy of Component Abuse Challenge projects, a Minecraft server on a smart light bulb, and a long term test of smartphone battery charging techniques.
We round off with a couple of our long-form pieces, first the uncertainties about iRobot’s future and what it might mean for their ecosystem — think: cheap hackable robotics platform! — and then a look at FreeBSD as an alternative upgrade path for Windows users. It’s a path not without challenges, but the venerable OS still has plenty to give.
As always, you can listen using the links below, and we’ve laidout links to all the articles under discussion at the bottom of the page.
Download our finest MP3 right here.
Continue reading “Hackaday Podcast Episode 345: A Stunning Lightsaber, Two Extreme Cameras, And Wrangling Roombas” →