As we’ve followed a trail through Hi-Fi and audio systems from the listener’s ear towards the music source, we’ve reached the amplifier. In our previous article we gave a first introduction to distortion and how some amplifier characteristics can influence it, and here we’ll continue along that path and look at the amplifier itself. What types of audio amplifier circuits will you encounter, and what are their relative merits and disadvantages?
A Few Amplifier Basics
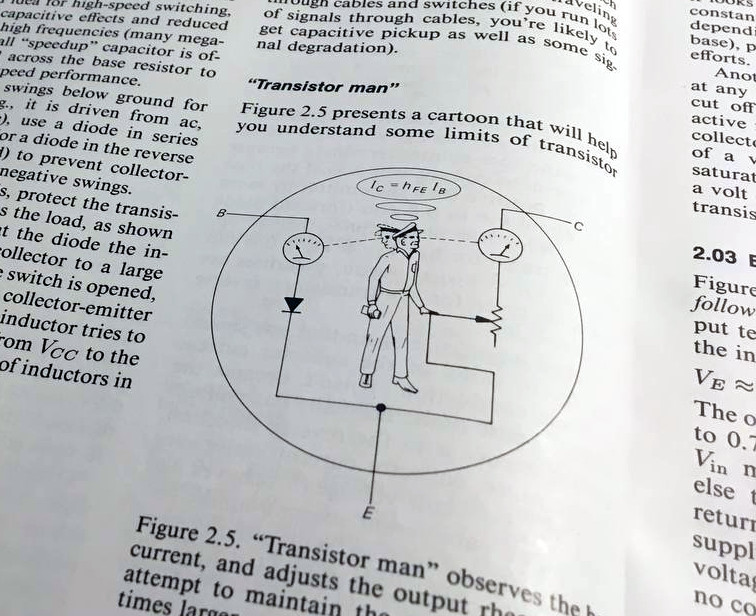
If you know anything about a transistor, it’s probably that it’s a three terminal device whose output pin forms part of a potential divider whose state is dependent on what is presented to its input pin. The Art of Electronics had it as a cartoon of a man standing inside a bipolar transistor and adjusting a variable resistor between collector and emitter while watching an ammeter on the base.
Properly biased in its conducting range, a transistor can behave as a linear device, in which the potential divider voltage moves in response to the input in a linear relationship, and thus the voltage on the output is an amplified version of the voltage on the output. This is the simplest of transistor amplifiers, and because different types of amplifier are referred to by lettered classes, it’s known as a class A amplifier. Continue reading “Know Audio: Amplifier Nuts And Bolts”