When [Todd Harrison’s] Christmas lights stayed on well past the pre-defined shut off time, he knew there was something wrong with the timer. He took the device into his workshop and spent some time diagnosing and repairing the device, a process he recorded for all to see.
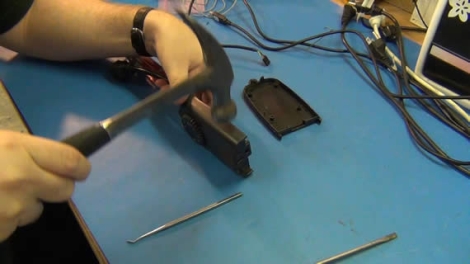
After busting the screw-less timer open with a hammer, he inspected the PCB for any apparent signs of damage. After seeing what looked like a damaged transistor, he desoldered it from the board for testing. After the transistor passed his tests with flying colors, [Todd] assumed that the fault had to be in the relay which the transistor was responsible for switching.
Sure enough, the relay had shorted out, and upon cutting it open he found that the contact points were fused together. He separated and sanded the contacts down, enabling him to get the timer working – at least for the time being.
Part of [Todd’s] goal with this video was to show off different methods of desoldering, including a manual solder sucker (my favorite), desoldering braid, and a purpose built desoldering iron. If you’re in the market for some desoldering tools, but don’t know what to buy, [Todd] is more than happy to offer his advice.
Continue reading to see a video of [Todd’s] troubleshooting process.

