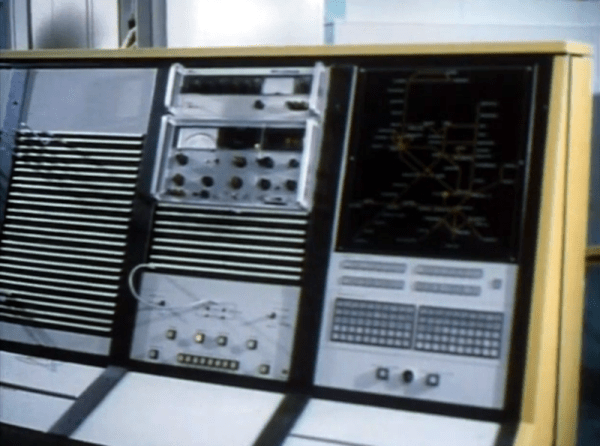
How do you make the trains run on time? British Rail adopted TOPS, a computer system born of IBM’s SAGE defense project, along with work from Standford and Southern Pacific Railroad. Before TOPS, running the railroad took paper. Lots of paper, ranging from a train’s history, assignments, and all the other bits of data required to keep the trains moving. TOPS kept this data in real-time on computer screens all across the system. While British Rail wasn’t the only company to deploy TOPS, they were certainly proud of it and produced the video you can see below about how the system worked.
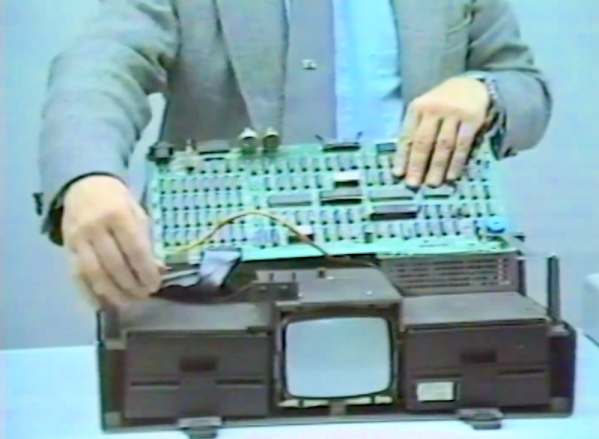
There are a lot of pictures of old big iron and the narrator says it has an “immense storage capacity.” The actual computers in question were a pair of IBM System/370 mainframes that each had 4 MB of RAM. There were also banks of 3330 disk drives that used removable disk packs of — gasp — between 100 and 200 MB per pack.
As primitive and large as those disk drives were, they pioneered many familiar-sounding technologies. For example, they used voice coils, servo tracking, MFM encoding, and error-correcting encoding.
Continue reading “Retrotechtacular: TOPS Runs The 1970s British Railroad”