If you’ve ever aspired to live off the grid, then it’s likely that one of the first things you considered was how to power all of your electrical necessities, and also where to uh… well we’ll stick to the electrical necessities. Depending on your location, you might focus on hydroelectric power, solar power, or even a wind turbine. Or, if you’re [Kris Harbor], all three. In the video below the break, we get to watch [Kris] as he masterfully rebuilds his wind turbine from scratch and reconfigures his charging solution to match.
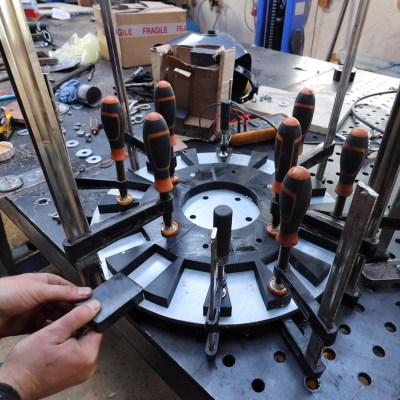
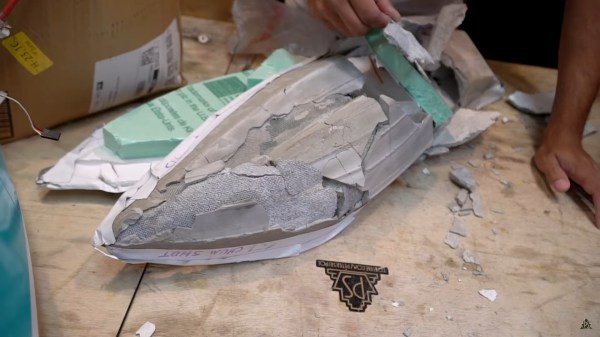
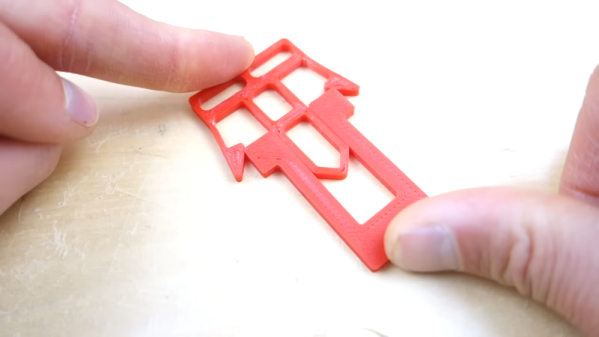
A true hacker at heart, [Kris] has used a everything from 3d printing to broken car parts in order to build his new wind turbine. The three phase generator is constructed from scratch. A hand wound stator is held firmly between two magnetic rotors, where 3d printed jigs hold the magnets in place.
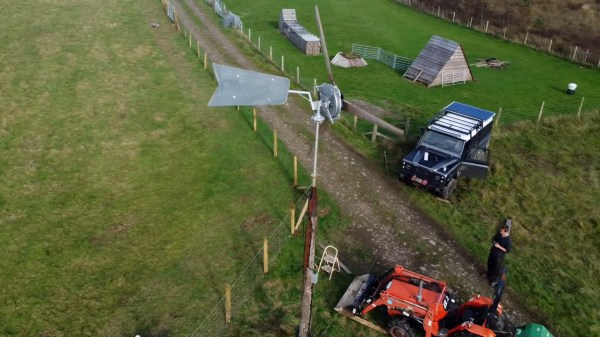
A CNC cut backing plate holds everything together while also supporting the automatically furling vane that keeps the entire turbine from self destructing in inclement weather. A damaged wheel hub from [Kris]’ Land Rover provides the basis for a bearing so that the entire turbine can turn to face the wind, and various machined parts round out the build. The only things we didn’t see in the build were hot glue and zip ties, but we remain hopeful. Continue reading “Scratch Built Wind Turbine Makes Power And Turns Heads”