Servo Stock, The Future Of 3D Printers

printerIf you think about it, the RepRaps and other commercial 3D printers we have today are nothing like the printers that will be found in the workshops of the future. They’re more expensive than they need to be, and despite the RepRap project being around for a few years now, no one has cracked the nut of closed loop control yet. [mad hephaestus], [Alex], and [Will] over on the Hackaday Projects site are working on the future of 3D printing with the Servo Stock, a delta printer using servos and closed loop control to build a printer for about a quarter of the price as a traditional 3D printer.

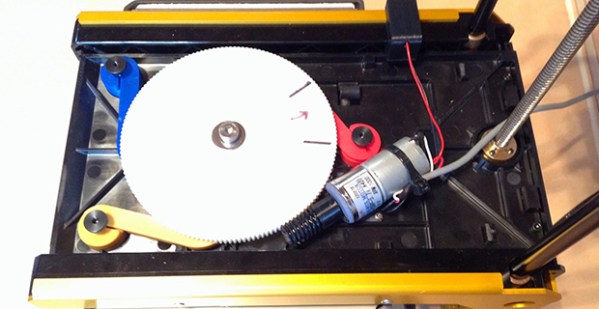
The printer itself is a Kossel derivative that is highly modified to show off some interesting tech. Instead of steppers, the printer has three axes controlled by servos. On each axis is a small board containing a magnetic encoder, and a continuous rotation servo. With this setup, the guys are able to get 4096 steps per revolution with closed loop control that can drive the servo to with ±2 ticks.

The electronics and firmware are a clean sheet redesign of the usual 3D printer loadout. The motherboard uses a Pic32 running at 80MHz. Even the communication between the host and printer has been completely redesigned. Instead of Gcode, the team is using the Bowler protocol, a system of sending packets over serial, TCP/IP, or just about any other communications protocol you can think of.

Below is a video of the ServoStock interpreting Gcode on a computer and sending the codes and kinematics to the printer. It seems to work well, and using cheap servos and cut down electronics means this project might just be the first to break the $200 barrier for a ready to run 3D printer.

Continue reading “Servo Stock, The Future Of 3D Printers”

Ask Hackaday: Can The Lix 3D Printing Pen Actually Work?

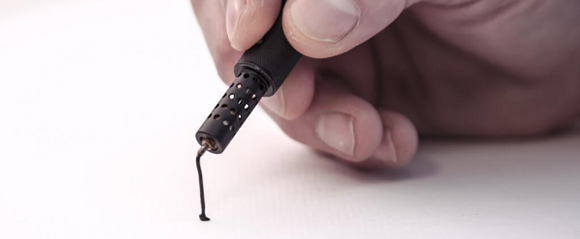
Introducing Lix, the world’s smallest 3D printing pen that allows you to draw plastic structures in 3D. It’s only been on Kickstarter for a few days now, and already it has garnered close to a million dollars in pledges. An astonishing achievement, especially considering we can prove – with math and physics – that it doesn’t work as advertised. However, we’re wondering if it could work at all, so we’re asking the Hackaday community.

The device is powered through a USB 3 port. In the video, the Lix team is using a MacBook Pro. This has a USB port capable of delivering 900 mA at 5 Volts, or 4.5 Watts. Another 3D printing pen, the 3Doodler, uses a 2A, 12V power adapter, equal to 24 Watts. Considering the 3Doodler works, and they both do the same basic thing, there’s something extremely odd going on here.

Just as a comparison, here’s a wirewound resistor commonly found in the heating element or ‘hot end’ of a 3D printer. It’s a 6.8  Ohm resistor powered at 12 Volts. That’s 21 Watts. Here’s a heater cartridge, also found in quite a few hot ends. It sucks down 40 Watts. Once again, the Lix Kickstarter clearly shows the pen extruding filament using only 4.5 Watts of power. Something is really, really fishy here.

Intuition doesn’t hold a candle to math, so let’s figure out exactly why it won’t work.

Continue reading “Ask Hackaday: Can The Lix 3D Printing Pen Actually Work?”

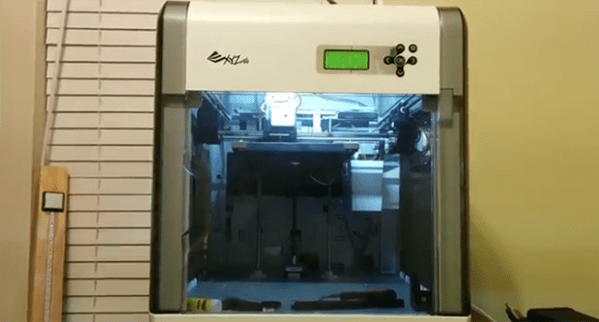
Using Non-Crappy Software With The Da Vinci Printer

The Da Vinci printer from XYZprinting is turning out to be one of the best buys in the world of cheap, consumer printers. Sure, it uses chipped filament, but that’s an easy fix for anyone who knows what a .hex file is. And yes, the Da Vinci host software is a mess of proprietary garbage with limited functionality, but [Mark] has figured out a way around that.

When [Mark] received his Da Vinci, he immediately started snooping around inside the printer’s guts, like any good tinkerer should. He found an SD card holding all the sample prints that ship with the printer, all in a convenient Gcode format. Inside these sample .STL files were all the calls you would expect – setting the temperature, changing the layer height, and all the other good stuff you’d find in any other RepRap.

With a little bit of modification to .STL files generated by any slicing program, [Mark] isn’t limited any more by the terrible host software that ships with the Da Vinci. Combine this with the ability to reset the chip inside the filament cartridge, and [Mark] has a printer at least as functional as any open hardware model.

Continue reading “Using Non-Crappy Software With The Da Vinci Printer”

Automated Bed Leveling For 3D Printers Is Now Solved

The latest and greatest feature for 3D printers – besides being closed source, having no meaningful technical specs, and being on track towards pulling in $10 Million on a Kickstarter – is automated bed leveling. This amazingly useful feature makes sure your prints have proper adhesion to the bed, reduce print errors, and put even inexpensive printers into the realm of extremely expensive professional machines. Automated bed leveling has been extremely hard to implement in the past, but now [Scottbee] has it figured out with a working prototype on his Makerbot Replicator 2X.

Earlier attempts at automated bed leveling used some sort of probe on the tool head to measure the build plate, calculate its flatness and orientation in space, and compensate for any tilt in software. [Scottbee]’s solution to the problem took a different tack: instead of trying to compensate for any odd orientation of the build surface in software, he’s simply making the bed level with a series of springs and cam locks.

[Scottbee]’s device levitates the build plate on three springs, and replaces the jack screws with three “gimballing pins” and pin locks. With the pin locks disengaged, the bed plate is pressed down with the printer’s nozzle. By moving the extruder across the build plate and locking the pins in place one by one, [Scottbee]’s device defines the plane of the build plate along three points. This makes the build platform parallel to the extruder nozzle, and also has a nice benefit of setting the distance from the build platform to the nozzle precisely with incredible repeatability.

The mechanics of locking the three gimballing pins in place  only requires a single DC gear motor, driven by an extra fan output on the Makerbot’s electronics. It’s simple, and with a bit of rework, it looks like most of the device could also be 3D printed.

An awful lot of RepRaps and 3D printers out there already use three points to attach the build plate to a frame. With a little bit of effort, this same technique could be ported and made a bit more generic than the Makerbot-based build seen above. It’s amazingly simple, and we can’t wait to see this applied to a normal RepRap.

Thanks [Josh] for the tip.

3D Printers Can Only Make Trinkets — What About Kayaks?

Wow. [Jim Smith] of Grass Roots Engineering has just put the finishing touches on his entirely 3D printed kayak. And it floats.

The individual parts were printed on [Jim’s] massive home-made 3D printer, which is loosely based off a RepRap — except that its maximum build volume is a whopping 403 x 403 x 322.7mm.

The kayak itself is made of 28 printed sections, and to hold it all together, he has installed brass threaded thermoplastic inserts, which then allow the pieces to be bolted together. Silicone caulking is applied before assembly to ensure a watertight seal.

It was originally based off of a Siskiwit Bay kayak by [Bryan Hansel] but [Jim] has heavily modified it to suit 3D printing. It was printed at a layer height of 0.65mm to reduce print time, which still ended up being over 1000 hours! He even optimized the design to improve performance based on his own height and weight.

Continue reading “3D Printers Can Only Make Trinkets — What About Kayaks?”

MRRF: 3D Bioprinting


There were a few keynotes at this year’s Midwest RepRap festival, and somewhat surprisingly most of the talks weren’t given by the people responsible for designing your favorite printer. One of the most interesting talks was given by [Jordan Miller], [Andy Ta], and [Steve Kelly] about the use of RepRap and other 3D printing technologies in biotechnology and tissue engineering. Yep, in 50 years when you need a vital organ printed, this is where it’ll come from.

[Jordan] got his start with tissue engineering and 3D printing with his work in printing three-dimensional sugar lattices that could be embedded in a culture medium and then dissolved. The holes left over from the sugar became the vasculature and capillaries that feed a cell culture. The astonishing success of his project and the maker culture prompted him and others to start the Advanced Manufacturing Research Institute to bring young makers into the scientific community. It’s a program hosted by Rice University and has seen an amazing amount of success in both research and getting makers into scientific pursuits.

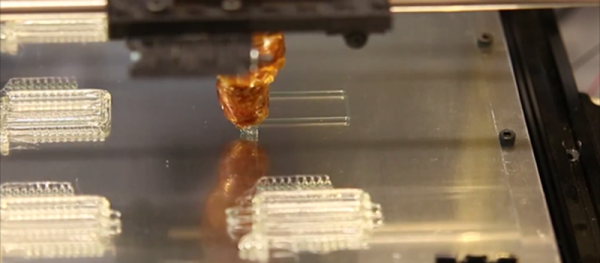
One of these young makers is [Andy Ta]. An economics major, [Andy] first heard of the maker and RepRap community a few years ago and bought a MakerBot Cupcake. This was a terrible printer, but it did get him involved in the community, hosting build workshops, and looking into 3D printing build around DLP-cured UV resin. At AMRI, [Andy] started looking at the properties of UV-cured resin, figuring out the right type of light, resin, and exposure to create a cured resin with the right properties for printing cell colonies. You can check out [Andy]’s latest work on his webzone.

[Steve Kelly] has also done some work at AMRI, but instead of the usual RepRap or DLP projector-based printers, he did work with shooting cell cultures out of an ink jet print head. His initial experiments involved simply refilling an ink jet cartridge with a bacterial colony and discovering the cells actually survived the process of being heated and shot out of a nozzle at high speed. Most ink jets printers don’t actually lay out different colors on a precise grid, making it unusable for growing cell cultures. [Steve] solved this problem with an inkjet controller shield attached to a RepRap. All of [Steve]’s work is documented on his Github.

It’s all awesome work, and the beginnings of both bioengineering based on 3D printers, and an amazing example of what amateur scientists and professional makers can do when they put their heads together. Video link below.

Continue reading “MRRF: 3D Bioprinting”

MRRF: Repables, The Nonprofit 3D Object Repository

Repables

There’s a problem with online repositories of 3D printable objects: The largest repo, Thingiverse, is generally looked down upon by the 3D printing community. Thingiverse, owned by Makerbot, has seen protests, and calls for a an alternative repository. A few people have stepped up to provide a better Thingiverse, but these alternatives are either connected to specific 3D printer manufacturers like Ultimaker’s YouMagine, or have done some shady things with open source licenses; Defense Distributed’s DEFCAD, for example.

Repables, launched at the Midwest RepRap Festival this last weekend, hopes to change that. They are the only repository of printable objects and design files out there that’s backed by its own nonprofit LLC. It’s free for anyone to upload their parts and share, without the baggage that comes with an ‘official [company name] .STL repo’.

Just about everything can be hosted on Repables – .STL files for printable objects, .DXF files for laser cutter files, and even PCB files and Gerbers for circuit boards. Now, .STL files are able to be rendered in the browser, with support for viewing other formats coming soon.

It’s a really great idea that solves the problem of printer manufactures building their own hosting sites and the segmentation that ensues. It’s also headed up by a Hackaday alumnus, []. We’re everywhere, it seems.