Why would anyone bother to create new content for a console system that’s staring down its 40th birthday? Perhaps just for the challenge of fitting a game into 40 kilobytes of storage.
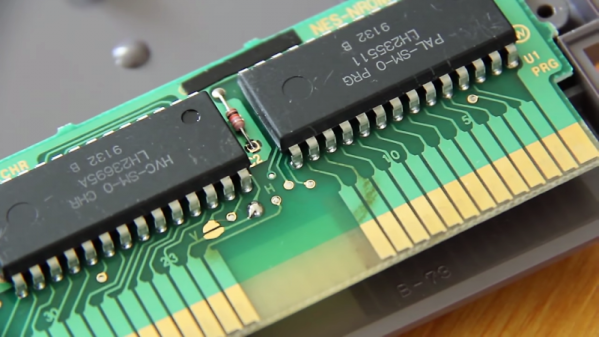
That at least seems to be the motivation behind [Morphcat Games] pending release of Micro Mages, a new game for the Nintendo Entertainment System console that takes its inspiration from Super Mario Bros. The interesting bit here is how they managed to stuff so much content into so little space. The video below goes into great detail on that, and it’s a fascinating lesson in optimization. The game logic itself is coded in assembler, which of course is far more efficient than higher level languages. Even so, that took 32 kB of ROM, leaving a mere 8 kB for background elements and foreground sprites.
Through a combination of limited sprite size, tiling of smaller sprites to make larger characters, and reusing tiles by flipping them horizontally or vertically, an impressively complete palette of animated characters was developed. Background elements were similarly deconstructed and reused, resulting in a palette of tiles used to generate all the maps for the game that takes up just 60 bytes. Turning those into playable levels involves more mirroring and some horizontal shifting of tiles, and it looks like quite an engaging playfield.
Yes, there’s a Kickstarter for the game, but we’re mainly intrigued by what it takes to cram a playable game into so little space. Don’t get us wrong – we love the Retro Pie builds too, but seeing the tricks that early game developers relied upon to make things work really gets the creative juices flowing.
Continue reading “New Game, Old Ways: Cramming An NES Game Into 40 KB”