Satellite television is prevalent in Europe and Northern Africa. This is delivered through a Set Top Box (STB) which uses a card reader to decode the scrambled satellite signals. You need to buy a card if you want to watch. But you know how people like to get something for nothing. This is being exploited by hackers and the result is millions of these Set Top Boxes just waiting to form into botnets.
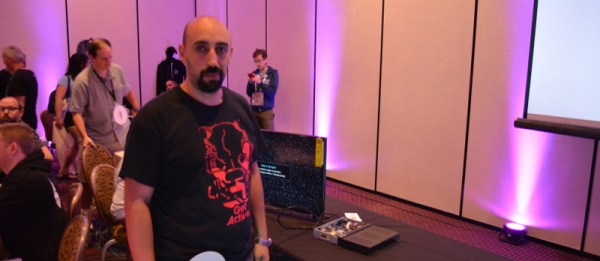
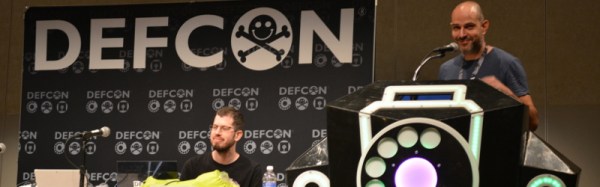
This was the topic of [Sofiane Talmat’s] talk at DEF CON 23. He also gave this talk earlier in the week at BlackHat and has published his slides (PDF).
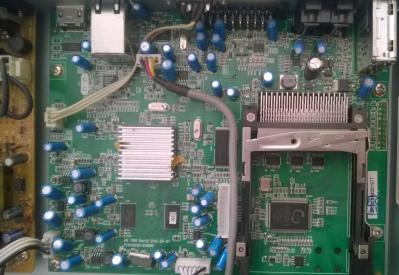 The Hardware in Satellite receivers is running Linux. They use a card reader to pull in a Code Word (CW) which decodes the signal coming in through the satellite radio.
An entire black market has grown up around these Code Words. Instead of purchasing a valid card, people are installing plugins from the Internet which cause the system to phone into a server which will supply valid Code Words. This is known as “card sharing”.
On the user side of things this just works; the user watches TV for free. It might cause more crashes than normal, but the stock software is buggy anyway so this isn’t a major regression. The problem is that now these people have exposed a network-connected Linux box to the Internet and installed non-verified code from unreputable sources to run on the thing.
[Sofiane] demonstrated how little you need to know about this system to create a botnet:
- Build a plugin in C/C++
- Host a card-sharing server
- Botnet victims come to you (profit)
It is literally that easy. The toolchain to compile the STLinux binaries (gcc) is available in the Linux repos. The STB will look for a “bin” directory on a USB thumb drive at boot time, the binary in that folder will be automatically installed. Since the user is getting free TV they voluntarily install this malware.
Click through for more on the STB Hacks.
Continue reading “Millions Of Satellite Receivers Are Low-Hanging Fruit For Botnets”
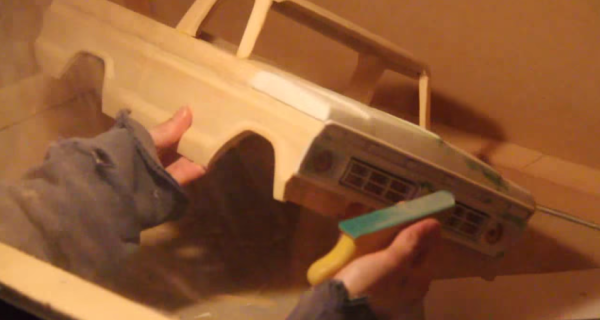
 The build starts with the slab sides of the truck. The basic outline is cut into a piece of lumber which is then split with a handsaw to create a left and a right side. From there, [Headquake137’s] uses a Dremel to carve away anything that doesn’t look like a 1977 F100. He adds pieces of wood for the roof, hood, tailgate, and the rest of the major body panels. Small details like the grille and instrument panel are created with white polystyrene sheet, an easy to cut material often used by train and car modelers.