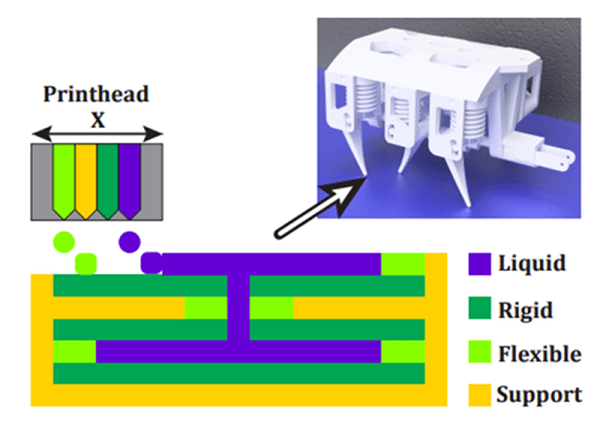
[Robert MacCurdy] at MIT wants to change how people think about hydraulics. Using fluid can be very useful in systems like robots, but it is often the case that the tubing that carries hydraulic fluid is not an integrated part of the overall design. [MacCurdy] and his colleagues have modified a 3D printer to allow it directly include hydraulic components as it prints.
The idea is simple. The team started with a printer that uses a liquid ink that is UV cured to produce solid layers. The printer has the ability to use multiple liquids, and [MacCurdy] uses hydraulic fluid (that does not UV cure) as one of the print materials. Just as you can use a 3D printer to build structures within other structures, printing the hydraulics allows for complex closed systems that use the UV-cured resin as mechanical parts that can transfer pressure to and from the hydraulic system.

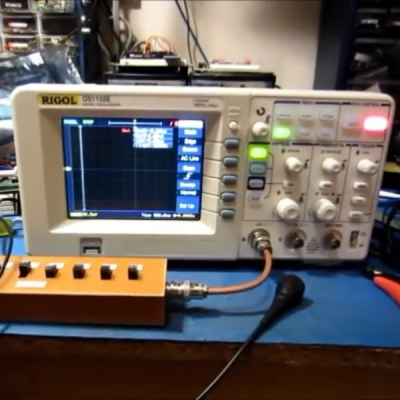 If your scope is relatively recent, like this side of the late 1990s, it might support National Instrument’s
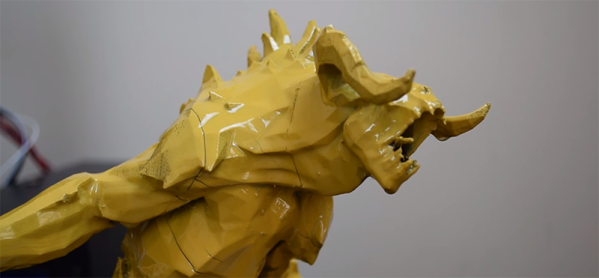

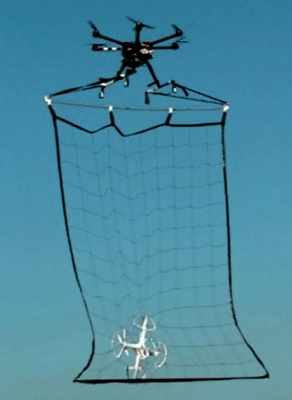 Simply shooting them down won’t do — think of the innocent bystanders on the ground subjected to a rain of quadcopter parts. The Tokyo police’s solution: