![]()
Ever see a really cool build on YouTube with no build details at all? Frustrating, right? That’s us with the NES Keytar covering the Game of Thrones theme. He’s using a Raspi with the sound chip in the NES to do live chiptunes. Freakin’ awesome. There’s also the ST:TNG theme as well.
A few years ago the folks at Oculus had an idea – because of cellphones, small, high resolution displays are really cheap, so why not make VR goggles? At Google IO this week someone figured out everyone already has a cellphone, so just wrap it in some cardboard and call it a set of VR goggles. You can get a kit here, but the only difficult to source components are the lenses.
What happens when you put liquid nitrogen under a vacuum? Well, it should evaporate more, get colder, and freeze. Then it breaks up into solid nitrogen snow. No idea what you would do with this, but there ‘ya go. Oh, [NC], we’re going to need a writeup of that LN2 generator.
About a month ago, the House4Hack hackerspace in South Africa told us of their plans to bring a glider down from 20km above the Earth. They finally launched it, The CAA only allowed them to glide back from 6km (20,000 feet), but even from there the foam glider hit 230kph (124 knots). That’s a little impressive for a foam FPV platform, and we’re betting something with a larger wingspan would probably break a spar or something. Shout out to HABEX.
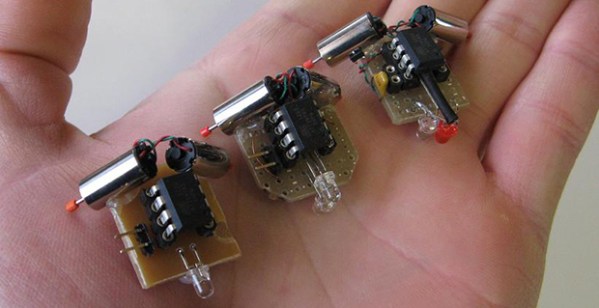
All the electronic dice projects we’ve seen have one thing in common: they’re not cubes. Thus uberdice. It’s six nine-pixel displays on the faces of a cube, powered by a battery, and controlled by an accelerometer. Yes, it is by far the most complicated die ever made, but it does look cool.

 2600: The Hacker Quarterly is the premier (print) infosec publication out there, and depending on who you talk to, the best publication out there that has anything to do with modifying electronics, infiltrating networks, and all the other goodies we post on a daily basis. They’ve also been around for longer than most of our readership, and to lose them would be a terrible loss for anyone who calls themselves a hacker.
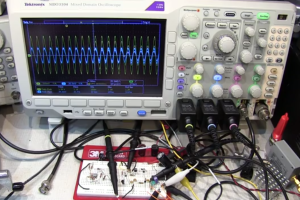 ircuit isn’t new, he states right in the video that various audio limiting, compressing, and automatic gain control circuits have been passed around the internet for years. What he’s brought to the table is his usual flair for explaining the circuits’ operation, with plenty of examples using the oscilloscope. (For those that don’t know, when [Alan] isn’t building circuits for fun, he’s an RF applications engineer at Tektronix).