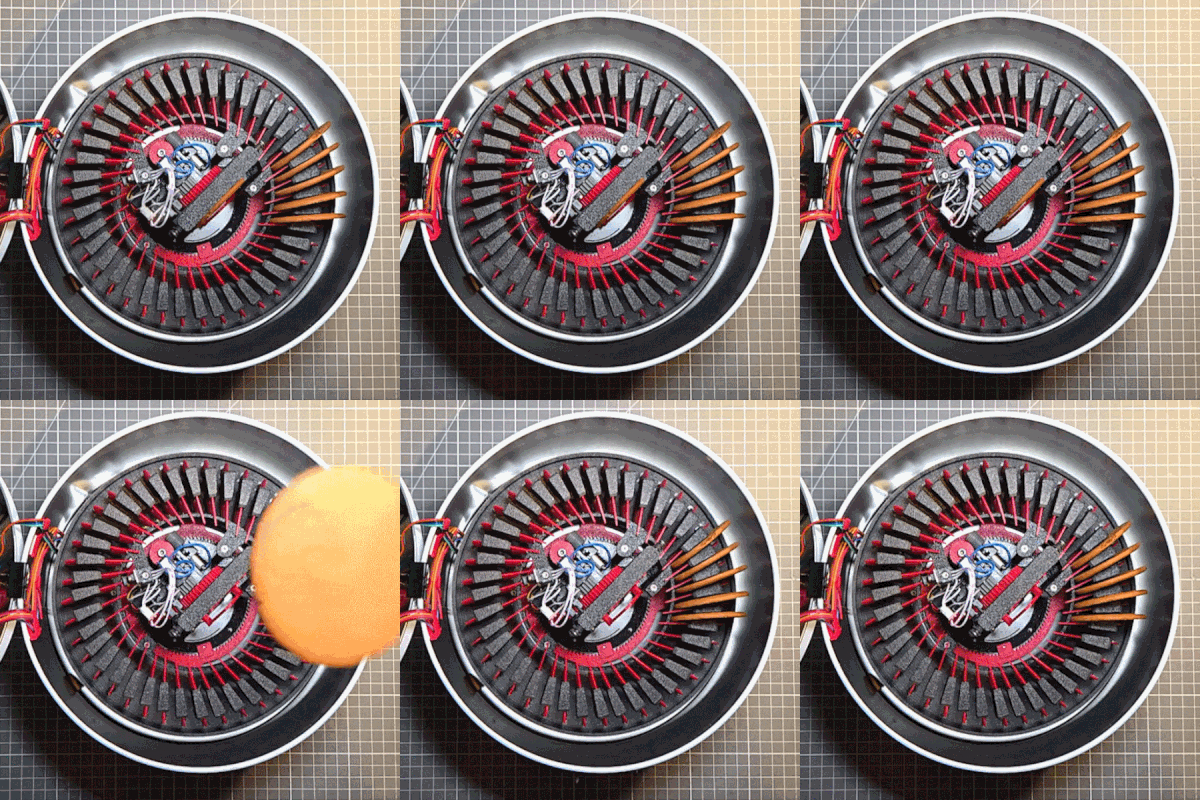
The word “Schlieren” is German, and translates roughly to “streaks”. What is streaky photography, and why might you want to use it in a project? And where did this funny term come from?
Think of the heat shimmer you can see on a hot day. From the ideal gas law, we know that hot air is less dense than cold air. Because of that density difference, it has a slightly lower refractive index. A light ray passing through a density gradient faces a gradient of refractive index, so is bent, hence the shimmer. Continue reading “Flow Visualization With Schlieren Photography”→
Detecting a signal pulse is usually basic electronics, but you start to find more complications when you need to time the signal’s arrival in the picoseconds domain. These include the time-walk effect: if your circuit compares the input with a set threshold, a stronger signal will cross the threshold faster than a weaker signal arriving at the same time, so stronger signals seem to arrive faster. A constant-fraction discriminator solves this by triggering at a constant fraction of the signal pulse, and [Michael Wiebusch] recently presented a hacker-friendly implementation of the design (open-access paper).
A constant-fraction discriminator splits the input signal into two components, inverts one component and attenuates it, and delays the other component by a predetermined amount. The sum of these components always crosses zero at a fixed fraction of the original pulse. Instead of checking for a voltage threshold, the processing circuitry detects this zero-crossing. Unfortunately, these circuits tend to require very fast (read “expensive”) operational amplifiers.
This is where [Michael]’s design shines: it uses only a few cheap integrated circuits and transistors, some resistors and capacitors, a length of coaxial line as a delay, and absolutely no op-amps. This circuit has remarkable precision, with a timing standard deviation of 60 picoseconds. The only downside is that the circuit has to be designed to work with a particular signal pulse length, but the basic design should be widely adaptable for different pulses.
[Michael] designed this circuit for a gamma-ray spectrometer, of which we’ve seen a few examples before. In a spectrometer, the discriminator would process signals from photomultiplier tubes or scintillators, such as we’ve covered before.
Of all FDM filament types, flexible ones such as TPU invite a whole new way of thinking, as well as applications. Case in point the TPU-based bellows that the [Functional Part Friday] channel on YouTube recently demonstrated.
The idea is quite straightforward: you print TPU and PLA in alternating layers, making sure that the TPU is connected to its previous layer in an alternating fashion. After printing, you peel the PLA and TPU apart, remove the PLA layers and presto, you got yourself bellows.
There were some issues along the way, of course. Case in point the differences between TPU from different brands (Sainsmart, Sunlu) that caused some headaches, and most of all the incompatibility between the Bambu Lab AMS and TPU that led to incredibly brittle TPU prints. This required bypassing the feed mechanism in the AMS, which subsequently went down a rabbit hole of preventing the PTFE tube from getting sucked into the AMS. Being able to print TPU & PLA at the same time also requires a printer with two independent extruders like the Bambu Lab H2D used here, as both materials do not mix in any way. Great news for H2D and IDEX printer owners, of course.
As for practical applications for bellows, beyond printing your own 1900s-era camera, accordion or hand air bellows, you can also create lathe way covers and so on.
The iMac G3 is an absolute icon of industrial design, as (or perhaps more) era-defining than the Mac Classic before it. In the modern day, if your old iMac even boots, well, you can’t do much with it. [Rick Norcross] got a hold of a dead (hopefully irreparable) specimen, and stuffed a modern PC inside of it.
From the outside, it’s suprizingly hard to tell. Of course the CRT had to go, replaced with a 15″ ELO panel that fits well after being de-bezeled. (If its resolution is only 1024 x 768, well, it’s also only 15″, and that pixel density matches the case.) An M-ATX motherboard squeezes right in, above a modular PSU. Cooling comes from a 140 mm case fan placed under the original handle. Of course you can’t have an old Mac without a startup chime, and [Rick] obliges by including an Adafruit FX board wired to the internal speakers, set to chime on power-up while the PC components are booting.
These sorts of mods have proven controversial in the past– certainly there’s good reason to want to preserve aging hardware–but perhaps with this generation of iMac it won’t raise the same ire as when someone guts a Mac Classic. We’ve seen the same treatment given to a G4 iMac, but somehow the lamp doesn’t quite have the same place in our hearts as the redoubtable jellybean.
In a study published in Physical Review Letters that was co-authored by [Babak Seradjeh], a Professor of Physics at Indiana University Bloomington, and theoretical physicists [Rekha Kumari] and [Arijit Kundu], from the Indian Institute of Technology Kanpur, the scientists validate their theory using numerical simulations.
It might seem strange to people like us, but normal people hate wires. Really hate wires. A lot. So it makes sense that with so many wireless technologies, there should be a way to do USB over wireless. There is, but it really hasn’t caught on outside of a few small pockets. [Cameron Kaiser] wants to share why he thinks the technology never went anywhere.
Wireless USB makes sense. We have high-speed wireless networking. Bluetooth doesn’t handle that kind of speed, but forms a workable wireless network. In the background, of course, would be competing standards.
Texas Instruments and Intel wanted to use multiband orthogonal frequency-division multiplexing (MB-OFDM) to carry data using a large number of subcarriers. Motorola (later Freescale), HP, and others were backing the competing direct sequence ultra-wideband or DS-UWB. Attempts to come up with a common system degenerated.
They might call it Levity, but there’s nothing funny about Rapid Liquid Print’s new silicone 3D printer. It has to be seen to be believed, and luckily [3D Printing Nerd] gives us lots of beauty shots in this short video, embedded below.
Smooth, and fast. This bladder took 51 minutes according to the RLP website.
Printing a liquid, even a somewhat-viscous one like platinum-cure silicone, presents certain obvious challenges. The Levity solves them with buoyancy: the prints are deposited not onto a bed, but into a gel, meaning they are fully supported as the silicone cures. The fact that the liquid doesn’t cure instantly has a side benefit: the layers bleed into one another, which means this technique should (in theory) be stronger in all directions than FDM printing. We have no data to back that up, but what you can see for yourself that the layer-blending creates a very smooth appearance in the finished prints.
If you watch the video, it really looks like magic, the way prints appear in the gel. The gel is apparently a commercially-available hydrogel, which is good since the build volume looks to need ̶a̶b̶o̶u̶t̶ ̶5̶0̶0̶ ̶L̶ at least 125 L of the stuff. The two-part silicone is also industry-standard and off-the-shelf, though no doubt the exact ratios and are tweaked for purpose. There’s no magic, just a really neat technology.
If you want one, you can sign up for the waiting list at Rapid Liquid Print’s website, but be prepared to wait; units ship next year, and there’s already a list.