3D Printing A Usable Airless Tire

For decades now, companies like Michelin have been teasing us with futuristic-looking automobile tires that don’t use air. Instead, they use a polymer mesh of sorts which maintains the same pressure on the travel surface that a pneumatic tire does, with much less maintenance than their pneumatic counterparts. At least, in theory. There’s a reason that these tires live in the same mythical realm that Half Life 3 and the modern affordable Volkswagen do, and [Berm Peak] decided to discover those reasons for himself.

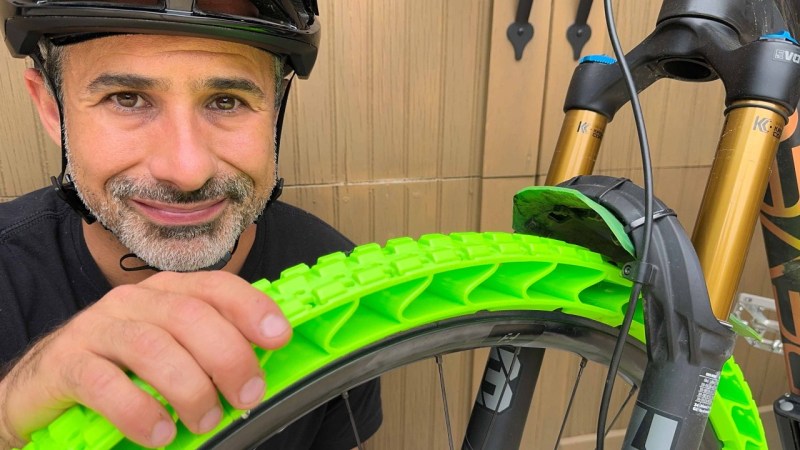
Of course, [Berm Peak] isn’t building these for his daily driver, an electric pickup truck featured in previous videos of his. He’s putting these on his mountain bike instead, a challenging environment for a tire like this in its own right. When mountain biking at the level he does, punctures and flats can become a real nuisance on the trail, so he set about experimenting with these designs with the 3D printer to see if he could make something rivaling pneumatic technology. After a few design iterations he settled on a TPU-based version with a compliant S-shaped spacing between the tread and wheel. The tire printed in sections that are installed by joining them together on the bike rim with a separate 3D printed rim interface.

At the end of this process [Berm Peak] ends up with a surprisingly capable tire that mostly holds up to his extreme off-road testing, an impressive feat for something 3D printed in his shop. Presumably a company specializing in bicycle tires could build something even more capable, but it turns out that a different technology has already solved all of the problems that airless tires solve. Mountain bikers today almost exclusively ride on tires with sealant, so punctures and flats are essentially a solved problem. But the neon-green airless tires were still a fun project for [Berm Peak] and quite the head-turner out on the bike trails.

Continue reading “3D Printing A Usable Airless Tire”

Flex Filament Stuck To Your Build Platform? Reach For The Isopropanol

3D printing has been around long enough that everyone’s heard at least one weird trick regarding 3D prints. [Angus] of [Maker’s Muse] puts a few to the test, and came away with one solid tip for releasing TPU from a build platform to which it has unfortunately welded itself.

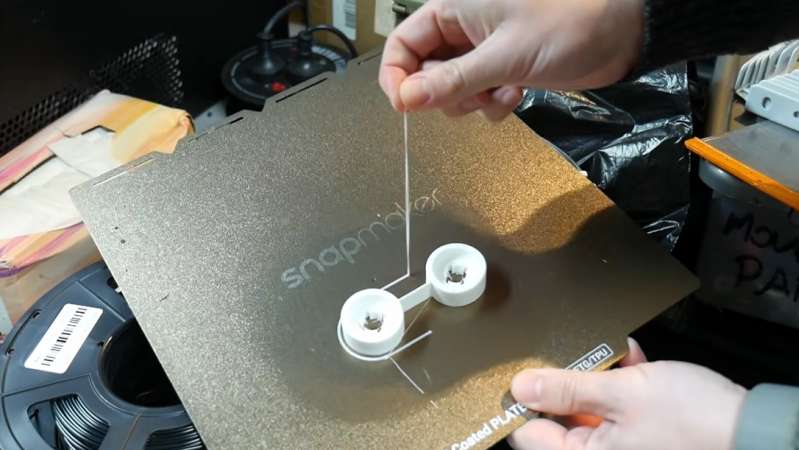
Flexible filaments tend to stick too well to build plates, which is why an interface layer like a thin layer of glue stick is called for. But what if one forgets to apply it before starting a print job? That can result in a print that is well and truly stuck. Peeling flex filament off a textured PEI bed is a bad time, because the print can tear and tends to leave little bits behind.

[Angus] heard that applying isopropyl alcohol helps release things in that case, so he gives it a try. Lo and behold, it seems to work! See for yourself at 18:10 in the video and keep it in mind if you end up in a similar situation. The print doesn’t exactly fall off on its own, but it does remain in one piece which is more than one can expect otherwise.

Watching isopropyl alcohol help release a stuck print is reminiscent of the way it also removes hot glue from just about any surface. The trick is getting the alcohol to wick in underneath for best results, and the same seems to be true with releasing TPU from a build plate.

One thing to keep in mind when evaluating tips and tricks from over the years is that the landscape changes. Something that maybe seemed to have potential years ago might not make much sense today. A good example is sugar as a bed adhesive, which [Angus] tries out. What started as an experiment in getting PLA to play better with glass build plates years ago doesn’t really carry over to now, with PEI-coated magnetic build platforms pretty much a solved problem. The more likely result nowadays is just a mess.

Continue reading “Flex Filament Stuck To Your Build Platform? Reach For The Isopropanol”

Bicycle Tubes Aren’t Just Made Of Rubber Anymore

For the average rider, inner tubes have been one of the most enduring and unchanging parts of bicycle design over the decades. They’re made of rubber, they have a Schrader or Presta valve, and they generally do an okay job at cushioning the ride.

However, if you’re an above-average rider, or just obsessive about your gear, you might consider butyl rubber tubes rather old hat. Today, there are far fancier—and more expensive—options on the market if you’re looking to squeeze every drip of performance out of your bike.

Continue reading “Bicycle Tubes Aren’t Just Made Of Rubber Anymore”

3D Printed Jack Mixes Two Filaments For Great Performance

If you’re looking to jack up your car and you don’t have anything on hand, your 3D printer might not be the first tool you look towards. With that said, [Alan Reiner] had great success with a simple idea to create a surprisingly capable scissor jack with a multi-material print.

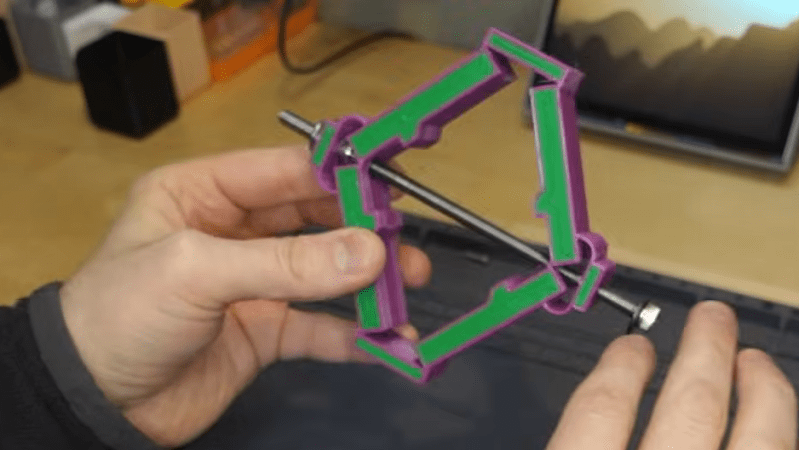
The design will look familiar if you’ve ever pulled the standard jack out of the back of your car. However, this one isn’t made fully out of steel. It relies on an M6 bolt and a rivet nut, but everything else is pure plastic. In this scissor jack design, rigid PETG arms are held in a scissor jack shape with a flexible TPU outer layer. Combined with the screw mechanism, it’s capable of delivering up to 400 pounds of force without failing. It’s an impressive figure for something made out of 80 grams of plastic. The idea came about because of [Alan’s] recent build of a RatRig VCore4 printer, which has independent dual extruders. This allowed the creation of single prints with both rigid and flexible filaments included.

[Alan] did test the jack by lifting up his vehicle, which it kind of achieved. The biggest problem was the short stroke length, which meant it could only raise the back of the car by a couple inches. Printing a larger version could make it a lot more practical for actual use… if you’re willing to trust a 3D-printed device in such use.

Files are on Printables if you wish to make your own. It’s worth paying attention to the warning upfront that [Alan] provides—”THIS CAN CREATE A LOT OF FORCE (400+ lbs!), WHICH MEANS IT CAN STORE A LOT OF ENERGY THAT MIGHT BE RELEASED SUDDENLY.  Please be cautious using 3d-printed objects for high loads and wear appropriate safety equipment!”

Funnily enough, we’ve featured 3D printed jacks before, all the way back in 2015! Video after the break.

Continue reading “3D Printed Jack Mixes Two Filaments For Great Performance”

Why Can’t I 3D Print With Rubber?

A friend of mine and I both have a similar project in mind, the manufacture of custom footwear with our hackerspace’s shiny new multi-material 3D printer. It seems like a match made in heaven, a machine that can seamlessly integrate components made with widely differing materials into a complex three-dimensional structure. As is so often the case though, there are limits to what can be done with the tool in hand, and here I’ve met one of them.

I can’t get a good range of footwear for my significantly oversized feet, and I want a set of extra grippy soles for a particular sporting application. For that the best material is a rubber, yet the types of rubber that are best for the job can unfortunately not be 3D printed. In understanding why that is the case I’ve followed a fascinating path which has taught me stuff about 3D printing that I certainly didn’t know.

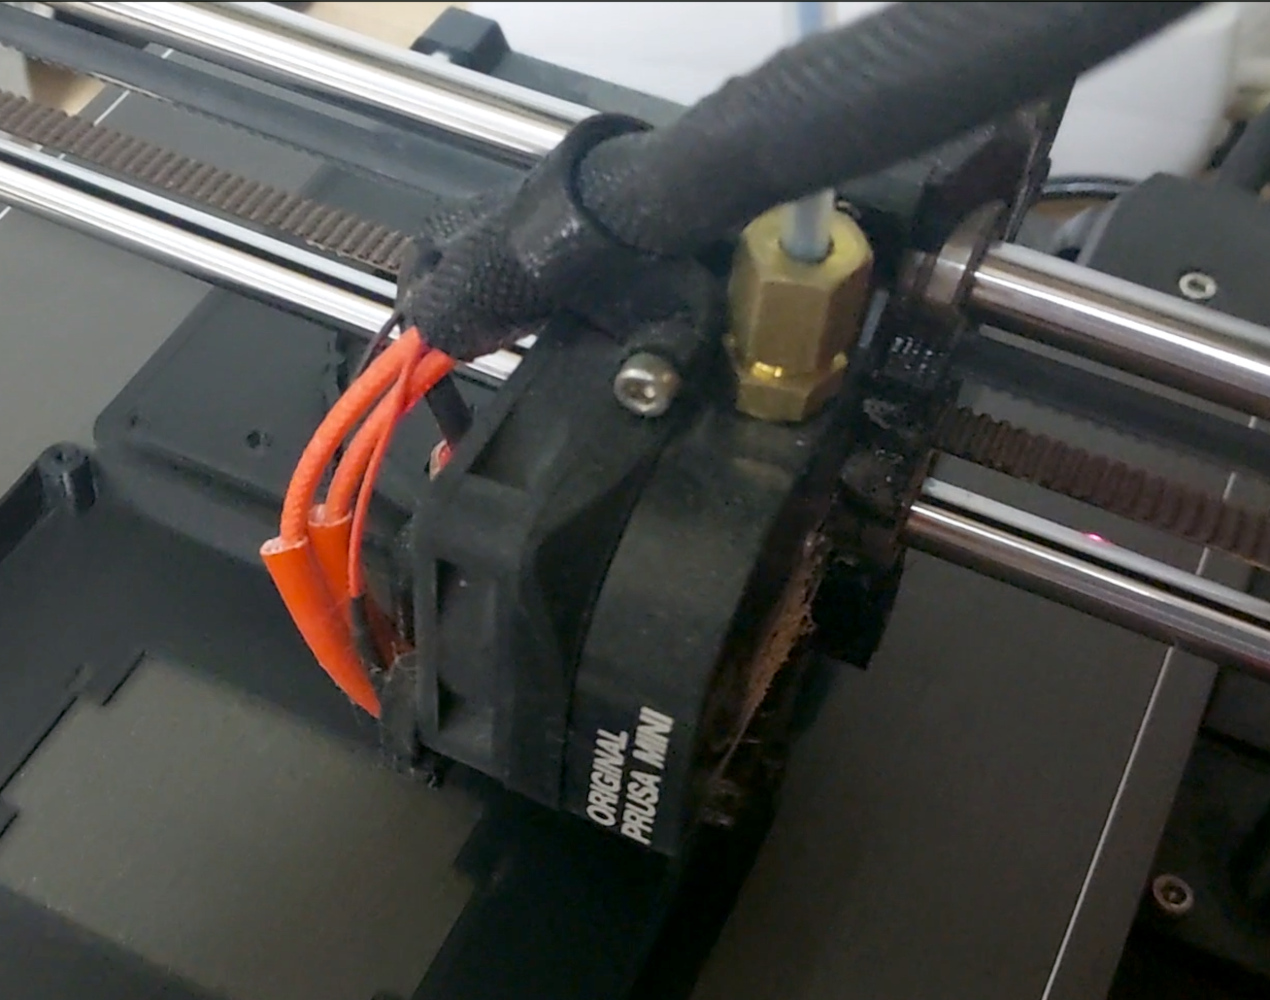
The extruder unit from a Prusa Mini 3D printer
Newton strikes back, and I can’t force rubber through this thing.

A friend of mine from way back is a petrochemist, so I asked him about the melting points of various rubbers  to see if I could find an appropriate filament His answer, predictably, was that it’s not that simple, because rubbers don’t behave in the same way as the polymers I am used to. With a conventional 3D printer filament, as the polymer is fed into the extruder and heated up, it turns to liquid and flows out of the nozzle to the print. It ‘s then hot enough to fuse with the layer below as it solidifies, which is how our 3D prints retain their shape. This property is where we get the term “plastic” from, which loosely means “Able to be moulded”.

My problem is that rubber doesn’t behave that way. As any casual glance at a motor vehicle will tell you, rubber can be moulded, but it doesn’t neatly liquefy and flow in the way my PLA or PET does. It’s a non-Newtonian fluid, a term which I was familiar with from such things as non-drip paint, tomato ketchup, or oobleck, but had never as an electronic engineer directly encountered in something I am working on. Continue reading “Why Can’t I 3D Print With Rubber?”

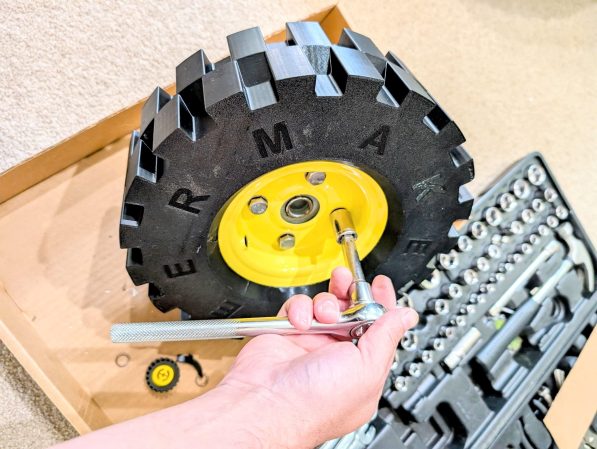
Blocky tread, yellow hub-- yep, it looks like LEGO

10″ LEGO Tyre Is Practical Nostalgia

If there’s one thing that has come to define the generations after the baby boom, it’s probably nostalgia. It’s heavily marketed and weaponized by the market: yearning for better, simpler times seems to be a core thread of the consumer economy these days. [Makerneer] combined his xilennial love of LEGO bricks with the flat tires on his log splitter to produce a 10″ TPU tyre will never go flat, and provide a dopamine release every time he sees it.

The tyre is a custom model to fit his particular rims, but he does provide STEP and F3D files if you’d like to try modifing it for your own purpose — they’re at Step 6 of the Instructable. Props to [Makerneer] for truly open-sourcing the design instead of just tossing STL files online. His build log also takes the time to point out the ways he had to modify the LEGO tyre profile to make it amenable to 3D printing: notably chamfering some of the tread pattern to eliminate bridging, which is a bit of a no-no with TPU.

As you can see in the (unfortunately vertical) demo video below, it’s a bit quite a bit squishier than a regular run-flat tyre, but that was part of [Makerneer]’s design goal. He didn’t like how rigid the non-pneumatic tyres he’d tried were, so endevoured to design something himself; the whole LEGO thing was just for fun. If you wanted to replicate this tyre with a bit less skoosh, you need only tune the infill on your print.

While only time will tell how long this LEGO-inspired add-on will continue adding whimsy to [Makerneer]’s log-splitting, we have tests to show it will outperform any other plastic he might have printed. This project is probably more practical than a 3D printed bicycle tyre, which doesn’t even have the side benefit of whimsy. Continue reading “10″ LEGO Tyre Is Practical Nostalgia”

MorPhlex: The TPU Filament That Goes Soft After You Print It

In FDM 3D printing cycles TPU is a bit of a special filament. Not so much because of its properties, but because it’s rather stretchy even as a filament, which makes especially printing certain hardness grades of TPU into somewhat of an nightmare. An interesting new contender here comes from a company called BIQU, who reckon that their ‘MorPhlex’ TPU solves many of those problems. Recently the [ModBot] channel on YouTube got sent a spool of the filament for testing.

The BIQU MorPhlex TPU filament being turned into squishy slippers. (Credit: ModBot, YouTube)

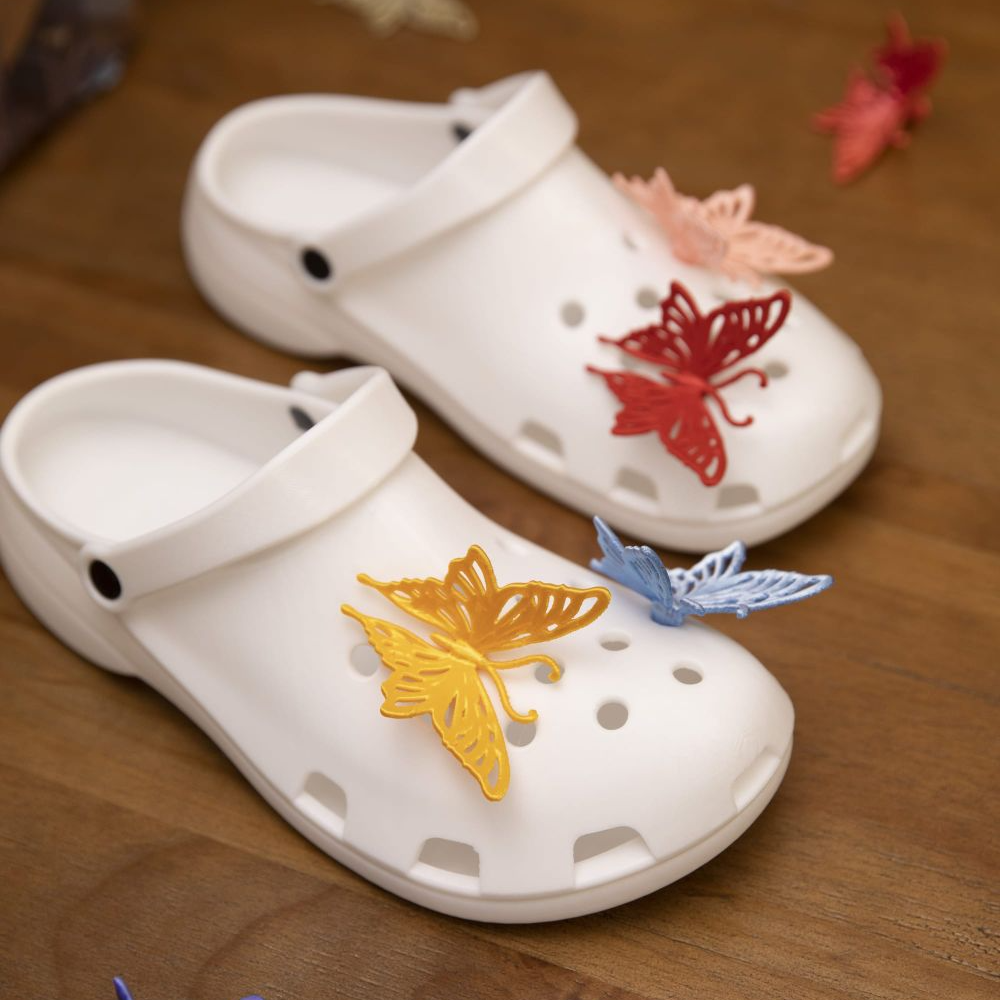
The ‘magic’ here is that this TPU claims to be a 90A TPU grade while on the spool, but after printing it becomes 75A, meaning a lot softer and squishier. Perhaps unsurprisingly, a big selling point on their product page is that you can print squishy shoes with it. Beyond this is claims to be compatible with ‘most FDM printers’, and the listed printing parameters are typical for TPU in terms of extruder and bed temperature.

After drying the filament as recommended for TPU in general, test prints were printed on a Bambu Lab H2D. Here BIQU recommends not using the AMS, but rather the dedicated TPU feeding channel. For the test prints some slippers were printed over the course of two days. In hindsight glue stick should have been applied to make parts removal easier.

The slippers were indeed squishy, but the real test came in the form of a Shore A hardness meter and some test cube prints. This showed an 80 – 85A for the BIQU MorPhlex test cube depending on whether to test the side or top. As the product datasheet indicates a final hardness of 75A +/- 3A, one could argue that it’s kind-of in spec, but it mostly raises questions on how parameters like temperature and extrusion speed affect the final result.