[Dave Buchanan] is giving the world his own take on the now famous shredding Banksy frame. This version has a few extra features though – like reverse shredding and printing money! Like many of us, [David] was impressed with the Banksy art auction shredding last week. We’re still not sure how he pulled it off, and the jury is still out if it was real, or all some sort of stunt involving the auction house.
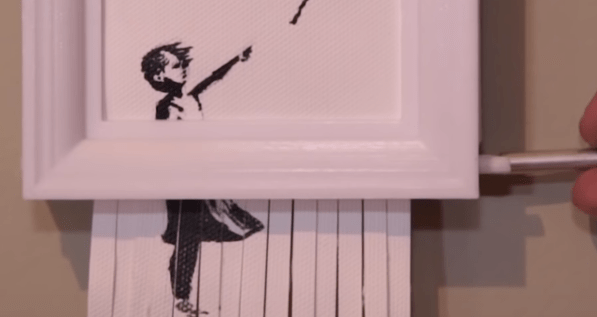
[David] took his inspiration straight to CAD software, and designed a miniature version of the frame. A quick trip to the 3D printer and he had the actual frame in hand. He even hand-painted his own copy of Girl with Balloon on canvas. Assembly didn’t quite go as planned, a few parts had to be adjusted — i.e. cut off and hot-glued together. But in the end, the hack worked – the frame would shred and un-shred the painting whenever someone cranked the handle.
If you haven’t guessed yet, [David’s] frame is a version of the classic money printing trick. What looks like two rollers is actually a simple belt drive. The mechanism pulls in one piece of paper while pushing out a hidden piece. It creates the illusion of printing money – or of shredding art. Given Banksy’s sense of humor, we can’t help but wonder if his frame worked the same way.
[David] is working on a re-design of his piece which will be easier to build — so keep an eye on his Reddit thread if you’d like to print your own.
Continue reading “Life Imitates Art: 3D Printed Banksy Frame “Shreds” Oeuvre, Prints Money”