Before we dig into this one, a bit of a history lesson is in order. In 2010, MakerBot released the Automated Build Platform for the MakerBot Cupcake. This build platform was like nothing seen before or since. It’s a combination build platform and a conveyor belt for a 3D printer, allowing the Cupcake to become a completely automated production machine. Start a print, let the machine run, and when the print is finished it’s rolled off the bed into a bin, allowing a second print to start. If you’re using 3D printers for production in a manufacturing context – like Makerbot was – this is a phenomenal invention.
The Automated Build Platform was released under an Open Source license, then quickly patented by Makerbot. Since 2010, the idea of an automated build platform has been dead. No one is working on a similar device, lest they draw the ire of a few MakerBot lawyers.
This year’s Midwest RepRap Festival saw a device that’s an even better idea than MakerBot’s Automated Build platform. Yes, it’s a continuous factory of 3D printed parts, but there’s an even better reason for you to build one of these things: this printer has an infinite build volume.
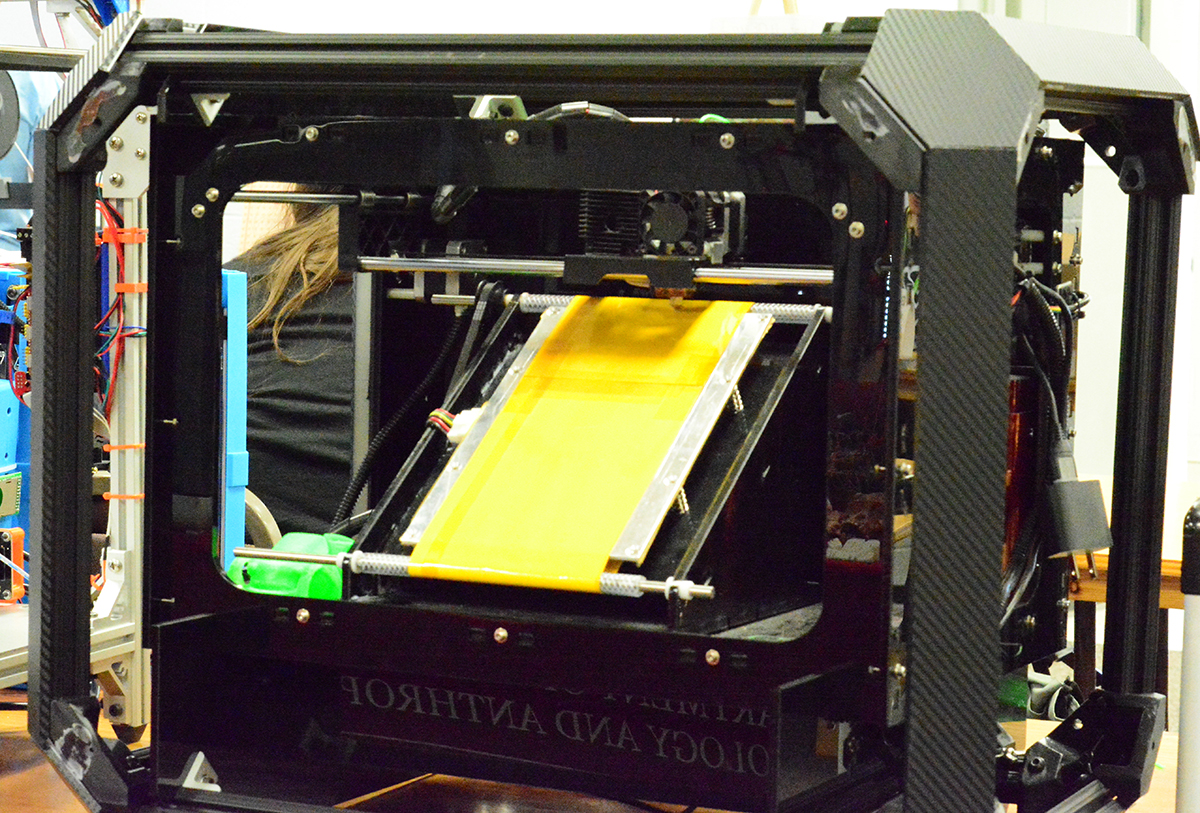
This printer – it doesn’t have a name; this is just a one-off project – is the work of [Bill Steele] of Polar3D. The core of the build is just a hacked up MakerBot Replicator, but with one important difference. This printer has an Automated Build Platform tilted away from the nozzle at a 45-degree angle. What’s the benefit of this setup? Continuous printing and an infinite build volume.
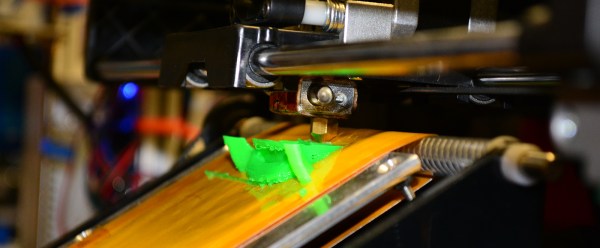
Despite being downright bizarre, the mechanics for this printer are actually pretty simple. The bed is a standard MakerBot heated bed, rotated 90 degrees in the axis you would expect, then rotated 45 degrees in the axis you wouldn’t. A conveyor belt made of Kapton-coated paper is strung between two rollers and connected to a motor.
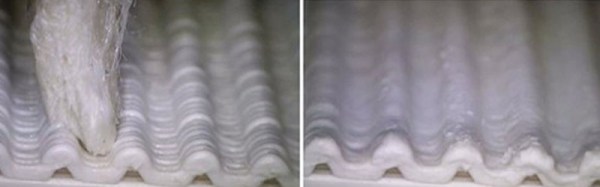
To produce a print, this printer starts at the very back and the very top of this conveyor belt. The first layer is added, the conveyor belt rolls forward a bit, and the second layer is added on top. The effect for each print is that the layer lines are 45 degrees from what you would expect.
When the print is finished, the belt just rolls forward until the part falls into a bin. Of course, since there’s nothing stopping this printer from producing a meter-long part on this build platform. [Bill] has already produced a 3D printed chain using this printer that was four feet long. Each segment of the chain just fell off the end of the printer when it was done.
There’s still some work to do with this idea. There isn’t a way to tension the belt on this printer, and [Bill] is looking for a material that’s better than Kapton coated paper. Still, this is the most innovative printer you can find at the Midwest RepRap Festival, and it’s not encumbered by the MakerBot patent on the automated build platform. You can check out a video of this printer below.
Continue reading “MRRF 17: The Infinite Build Volume Printer”


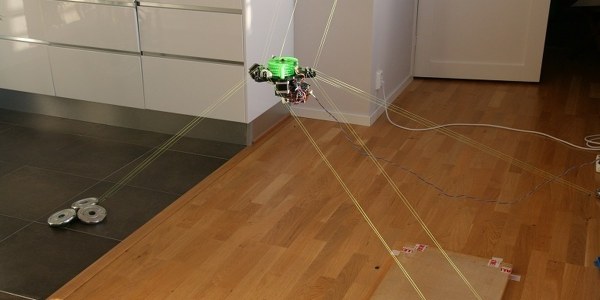
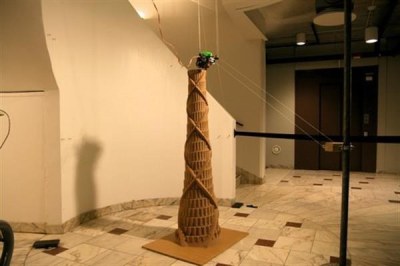 [Torbjørn Ludvigsen] is a physics major out of Umea University in Sweden, and built the Hangprinter for only $250 in parts. It follows the RepRap tradition of being


