Every little plastic bauble you interact with has some sort of recycling code on it somewhere. Now that we’re producing plastic 3D printed parts at home, it would be a good idea to agree on how to recycle all those parts, and [Joshua Pearce]’s lab at Michigan Tech has the answer; since we’re printing these objects, we can just print the recycling code right in the object.
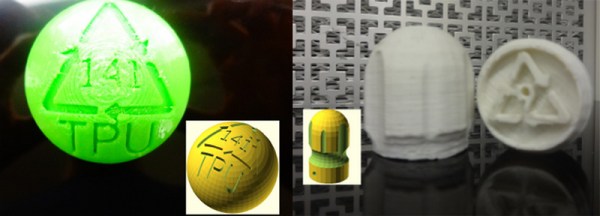
The US system of plastic recycling codes is particularly ill-suited for identifying what kind of plastic the object in question is made of; there are only seven codes, while China’s system of plastic identification uses 140 identification codes. This system for labeling 3D printed parts borrows heavily from the Chinese system, assigning ABS as ‘9’, PLA as ’92’, and HIPS as ‘108’.
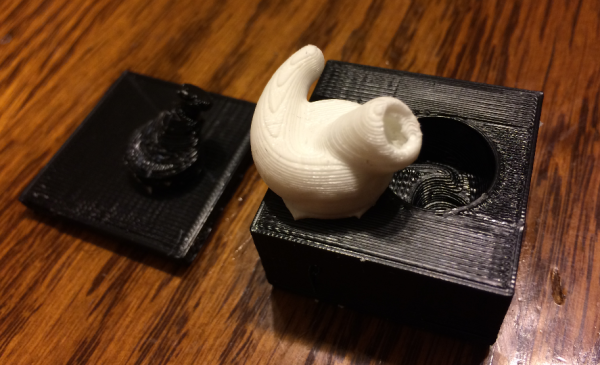
With agreed upon recycling codes, the only thing left to do is to label every print with the correct recycling code. That’s an easy task with a few OpenSCAD scripts – the paper shows off a wrench made out of HIPS labeled with the correct code, and an ABS drill bit handle sporting a number nine. 3D printing opens up a few interesting manufacturing techniques, and the research team shows this off with a PLA vase with a recycle code lithophane embedded in the first few layers.

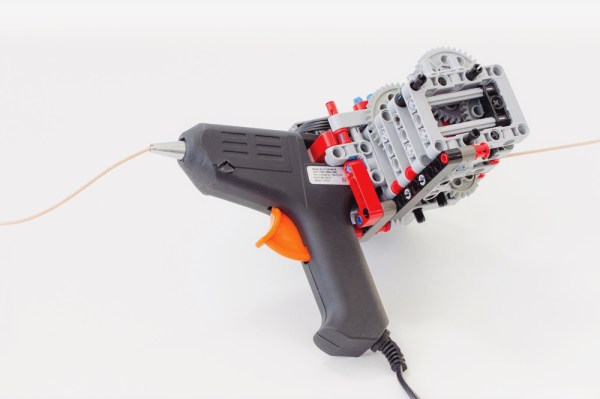
 Using standard LEGO parts he was able to build an attachment for the hot glue gun to feed the 3mm diameter biodegradable filament through the nozzle. He’s uploaded the