In the past month, a few patent applications from MakerBot were published, and like everything tangentially related to the prodigal son of the 3D printer world, the Internet arose in a clamor that would be comparable only to news that grumpy cat has died. That’s just an analogy, by the way. Grumpy cat is fine.
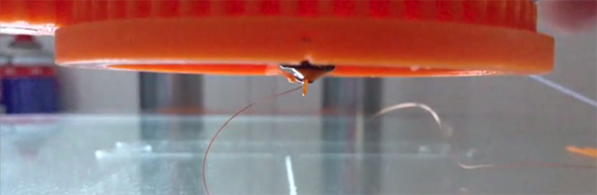
The first patent, titled, Three-dimensional printer with force detection was filed on October 29th, 2013. It describes a 3D printer with a sensor coupled to the hot end able to sense a contact force between the nozzle and build plate. It’s a rather clever idea that will allow any 3D printer to perform software calibration of the build plate, ensuring everything is printed on a nice, level surface. Interestingly, [Steve Graber] posted an extremely similar design of a bed leveling probe on October 6th, 2013. In [Steve]’s video, you can see his bed level probe doing just about everything the MakerBot patent claims, all while being uploaded to YouTube before the patent application.
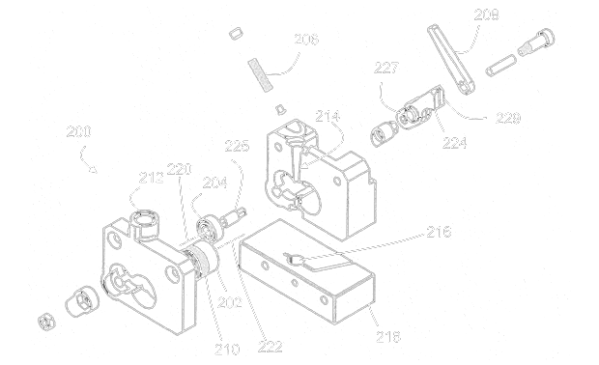
When it rains it pours, and the Quick-release extruder patent application, filed on October 28, 2013, bears this out. It claims an extruder that includes, “a bistable lever including a mechanical linkage to the bearing, the bearing engaged with the drive gear when the bistable lever is in a first position and the bearing disengaged from the drive gear when the bistable lever is in a second position.” Simple enough, a lever with two positions, where one presses a bearing against a drive gear, and the other position disengages the bearing from a drive gear. Here’s something that was published on Thingiverse in 2011 that does the same thing. Hugely famous RepRap contributor [whosawhatsis] has weighed in on this as well.
It is important to note that these are patent applications. Nothing has been patented yet. The US Patent and Trademark Office does seem to have a lot of rubber stamps these days, so what is the average Internet denizen to do? Here are easy to follow, step-by-step instructions on how to notify the USPTO of prior art. Remember, just because prior art does not completely invalidate a patent application’s claims doesn’t mean you shouldn’t send it in. It is a patent examiner’s job to review the prior art.
So there you go. MakerBot applies for patents, people complain, but not to the USPTO. Highly relevant video and transcription below.
Continue reading “MakerBot Files Patents, Internet Goes Crazy” →