As we work on projects we’re frequently upgrading our tools. That basic soldering iron gives way to one with temperature control. The introductory 3D printer yields to one faster and more capable. One reason for this is we don’t really understand the restrictions of the introductory level tools. Sometimes we realize this directly when the tool fails in a task. Other times we see another hacker using a better tool and realize we must have one!.
The same occurs with software tools. The Arduino IDE is a nice tool for starting out. It is easy to use which is great if you have never previously written software. The libraries and the way it ties nicely into the hardware ecosystem is a boon.
When you start on larger projects, say you upgrade to a Due or Teensy for more code or memory space, the Arduino IDE can hamper your productivity. Moving beyond these limitations requires a new, better tool.
Where do we find a better tool? To begin, recognize, as [Elliot] points out that There is no Arduino “Language”, we’re actually programming in C or C++. We chose which language through the extension on the file, ‘c’ for C and ‘cpp’ for C++. An Arduino support library may be written in C or C++ depending on the developer’s preference. It’s all mix ‘n match.
Potentially any environment that supports C/C++ can replace the Arduino IDE. Unfortunately, this is not easy to do, at least for inexperienced developers, because it means setting up the language tool chain and tools for uploading to the board. A developer with that much experience might eschew an integrated development environment altogether, going directly to using makefiles as [Joshua] describes in Arduino Development; There’s a Makefile for That.
The reality is the Arduino IDE is not much more than a text editor with the ability to invoke the tools needed to compile and download the code to the Arduino. A professional IDE not only handles those details but provides additional capabilities that make the software development process easier.
Continue reading “Code Craft: Using Eclipse For Arduino Development” →

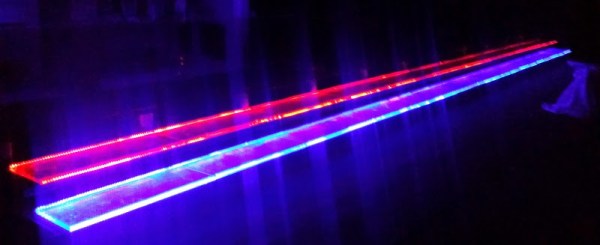
 The project took around 450 meters of RGB strips controlled by