[Utpal Solanki] wanted to do some text chatting from the comfort of the couch. He built this wireless chat client that he calls Chatbox using a microcontroller, a character LCD screen, and a keypad that he built himself.
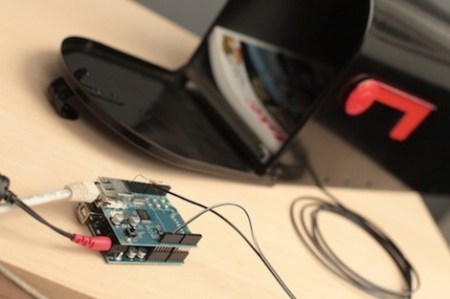
The device communicates via an Infrared emitter and receiver. It pairs up with an Arduino using an IR shield that [Utpal] built. The handheld unit flashes a pair of white LEDs whenever it receives a message from the Arduino. You can then hit the Inbox button and scroll through to read what was received. To reply just type on the keypad the same way you would with a cellphone, then hit the send button to shoot that message back to the Arduino.
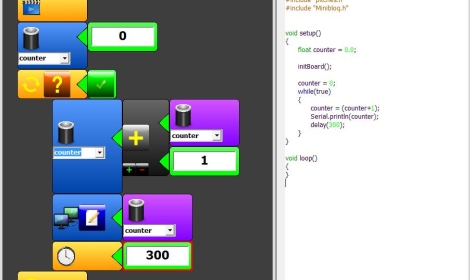
On the computer side of things the messages are being relayed to and from the Arduino over a USB connection. Early on in the video demonstration (embedded after the break) [Utpal] shows his Chat Box program communicating via the handheld unit in the same way that other messenger programs work.
Looks to us like he’s built his own non-pink version of what the IM-ME was originally intended to do.