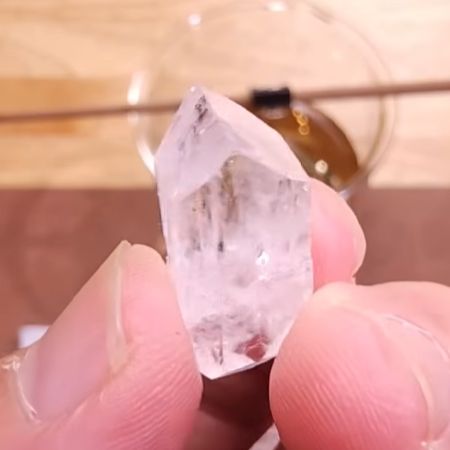
The propensity of gasoline to ‘go stale’ through the process of oxidation is the reason why gasoline that has been stored for a long period of time is considered to be unusable, as it will no longer combust property. Since this process creates the sludge that you find in the bottom of an old gasoline canister, it follows that you may be able to distill out the still good gasoline. With this reasoning, [Joel] over at the [Lowered Expectations] channel set to work to try out this theory.
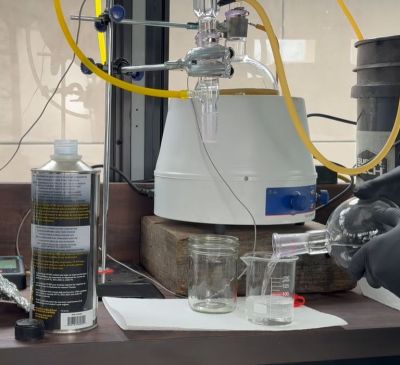
As part of his job of maintaining things like pressure washers, he got access to many grades of stale gasoline to experiment with. After a short demonstration of how poorly these grades of stale gasoline burn it’s on to the main distillation event. To the stale gasoline aluminium oxide is added as both a catalyst and to create nucleation sites that will prevent ‘bumping’ where you suddenly get a surge out of the heated flask.
Of course, that this is incredibly dangerous should be obvious, and the lack of PPE on the side of [Joel] is somewhat worrying. On the positive side, he does take it easy with ramping up the temperature on the gasoline to try and find the sweet spot where production seems sufficient. This turned out to start at 70°C in the flask when the condenser began to receive its first load of presumably clean-ish gasoline.
The goal here is of course to approximate the function of the fractionating column (‘distillation tower’) at refineries at smaller scale, which [Joel] appears to be doing correctly with what looks to be a Vigreaux column. Since the base product is gasoline with oxidized contaminants this process is of course quite different, so he goes through the different temperature ranges to see what kind of distillate he gets, up to nearly 200°C before calling it.
Ultimately 880 mL of the initial 1 L was collected, with the various distillates combined for testing. Unfortunately none of the testing is actually covered in the video, but it is mentioned at the end that a second batch of the distillate was used to power his car, so presumably it works.
Suffice it to say that ‘works’ doesn’t mean that it is safe, of course. Heating such stale gasoline produces many highly flammable and combustible substances, along with many that are just downright bad for your health to be exposed to. The plethora of very short-term to all the way to very long-term health effects this may cause should be obvious.
Continue reading “Distilling Stale Gasoline To Make It Usable Again”