Shoehorning RS-232 Into A Minitel Terminal

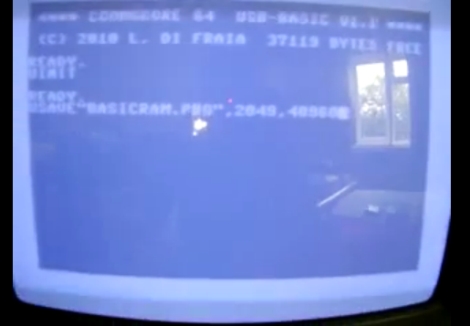
In the early 80s, millions of terminals were handed out to French telephone subscribers. Nearly 9 million of these Minitel dumb terminals were in use at one time, and with that degree of ubiquity, we’re surprised we haven’t heard of them before. These boxes were usually connected to the outside world through their internal 1200bps modem, but [O. Blt] came up with this build (Google Translate link) so he could connect to a local machine with an RS-232 port.

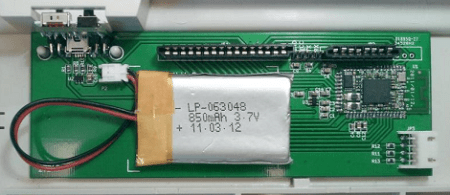
After digging up the pinout for the Minitel’s DIN-8 port, [O. Blt] designed a little board around a MAX232 chip scavenged from an old motherboard. Of course there was a need to get the terminal to do something, so [O. Blt] used the Minitel as a display and remote control for Winamp. The project was successful, but not very useful – at 1200 bps, the refresh is very, very slow.

American readers may remember connecting to the Minitel network with their Apple ][s and C64s with CommunityLink, but this service was driven out of the market by the giants of pre-web dial-up, Prodigy and Compuserve. In any case, after seeing the AZERTY and alphabetic keyboard layouts of these old boxes gives us a feeling of nostalgia for a time before everything dealing with computers was standardized.

BAMF2011: Keyboards Built From Scratch

As the most direct interface between computer and programmer, keyboards can be a deeply personal, sometimes almost religious thing. Some find solace in their vintage IBM Model M, or luxurious leather keyboard, but maker [Carol Chen] took things into her own hands, quite literally. [Carol]’s Maker Faire exhibit has a half dozen specimens of interesting commercial tactile and ergonomic options…but [Chen]’s personal keyboard, where she commits to her work as a full-time coder, has been made to her own exacting specifications.

Continue reading “BAMF2011: Keyboards Built From Scratch”

Arduino Magnetic Core Memory Shield

mag_core_memory

Magnetic core memory turns 60 years old today, and as a tribute [Ben North and Oliver Nash] have created a 32-bit magnetic core memory board for the Arduino.

Magnetic core memory was used from the 1950s through the 1970s, and provided a non-volatile means for storing data, as each magnetic core retained its orientation, even when the power was cut. While it sounds a lot like a modern hard drive, these devices were used in the same fashion as RAM is utilized today.

While the pair used surplus ferrite cores manufactured just before magnetic memory stopped being produced, they did allow themselves to use some modern components. Items such as transistors and logic gates were not available to the first magnetic core memory manufacturers, but the use of these items helped them complete the project in a reasonable amount of time.

Their final result is a magnetic memory board which can be used by any USB-enabled device and is reliable enough to withstand billions of read/write transactions.

BBC Covers An Old-school Hacker

Yesterday, the BBC posted an article on [Julian Skidmore]’s AVR-based homebrew computer.

[Julian]’s project uses an AVR and a derivative of Forth to recreate the capabilities of the 8-bit computers of yesteryear. With 8kB of RAM, [Julian] got a TV-out up and running, and even included code for a Lunar Lander game.

We’re happy for [Julian] getting some notoriety as an old-school solder monkey, but we’re wondering why the BBC is covering a project not unlike the something that could be seen on hackaday once a week. Could it be the first inkling of respect for the hacker and DIY community in the general public’s eye?

In any event, we love the initiative shown in [Julian]’s quote at the bottom of the BBC article: “Building the machine is a way to learn the essentials of what a computer is all about.” If you want to understand something, you’ve got to build it yourself. Truer words…

A Beginner’s Guide To LED Matrices

led_tutorial

[Rajendra Bhatt] wrote in to share a tutorial he put together demonstrating the basics of using LED dot matrix displays. While this subject might be old hat to many out there, his helpful walkthroughs are geared more towards beginners who are exploring various electronics concepts for the first time.

He explains the theory behind LED displays using a PIC-driven 5×7 matrix as an example. He discusses persistence of vision and how tricking the human eye can save you quite a bit of time and a whole lot of pins. Multiplexing is broken down into its most basic steps, which [Rajendra] illustrates by showing how a letter would be drawn on the LED display one column at a time. The use of a ULN2803A Darlington Array is also discussed, and he details why it is used when pulling the five columns of LEDs to ground.

The only portion of the tutorial we thought could be expanded upon was the programming section. While he does show how each letter of the alphabet can be displayed via a series of five hex values, he does not cover the “why” part of the process. Obviously while anyone familiar with binary and hex can figure it out in pretty short order, we think that it would be a great place to pause and expand the readers’ knowledge even more.

Overall it’s a useful tutorial, and most beginners would likely find it quite helpful.

DIY Lightbox Repurposes Useless Scanner

[James] didn’t like losing detail when scanning in photographic negatives, so he repurposed an old scanner and turned it into a lightbox.

The Flickr set of the build shows [James] installing a compact fluorescent bulb in the body of the scanner. Aluminum foil reflects the light, and the scanner glass is painted white for diffusion. [James] is quite happy with the result, and is amazed by the detail seen in the negatives under magnification instead of scanning.

We’re trying to figure out [James]’s though process in deciding to build a light box, and the best we can come up with is the hackaday mantra of, “Of course I can do that myself.” Even though he seems happy with his project, we’re wondering how hackaday readers would improve it. Maybe several dozen red, green, and blue LEDs to adjust the color temperature? Post your ideas in the comments.

9v IR Tester

Whenever you are working with infrared, you sometimes need to see it, and thats kind of hard. Most people would jump up and say “camera”, but that is not always the best solution. For instance my phone camera is so filtered its near useless for IR, and my DSLR will only take a full blast source and present a dim glow. Wanting something a bit easier [Candymanproducitons] whipped up a little IR tester that fits on top of a standard rectangle 9V battery.

A simple circuit containing nothing more than a LED, resistor, and a IR photo-transistor was assembled on some perforated circuit board, then mounted on top of a battery clip with some epoxy. The end result is a compact and robust tool that will be very handy in the shop, though we think a little spot for your scope probe would be super.

9 volt batteries, with their internal design and locking / polarized terminals are usually a mainstay of electronic tinkerers, and often pop up in cool and compact projects like my lm386 amp in a battery shell from last year. So what can you do with them?