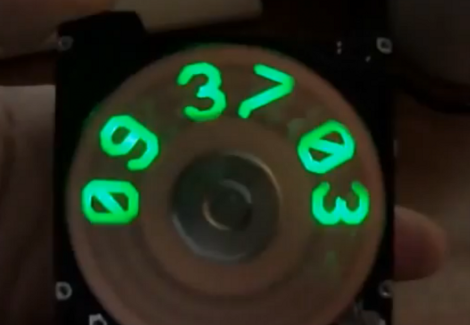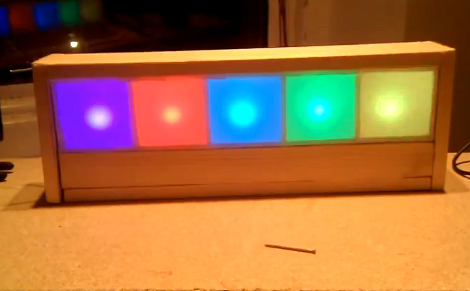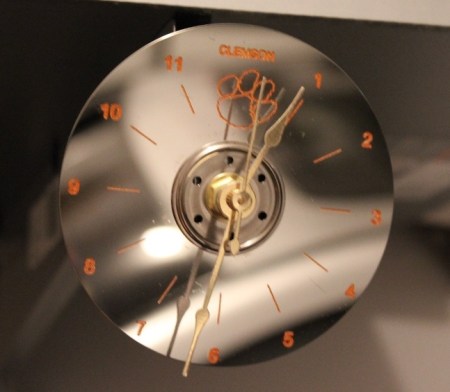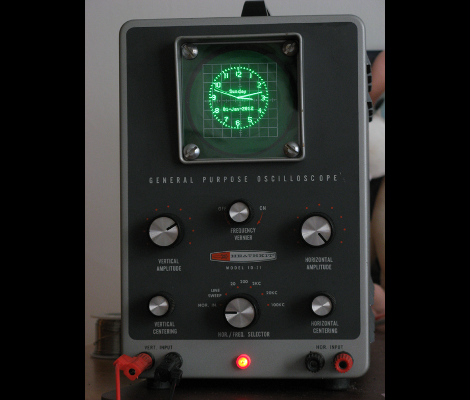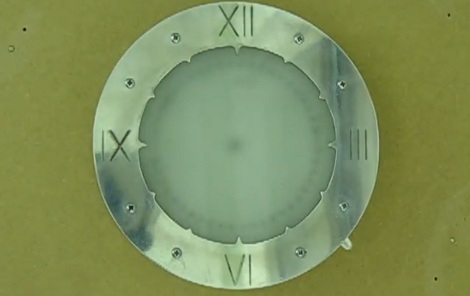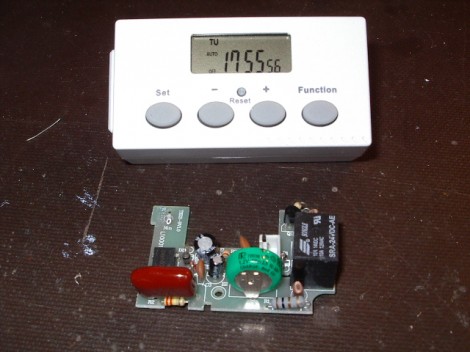
Yep, if you’ve got a button that needs pushing, this is one way to do it. [Travis] combined an old alarm clock with a car door-lock actuator and minimal logic circuitry to make this happen. When the alarm time is reached, the adjustable actuator comes down to press whichever button has been placed under it. In the video after the break he’s using it to schedule the start time for his Roomba, make his coffee, heat his pizza, or pointlessly press the clock’s own snooze button (classic). We think this is just begging to be used with a Rube-goldberg setup, perhaps to topple to dominos that other robot took the time to set up. Oh wait… that shows up in the video too. Fantastic!
clock hacks924 Articles
Keep Your Kids In Line With A Time Clock
When the cat’s away the mice will play, but a least you’ll know when they came home if you use this time clock. It’s called the Kid-e-log and [John Boxall] developed it to help a friend who wanted to keep track of their teenage children’s after school activities while they were still at work. He figured having them punch a time clock would at least let you know if they came straight home as they were supposed to. An RFID tag was issued to each (no, they didn’t implant the tags) and used to record the time. To keep fraud to a minimum the hardware has a battery back-up for its real-time clock, and the tag read events are stored to EEPROM for retention between power cycles. This doesn’t prevent common tricks like taking the reader with you, or sending your tag with a sibling, but it’s a start. See it in action after the break.
Domino Clock Uses An Electromechanical Display
This clock concept uses big dominos with changing faces to display the time. As far as we can tell they haven’t made it through to a finished product yet, but we loved the explaination of the engineering that went into the prototype. After the break you can watch [Eric] explain how he accomplished the design requirements of a slowly changing digit that uses no power to keep its state, which also uses low-power when changing state. To accomplish this he designed a flipping circle that stays put in both the white and black positions once set. When it’s time to change the digits, a coil is energized to push against a magnet in what he calls a single poled motor. Whatever the name, we want to build one ourselves!
Continue reading “Domino Clock Uses An Electromechanical Display”
Ice Tube Clock, Meet The ChronoDot
[Alex] ramped up the precision of his timepiece by adding a ChronoDot to the Ice Tube Clock. These two items are among our favorites; the Ice Tube Clock for its old-style multi-digit display, and the ChronoDot for combining a DS3231, battery, and components into a nice small package.
There is a schematic link at the very bottom left of [Alex’s] writeup. He mentions that he depopulated the clock crystal and its capacitor pair from the board and patched into the clock input on the AVR. A 100K pull-up resistor is included in the wiring as called for in the DS3231 datasheet. Although not specifically referenced, we assume that [Alex] reprogrammed the ATmega168 clock select fuses to use an external clock signal.
Now he can sit back knowing that the clock will be within 10 seconds per year accuracy.
Meter Clock With Pleasing Design Considerations
[AndyO] embraced his inner geek by building this meter clock. It exhibits a lot of features that you’d want to see in a home-built timepiece, include over-complexity, abundant features, and RGB LEDs. We’re fascinated by the design he put into this. For instance, the two indicator LEDs on the clock face are not poking through the surface, but use brass tubes as light pipes. Also, the three buttons on the top are almost indistinguishable, and have an RGB back light that places a halo around each. The case itself was built by first making a form, then laminating thin sheets of wood (a difficult task due to the tight curves). The needles themselves are not actually meters, like the clock the inspired the build, but are attached to servo motors. This all comes together into a fascinating build, and a great writeup.
[Thanks Graham]
Hot Resistors Used For Color-changing Clock Face
[Sprite_TM] built a full clock display using thermochromic paint. This picks up where he left off with his paint-based 7-segment display prototype. He never really saw that design through to a finished project, but he recently came across the leftover paint and decided to do something with it. Instead of making thin traces on a PCB he’s heating up resistors mounted on protoboard. Each resistor has been coated with the black/light grey paint after getting a rough sanding on the tops of the packages. Run around 500mW through a segment and they heat up enough to change the paint to light grey. Once shut off, the segments gradually fade over the next 60 seconds.
Warm Tube Clock
The Warm Tube Clock is the new kid on the block of Nixie Tube clocks. It takes inspiration from, and uses the same voltage driver circuit as the Ice Tube Clock. But this one uses four tubes instead of that hard-to-find single tube. It has a few other tricks up its sleeve. The shield that hosts the tubes has been designed for two different types. It also hosts an RGB LED for each tube, which adds the green glow seen above, and has a couple of small neon indicator bulbs which serve as the colon between hours and minutes.
The driver board centers around an ATmega328 running about three thousand lines of code. The firmware offers a lot of options including sound feedback, and a setting for every clock, calendar, alarm, and LED color toggle imaginable. See for yourself as the settings video, embedded after the break, walks you through each stage of the menu. We can’t help but think you need an instruction manual to set this thing up.