Light polarization is an interesting phenomenon that is extremely useful in many situations… but human eyes are blind to detecting any polarization. Luckily, [David] has built a polarization-sensitive camera using a Raspberry Pi and a few off-the-shelf components that allows anyone to view polarization. [David] lists the applications as:
A polarimetric imager to detect invisible pollutants, locate landmines, identify cancerous tissues, and maybe even observe cloaked UFOs!
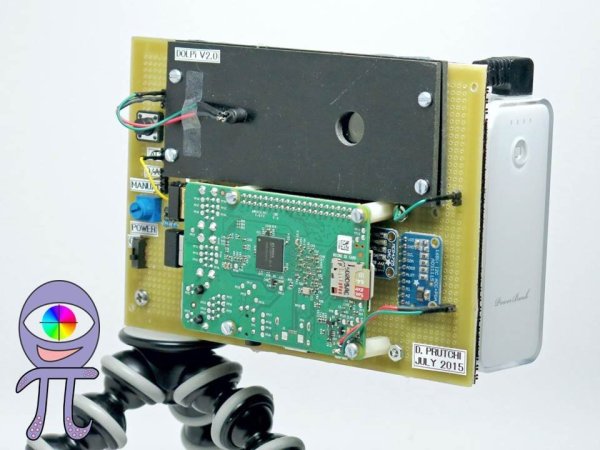
The build uses a standard Raspberry Pi 2 and a 5 megapixel camera which sits behind a software-controlled electro-optic polarization modulator that was scavenged from an auto-darkening welding mask. The mask is essentially a specialized LCD screen, which is easily electronically controlled. [David] whipped up some scripts on the Pi that control the screen, which is how the camera is able to view various polarizations of light. Since the polarization modulator is software-controlled, light from essentially any angle can be analyzed in any way via the computer.
There is a huge amount of information about this project on the project site, as well as on the project’s official blog. There have been other projects that use polarized light for specific applications, but this is the first we’ve seen of a software-controlled polarizing camera intended for general use that could be made by pretty much anyone.