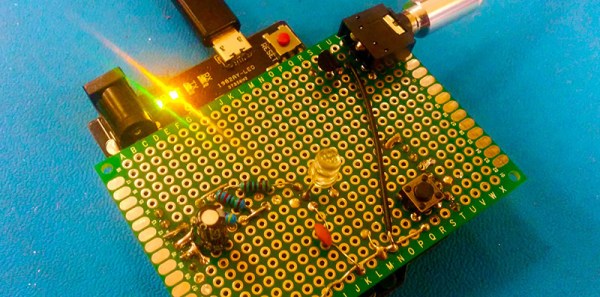
Time-lapse photography is always a fun way to show off the build process of a project – but sometimes it can get a bit boring and repetitive. To add a new dynamic, why not try a moving time-lapse? It’s not actually that hard to build a time-lapse slider rig. And you can do it with, or without a microcontroller.
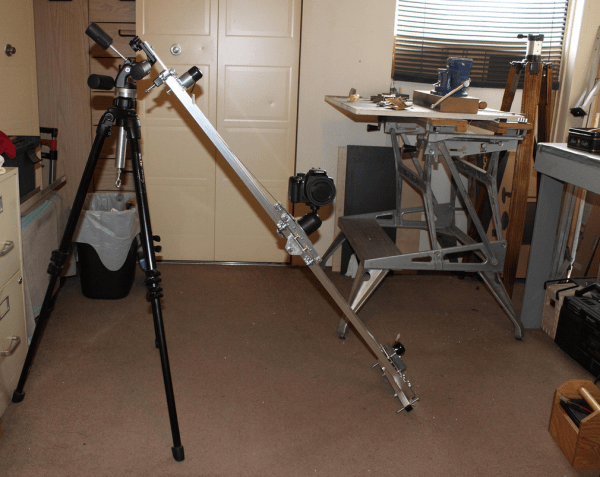
[Charlie] built this slider rig out of square aluminum tube stock which is cheap and easy to work with. It’s also a great candidate for using pop-rivets which can speed up the assembly considerably. The camera bogey uses aluminum angle stock with skateboard bearings to ride along the track. Altogether the rig is four feet long and about 6″ wide.
To pull the camera back and forth, [Charlie] has a 0.5RPM geared motor from Servo-City which results in a travel time of about 5400 seconds (90 minutes). While there aren’t any demo videos of the rig in action, we imagine it’d produce some pretty clean motion. And thanks to its rigid construction, the camera can be pulled upside down, on angles, and even vertically.