Mini Google Street View Car Built From Lego

lego_street_view

[Mark] was playing around with a small GPS sensor when a light bulb lit over his head. He imagined it would be pretty cool to replicate one of Google’s Street View cars at a fraction of the scale using Lego NXT parts. He figured it would be easy enough to rig a few cameras to a remote controlled car, recording images and GPS coordinates as it went along.

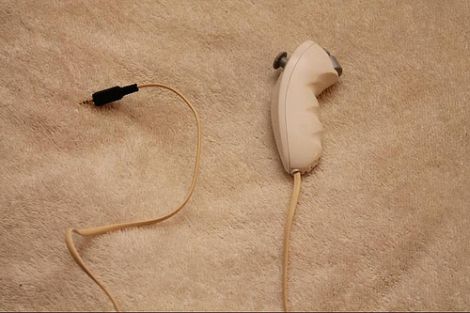
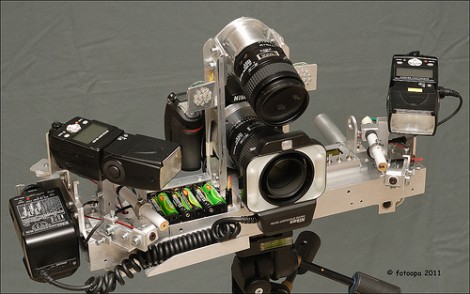
The mini Street View car is controlled by a single NXT module that receives commands from a PS2 controller via a PSPNx sensor he purchased. A trio of cameras have been attached to the car, which are meant to take pictures in all different directions when triggered by his remote. A handful of additional motors are also used for driving the car, steering, and for activating the shutter release on the cameras.

The car worked decently during testing, but [Mark] says there is still plenty of room for improvement. He is having issues reliably triggering all cameras at the moment, but we’re sure he’ll have it sorted out soon enough.

Keep reading to see a video of his mini Street View car in action.

Continue reading “Mini Google Street View Car Built From Lego”

Faking High-speed Video Photography Of Repetitive Events

[Destin] has been doing some high-speed and high-resolution video photography using a standard DSLR. He accomplishes this using a bit of ingenuity to capture images of repetitive events at slightly different points in time.

The banner image above shows a bullet travelling through a set of matchsticks. [Destin] uses the sound of the gun firing to trigger the flash that captures the image. A piezeo transducer picks up the sound, triggering a precision pulse generator. That pulse generator then triggers the flash, adding a delay based on the settings. In this way, [Destin] can capture video by firing a bullet for each frame, but adjusting the delay period of the pulse generator to capture the image when the bullet is in a slightly different place from the previous frame. It’s an old technique, but after some post-processing it produces a high-quality output without sinking thousands of dollars into an actual high-speed camera. Check out the video we’ve embedded after the break.

We like this guy’s style. We saw him strapping a camera onto a chicken back in December and we hope to see a lot more from him in the future.

Continue reading “Faking High-speed Video Photography Of Repetitive Events”

Canon A70 CCD Replacement/repair

Looking for an underwater camera setup, [Imsolidstate] picked up a Canon A70 and a Canon water-tight housing on eBay for around $45. Unfortunately the camera arrived with a non-functioning CCD. Another trip to the online auction site landed him a replacement CCD which he set about installing.

We have this exact model of camera with a cracked LCD display. Being that we like to hack around on things we’ve pulled it apart in order to replace the screen and believe us, there’s no extra room inside that thing. The video after the break shows the teardown, and you can see what a pain it is to get the unit apart. That process in only eclipsed in difficulty by the reassembly itself.

In the end it wasn’t a problem with the CCD itself, but with the connector on the PCB that received the flat cable. It wasn’t holding the contacts tight, but [Imsolidstate] fixed that with a strategically placed piece of foam.

Continue reading “Canon A70 CCD Replacement/repair”

Build Your Own Panoramic Pinhole Camera

panoramic_pinhole_cam

While it seems that the digital camera is king, some people still love shooting with good old 35mm film – [Costas Kaounas], a high school teacher and photographer certainly does. He recently published plans for a great-looking 35mm pinhole camera over at DIY photography that we thought you might enjoy.

[Costas] put together a set of simple hand-drawn plans for the camera, that you can easily replicate with a bit of free time. The camera is built mostly from card stock, both in 1mm and 3mm flavors, also incorporating popsicle sticks and an aluminum can. The popsicle sticks are used to create a manual shutter for the camera, while the pop can is used to form the pinhole aperture.

It’s a pretty simple hack as you can see, with nary an electronic part to be found. It will take you a bit of time to construct however, since you’ll need to let the glue dry between certain steps.

Love it or leave it, you’ve got to admit that the panoramic shots it takes are pretty nice!

If we’ve piqued your interest in pinhole cameras, be sure to check out this Lego pinhole camera as well as this beer can pinhole camera.

[via Lifehacker]

Update: Laser-powered Auto Focus Assist Version 2

We don’t know if our feature from a couple of days gave [Adrian] a kick in the pants, or if he was just on target to finish is writeup this week, but he’s posted about version 2 of his laser auto focus assist project.

The original idea was to use an unfocused laser pointer dot to give his DSLR auto focus feature a kick in the pants since the built-in light doesn’t come back on when photographing moving subjects. The original version worked, but he had to operate the laser manually and the hardware was kind of spread out all over the camera.

The latest version (2.0) can be seen above, housed in a project box that mounts to the hot shoe and keeps everything together in one package. The laser operation is now automatic, coming on when the shutter trigger is depressed half way, or when the auto focus enable button is depressed. The controls on the project box include an on/off switch as well as a potentiometer which varies the intensity of the laser.

It looks like this won’t be the last version of the hardware that we see. [Adrian] covers a few outstanding problems in his post. Most notably, the laser light is still a bit too strong. At a recent live event, another photographer took issue with the fact that his images included the red splotch from [Adrian’s] diy hardware.

Laser-powered DSLR Auto Focus Assist Light

laser_af_assist

[Adrian] uses his Canon 40D quite often in dark or low-light situations, and found the onboard auto focus assist functionality to be a bit frustrating. In certain focus modes, the auto focus assist light is programmed to turn off once focus has been achieved. He noticed that if his subject moves or the focus point changes before he snaps the picture, the AF light does not come back on to assist in refocusing the image.

To work around this problem, he decided to build a supplemental auto focus assist light that could be triggered at will. He purchased a cheap laser pointer with an adjustable lens, then cut it open to get at the good parts. He mounted it on top of his camera and tweaked the lens to produce an unfocused beam of light that measures about 6” x 12” at five feet.

The laser pointer did the trick – his images are coming out much nicer now that he can easily recompose his shots in low light. While it works great, he’s not completely satisfied with the build, especially with the fact that he has to manually trigger the laser pointer.

Version 2 is in the works however, which employs an old hot shoe to trigger the laser whenever he pushes the shutter release halfway down. According to his blog he is having some timing issues, causing him to capture the laser in most of the pictures he takes. [Adrian] is working hard to correct the problem, and we’re sure he’d appreciate any tips you might have.

Long-range Canon DSLR Remote Video Trigger

canon_60D_remote_video_trigger

Instructables user [Justin] generally enjoyed shooting video with his Canon 60D DSLR, though there was one small problem. The only way that the camera could be remotely triggered to shoot video was via a small IR remote with a paltry 10 foot range. Even worse, the remote had to be pointed directly at the front of the camera to work at all. To remedy the situation, he decided to rig up his own long-range trigger mechanism.

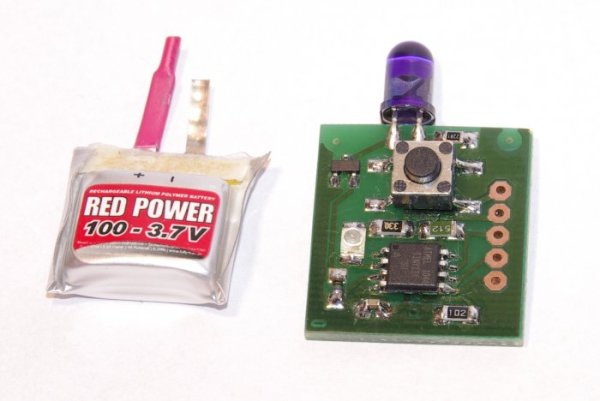
He cobbled together an Arduino with components he had sitting around, mounting it in a project box on top of the camera. A commercially available RF remote shutter release is also mounted on the top of the camera, and wired to the Arduino using a small 2.5mm plug. When he activates the RF remote, it sends a pulse to the Arduino, which in turn sends the appropriate signal to his camera via a small IR LED.

While he readily admits that he could have likely used a much simpler configuration, the Arduino does its job, and he’s quite happy with his solution. We agree with him about the Arduino, but it’s hard to argue with saving money by using components you already have on-hand.