To take a color image, modern digicams have something called a Bayer pattern – small red green and blue filters, one color for each pixel – that drastically reduce the resolution if all you’re doing is taking black and white pictures. [Lasse] is an astrophotographer, and doesn’t exactly need color pictures, so he decided to swap the color sensor in his camera with a monochrome CCD.
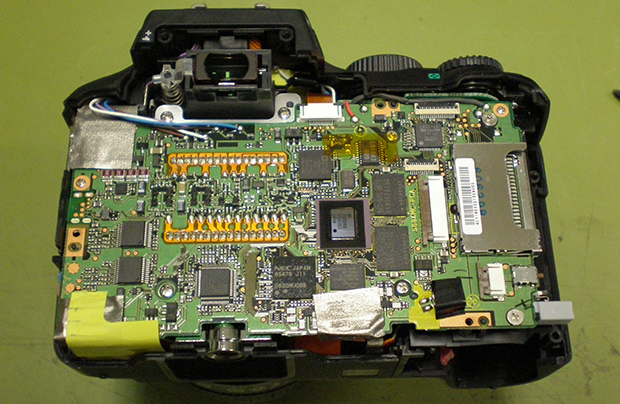
Most DSLRs have CCD sensors on strange surface mount packages or put everything on flex PCBs. [Lasse]’s Olympus E-500, though, features an 8 Megapixel CCD on a ceramic DIP that is actually fairly easy to remove given the right tools and just a little bit of mechanical encouragement.
After putting in a new monochrome CCD, [Lasse] had a much more sensitive sensor in his camera, and processing the RAW files off the camera gives him a great improvement for his astrophotography.
This isn’t [Lasse]’s first adventure in tearing apart DSLRs for astrophotography. Earlier, he uncovered the secrets of the Four Thirds lens format with a logic analyzer, making his Olympus camera a wonderful tool for looking into the heavens.