Electric Vehicle Peripheral Controller For The Masses

This juicy hunk of printed circuits is an open source controller for the peripherals of an electric car. It’s the product of a capstone project working on a vehicle aimed at urban commuting. There wasn’t a suitable non-proprietary module for controlling a car’s peripherals so the team built their own.

As far as we can tell this is not responsible for driving the vehicle itself. We assume there’s another piece of hardware which reads from the accelerator pedal, drives the motors accordingly, and handles things like regenerative braking. But there’s a lot of other things in a modern vehicle that need to be taken care of as well. Head, tail, and turn indicator lights must be switched. All of the dashboard controls (like the turn signal lever and the wiper blade speed settings) need to be monitored. Something needs to drive the door locks, and a system that reads the door ajar sensors and switches the dome light on and off must be handled. This is where the controller pictured above really shines.

The team has released all of the hardware information. The code is not yet available, but will be as soon as they’ve cleaned it up enough to package the first release candidate.

Light Bulb Efficiency Exhibit Updated With LED Bulb Option

It seems like tinkerers are always being tapped to build or repair exhibit hardware. This time around it’s [Dino’s] turn. He’s been asked to alter a light bulb efficiency demo so that it includes an LED option.

The idea here is that you crank a generator to power different types of light bulbs. There’s an ammeter built in, but possibly the best feedback is knowing how hard you have to crank to illuminate the most inefficient choice. As it stands there is a toggle switch to choose between incandescent and CFL bulbs. [Dino’s] solution is to use a three-position rotary switch. He removes the toggle switch and replaces it with a socket for the LED bulb. A new location for the rotary switch is chosen and he does a bit of work to get it mounted securely. If you haven’t worked with this type of switch before he takes the time in the video after the break to explain how they work.

Continue reading “Light Bulb Efficiency Exhibit Updated With LED Bulb Option”

Decades Old TV Gets Sleep Function Thanks To 7400 Family Of Chips

[Viktor] dredged up a hack he pulled off years ago. His grandfather likes to end the day in front of the TV, but he falls asleep soon after sitting down. Rather than tick away the electricity meter all night, [Viktor] built an automatic shutoff which is akin to a modern TV’s sleep feature.

At the time microcontrollers were not as easy to source as they are now. So [Viktor] used a circuit based on the 7400 family of logic chips. It uses a multivibrator to feed some binary counter chips. These are used to divide the oscillations to establish the desired timing. He tuned the system to be about 15 minutes, but that can be adjusted using a potentiometer built into the multivibrator. When time is about the run out an LED next to the TV comes on. This way if [Viktor’s] grandfather is still awake he can press a button next to his chair to reset the counter. But if he’s already snoozing the counter will eventually switch off the television.

Honey Bee Temperature Logger Tracks Internal Hive Movement

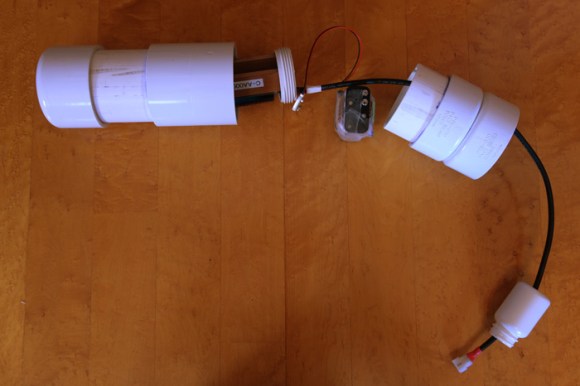
Apparently bees tend to use different areas of the hive throughout the year. All we know is not to mess with them. [Max Justicz], on the other hand, does exactly that at his high school. He built a whether resistant solar powered multi-point temperature logger to do such things. The logger is designed to track heat movement within the hive throughout the year. Bees can be tracked like this because they generate a good amount of heat, some even use it to kill off predators.

Building weather resistant electronics is no picnic. You have to deal with rubber O rings, cable glands and clunky waterproof connectors. [Max] shows the whole process of mounting the various components into the enclosure. A solar panel feeds an Ardunio Mega, charging electronics, and SD card shield. With a 1GB SD card this bugger is in for a long haul. The 6600mAh battery should keep it running excessively long though. We’d cut the fat a bit though and swap out that Mega for something less power hungry, but going super low power can get a bit fancy. That mega is powerful enough to incorporate every other bee project we have here.

[Max] has yet to install the logger in his high school’s apiary but will update with logs once he can furnish them. We can’t wait to see the patina it develops over the seasons.

How To Make That Old Satellite Dish Cook All Your Meals

Grab that old satellite dish out of the dark corner of you garage and get those hot dogs ready. [Share alike license] is going to show us how to turn the dish into a solar cooker.

Harnessing the sun’s power requires a reflective surface. Although the image above makes it look like a mirror finish, this is really just covered in foil tape. This is what’s used to seal duct work and can be had for a few bucks at any home store. You’ll notice the dish is pointed up quite a bit more than it would have been when receiving satellite television. The mount on the back of the dish has been turned 180 degrees to allow for this. You want the rays to be focused on the bottom of the cooking area instead of the side and this will do the trick. A small grate was added just below the pinnacle of the receiver tripod. For now it has only been used to boil a pot of water. We’d like to see it grilling up some dogs but you’ll have to figure out a way to catch the drippings. We wonder if a transparent baking pan would block too much of the heat energy?

This is a great way to add purpose to neglected equipment. But if you’re serious about solar cooking you need something more along these lines.

Building An Electric-powered Longboard For Under $100

[Alan] doesn’t have to kick to get around town because he added a removable electric motor to his longboard. It looks great, and works just as well because he didn’t reinvent the wheel. The idea is a mashup of an electric Razor scooter and his long board.

The majority of the project revolved around mounting everything he needed to the board. When it comes to the drive wheel he designed a tension system. When a rider is not on the board the back wheels of the long board are off the ground by about an inch. The springs in the suspension system make it so when you do mount the board all wheels are touching, with the main drive wheel held tight to the pavement even while turning.

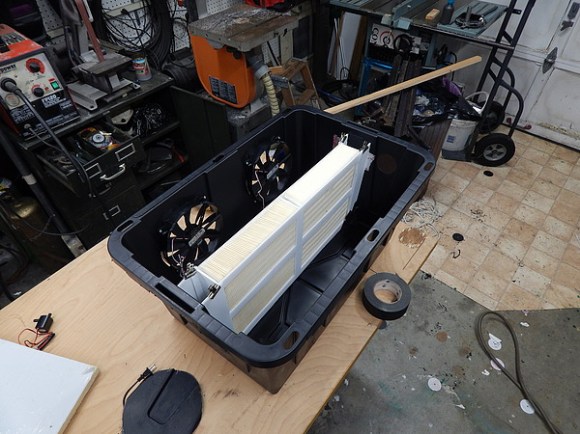
Unlike some electric skateboard builds [Alan] didn’t need to raise the board off the ground as the battery compartment is mounted on top of the deck. He added cooling fans for the hot summer days, and even used velcro to attach the charger so that he can juice it up when away from home. Check out his three minute show and tell embedded after the break.

Continue reading “Building An Electric-powered Longboard For Under $100”

Building A Very Low Power, Full Featured Desktop

For a few years now, [mux] has been playing around with extremely efficient computation. In 2010, he built a fully featured MiniITX / Core 2 duo computer that only consumed 20 watts. Last year, [mux] managed to build an Intel i3-powered desktop that was able to sip a mere 8.3 watts at idle. He’s back at it again, and now his sights are set on a fully featured Intel i5-powered build with a built-in monitor that will draw less than 6 watts of power.

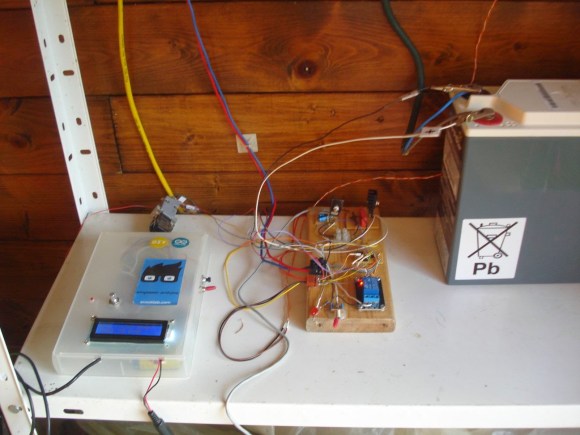
Like his previous 8 watt i3 build, [mux] reduces the power requirement of his build by carefully measuring the power draw of every component on his board. The power savings come from a simple fact of any power supply; when converting from AC to DC, or from one DC voltage to another, there’s always a little bit of power lost in the process.

[mux] reduces these power losses by removing a few voltage regulators and re-routing power lines across his motherboard. So far, the power draw on [mux]’s computer is more than half of what it was when the parts were stock, and we can’t wait for the finished build that includes a built-in monitor, UPS, and a proper case.