Last time on Minimal MQTT, we used a Raspberry Pi to set up an MQTT broker — the central hub of a home data network. Now it’s time to add some sensor and display nodes and get this thing running. So pull out your ESP-8266 module of choice, and let’s get going.
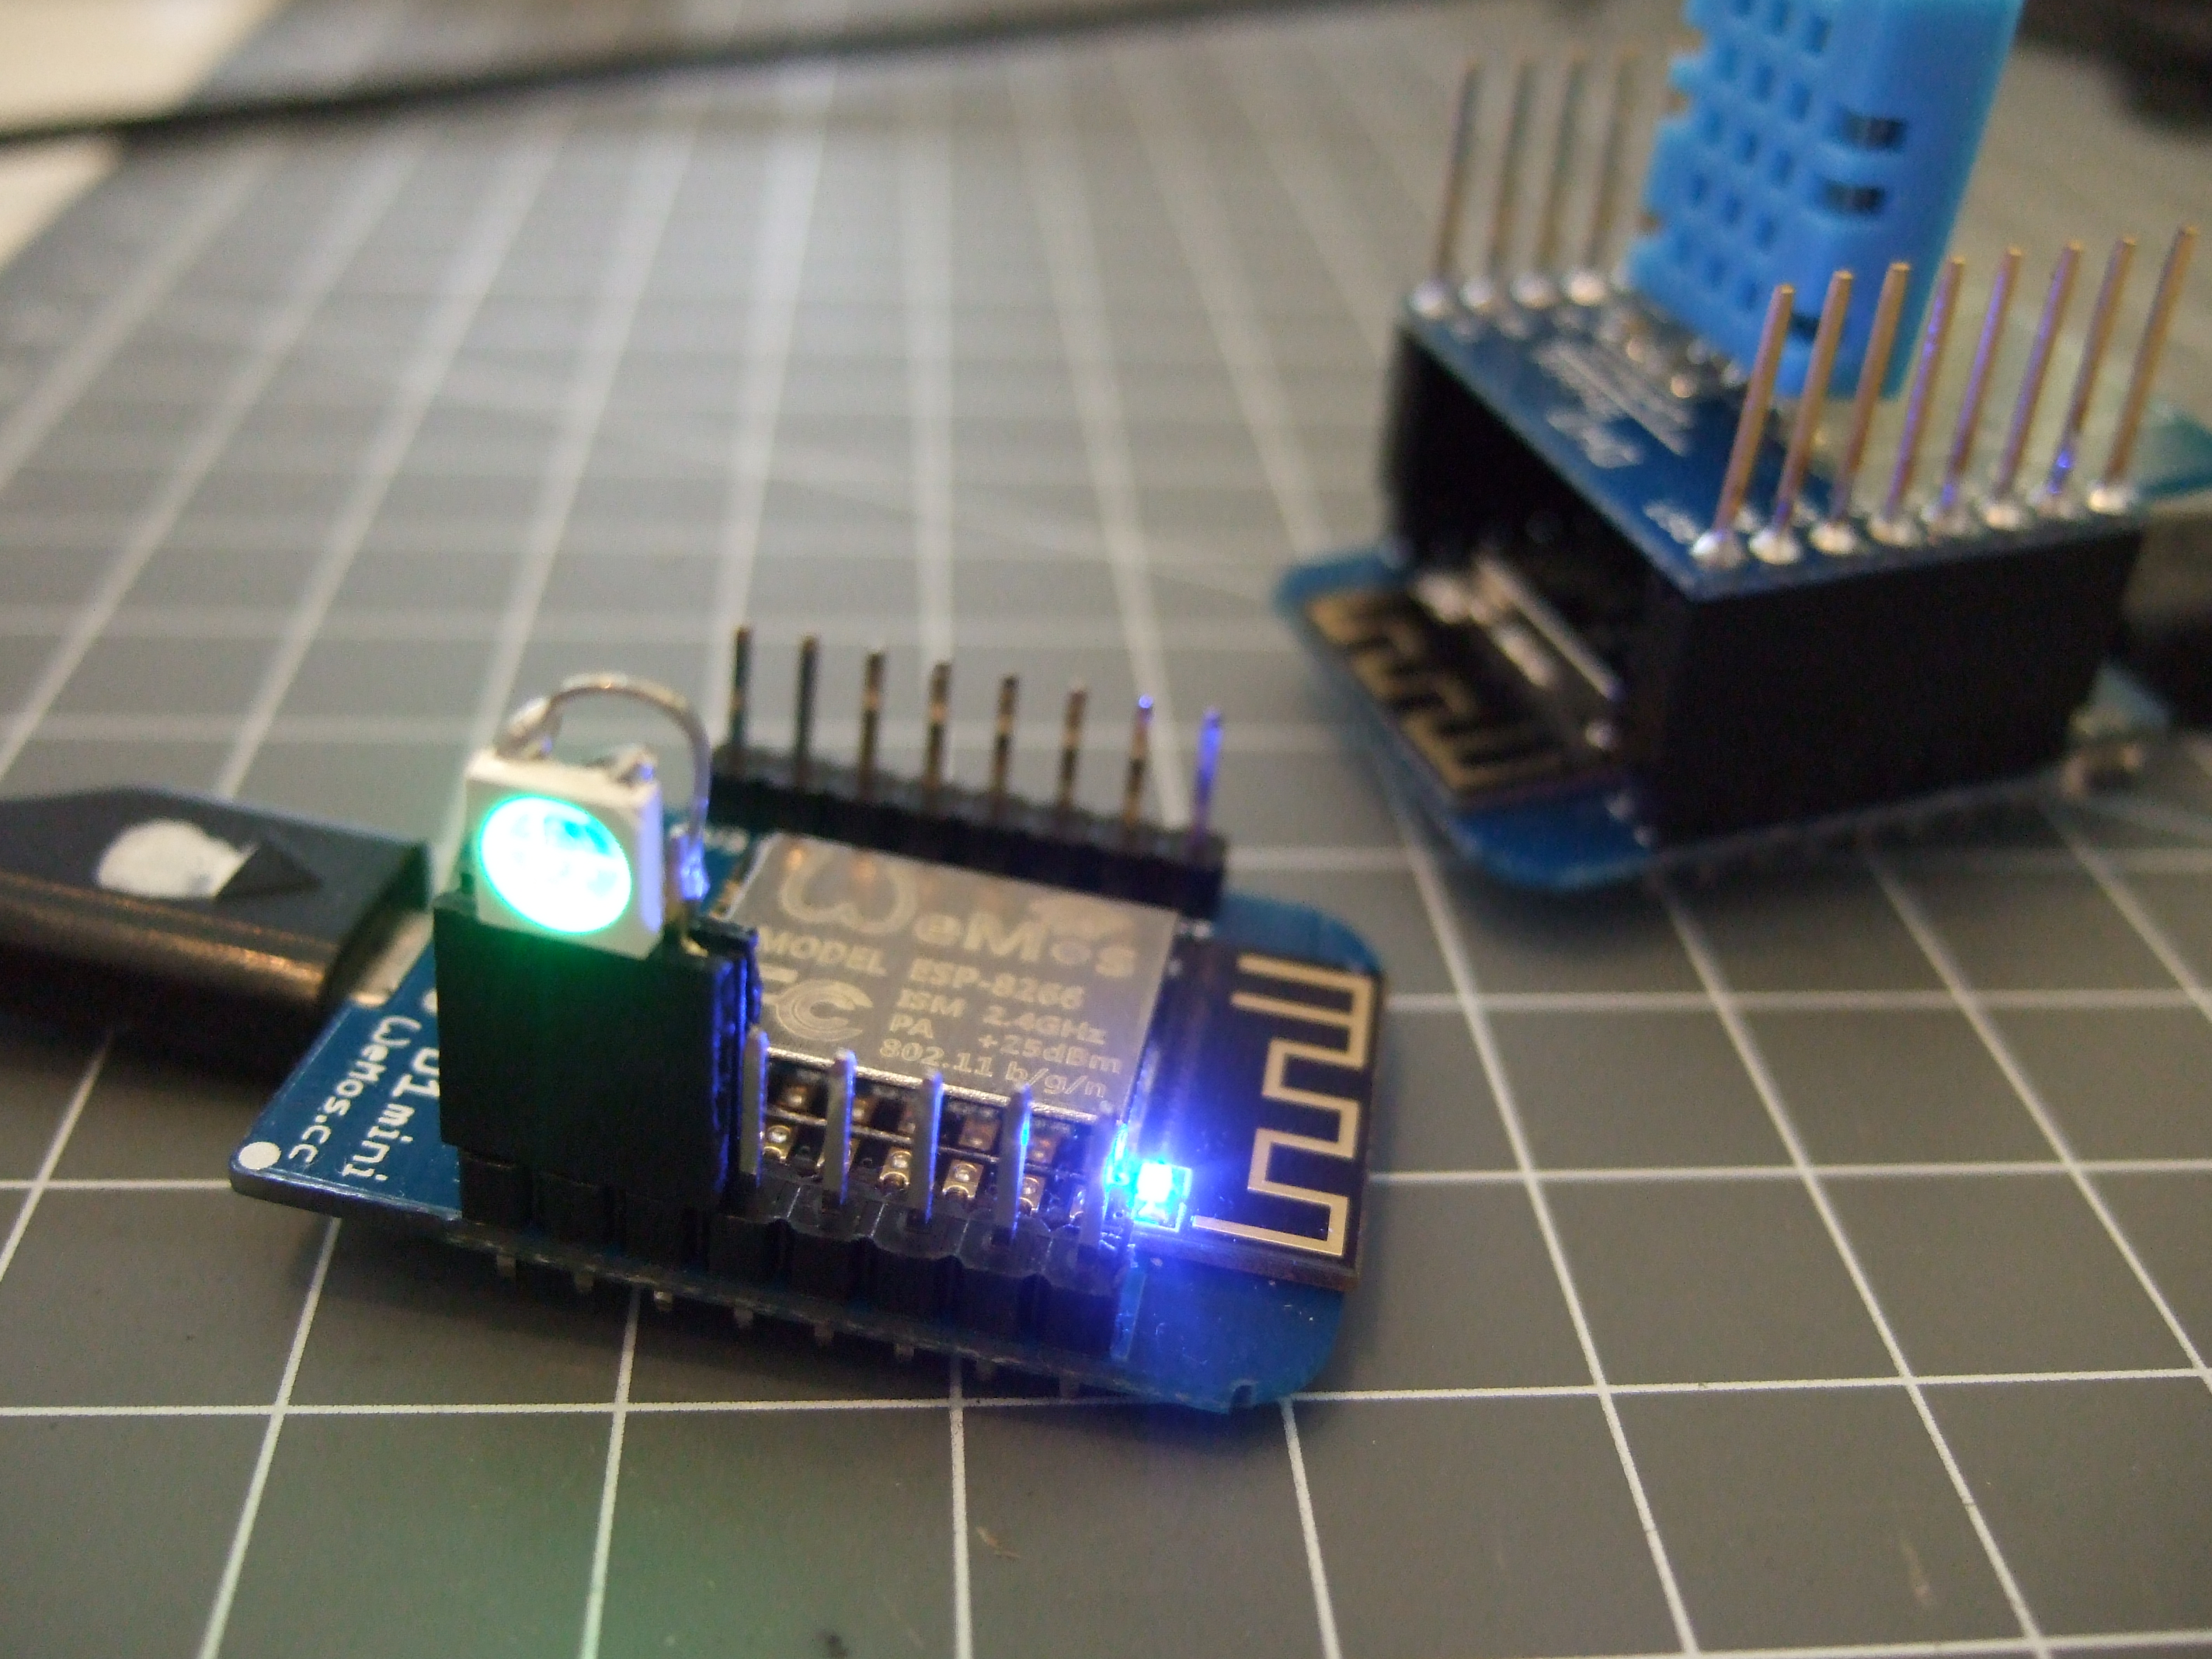 For hardware, we’re using a WeMos D1 Mini because they’re really cute, and absolutely dirt cheap, but basically any ESP module will do. For instance, you can do the same on the simplest ESP-01 module if you’ve got your own USB-serial adapter and are willing to jumper some pins to get it into bootloader mode. If you insist on a deluxe development board that bears the Jolly Wrencher, we know some people.
NodeMCU: Getting the Firmware
We’re using the NodeMCU firmware because it’s quick and easy to get running. But you’re not stuck with NodeMCU if you want to go it alone: MQTT has broad support. [TuanPM] ported over an MQTT library to the native ESP8266 SDK and of course there’s espduino, a port for an Arduino-plus-ESP combo. He also ported the MQTT module to NodeMCU that we’ll be using today. Thanks, [TuanPM]!