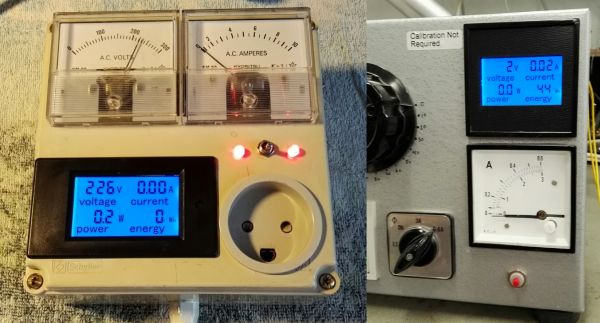
It seems that one can buy cheap power meters online and, well, that’s it. They work just fine, but to use them for anything else (like datalogging or control or…) they need a bit more work. The good news is that [Thomas Scherrer], alias [OZ2CPU], just did that reverse engineering work for us.
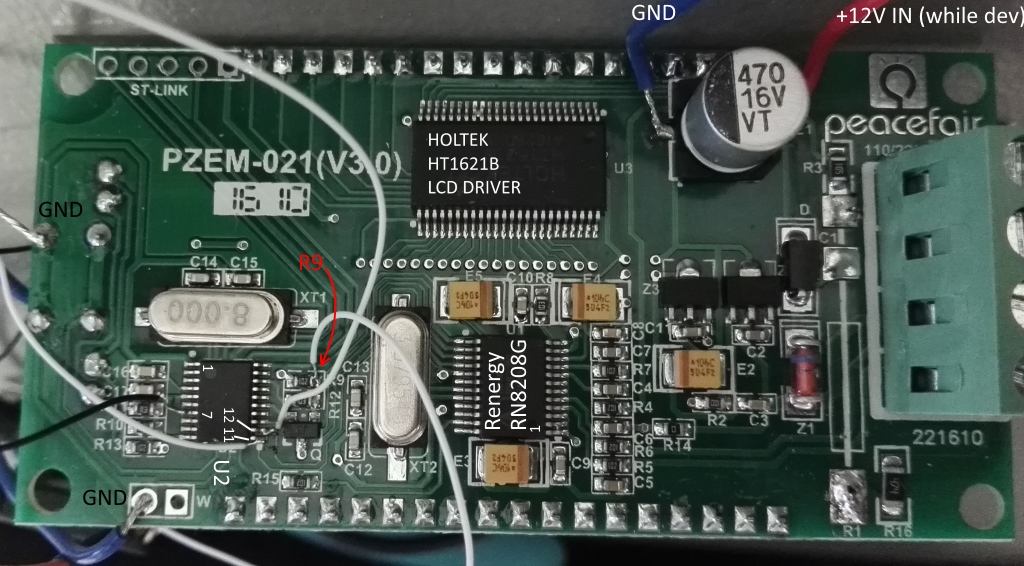
Inside these budget power meters, you’ll find an LCD driver, a power-monitoring chip, and an STM32F030, which is a low-cost ARM Cortex M0 chip that’s fun to play with on its own. [Thomas] traced out the SPI lines that the power-monitoring chip uses to talk to the microcontroller and broke in to snoop on the signals. Once he got an understanding of all the data, tossing an ATmega88 chip on the SPI line lets him exfiltrate it over a convenient asynchronous serial interface.
If you’re going to do this hack yourself, you should note that the internals of the power meter run at line voltage — the 3.3 V that powers the microcontroller floats on top of the 230 V coming out of [Thomas]’s wall plug. He took the necessary precautions with an isolation transformer while testing the device, and didn’t get shocked. That means that to get the serial data out, you’ll need to use optoisolation (or radio!) on the serial lines.
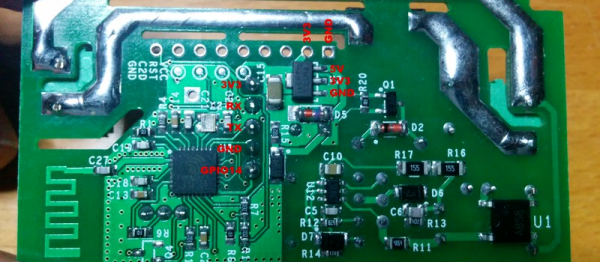
Now that we know how this thing works on the inside, it’s open-season for power-management hacks. Toss a mains socket and an ESP8266 in a box and you’ve got a WiFi-logging power meter that you can use anywhere, all for under $20. Sweet.
 Aside from the teardown and reverse-engineering of the WiFi-enabled switch, [Tinkerman] also flashed custom firmware into the switch’s ESP-8266, and worked it all into his existing home