It used to be that desktop computers reigned king in the world of powerful computing, and to some extent, they still do. But laptops are pretty powerful these days, and in our experience, a lot of engineering companies have actually swapped over to them for resource hungry 3D CAD applications — But what if you still need a bit more power?
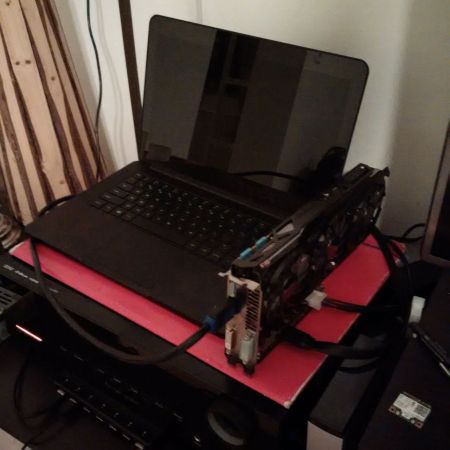
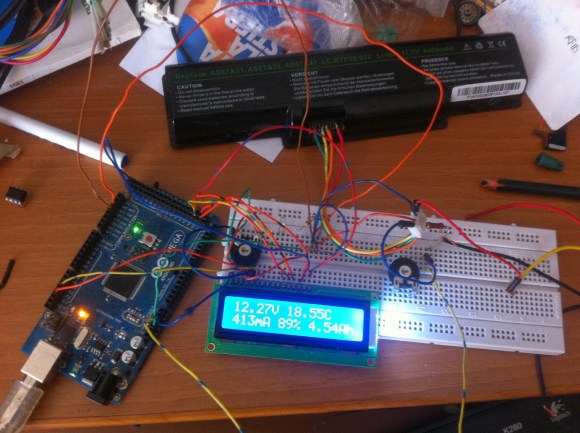
Well, [Kamueone] wasn’t satisfied with the performance of his Razer Blade GTX870m laptop, so he decided to hack it and give it its own external graphics card.
Now unfortunately this really isn’t quite a simple as running some PCIE extender cables — nope. You’ll have to modify the BIOS first, which according to [Kamueone], isn’t that bad. But after that’s done you’ll also need a way to mount your graphics card outside of the laptop. He’s using an EXP GDC Beast V6 which uses a mini PCIE cable that can be connected directly to the laptop motherboard. You’re also going to need an external power supply.
[Kamueone] ran some benchmarks and upgrading from the stock onboard GTX870m to an external GTX 780ti resulted in over three times the frame rate capability — 40fps stock, 130fps upgraded!
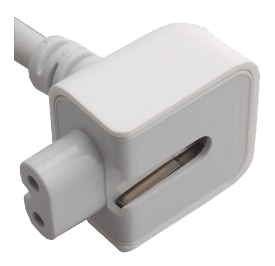
 The standard power adapter for Apple laptops is a work of art. The Magsafe connector has saved more than one laptop owned by the Hackaday crew, and the power brick with interchangeable plugs for different countries is a work of genius. Being a miracle of modern manufacturing doesn’t mean Apple gets it right all the time; the UK adapter doesn’t use the ground plug, leading to the power supplies singing at 50 Hz when plugged in. [Gareth] had had enough of the poor design of his charger
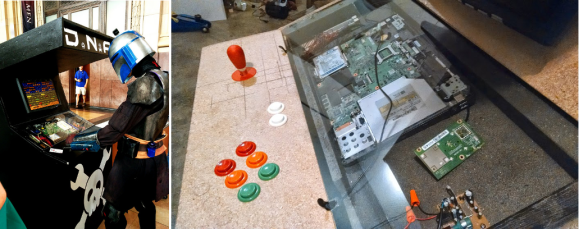 We’re pretty fond of home-built arcade cabinets, especially when those cabinets feature a giant HaD logo on the front. We teased you with a picture of two predators playing it at Maker Faire Kansas City, and we thought you might like to


