As a society, we’ve largely come together to agree that laser pointers are mostly useless. They’re now the preserve of university lecturers and those destined to wind up in a jail cell for harassing helicopter pilots. Most pointers are of the diode-pumped solid state variety. However, [Zenodilodon] treads a different path.
Instead of the usual DPSS build, this pointer packs an optically pumped semiconductor laser, or OPSL. These lasers have the benefit of a wider selection of output wavelengths, and can be built to offer less variance in beam parameters such as divergence.
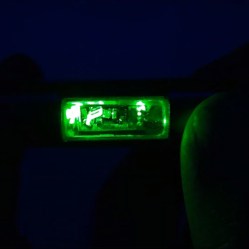
The build is an attractive one, with the pointer chassis being manufactured out of brass, with several components plated in yellow and rose gold. There’s even a sliding window to observe the laser cavity, which glows brightly in operation. [Zenodilodon] goes into great detail during the machining process, showing all the steps required to produce a visually appealing device.
It’s certainly one of the prettiest laser builds we’ve seen, and it’s always nice to see makers exploring different technologies. Similarly to our recently featured 1.4 W laser pointer, it’s largely a packaging operation, but if you’re building your own laser diodes at home – you know where to send ’em. Video after the break.
Continue reading “Building An Optically Pumped Laser Pointer”