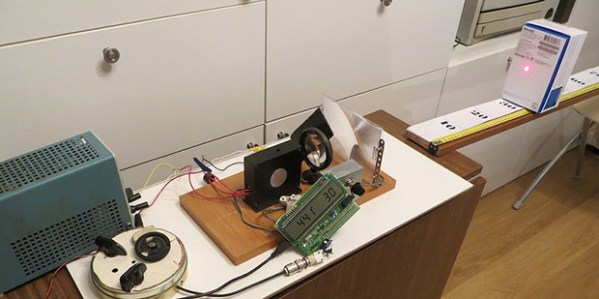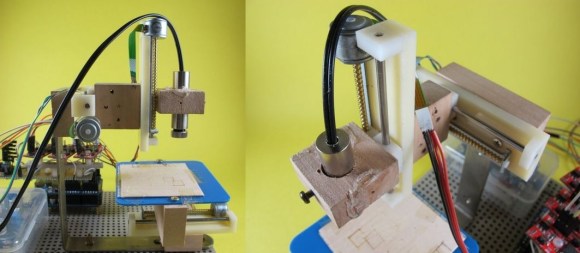
Laser are awesome, and so are projects that use lasers. A recent Instructable by [kokpat] gives an overview of how to create a fully functional laser paper cutter using CDROM stepper motors and an Arduino.
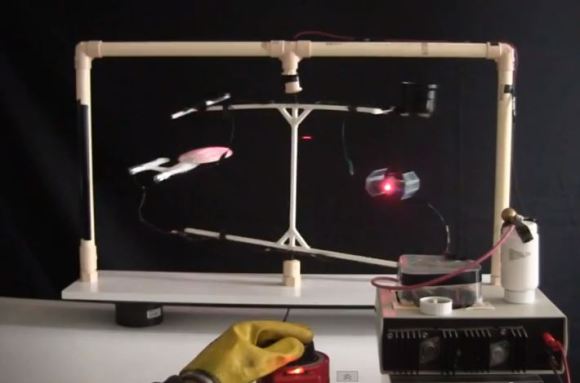
What is special about this build, is that it showcases how easy it can be to build a 3-axis mechanical system used for laser cutters, CNC machines, and 3D printers. Using a stepper stage that consist of a motor screw with a nut slider based carriage, the mechanical system can be put together quite easily and cost effectively. Luckily, from an electronics and software perspective, everything is quite standardized with the proliferation of the RepRap and similar machines. Simply pick any three stepper drivers, find the most pertinent firmware, and voilà! You’re done! Well, almost. Don’t forget a 100mW violet laser!
We have seen a ton of really cool laser cutters before, but this has to be one of the cheapest. See the laser cutter in action after the break.
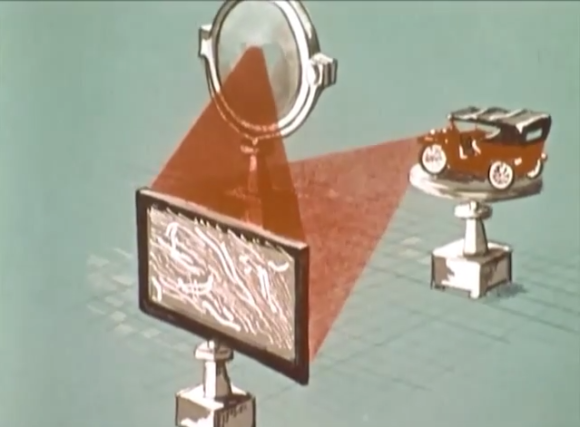 This week’s Retrotechtacular is a