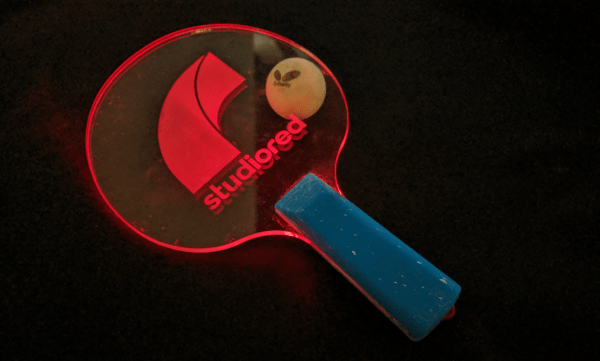
[George] and his coworkers like to blow off a little lunchtime steam on the company ping pong table. We might do the same, except it’d just be us versus the wall, and most of the exercise would consist of bending over to pick the ball up off the floor. When he found a scrap piece of acrylic out in their shop, [George] got the bright idea to make an edge-lit paddle featuring the company’s logo.
Not only does the paddle look cool, it works pretty well, too, even though it’s heavier and has smooth surfaces compared to a standard paddle. To begin, [George] found a regulation-size paddle outline and imported it into SolidWorks, then designed all the necessary cuts for the LEDs and other electronics. He also designed and printed ergonomic grips to protect the goods.
Continuing the stuff-on-hand theme, [George] used through-hole LEDs and dug into the abundance of battery clips and springs they have lying around for designing prototypes, instead of making it all fancy with SMT LEDs and a rechargeable battery pack. Slip on those sweatbands, because we’re serving up the build video after the break.
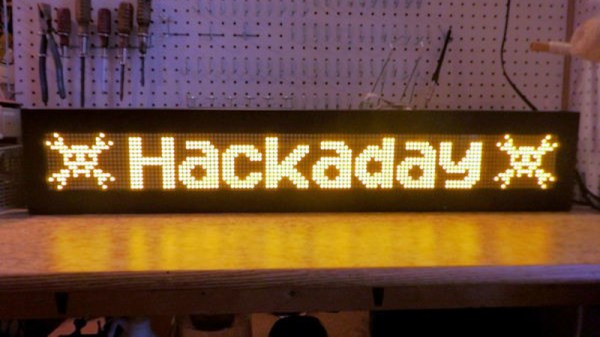
We see more ping pong balls than paddles around here, and that’s probably because they make great LED diffusers.
Continue reading “Edge-Lit Ping Pong Paddle Lights Up The Fight”