The FPGA Chronicles: Open Source It

Last time, we looked at getting started with the GOWIN tools and a Tang Nano 20K FPGA. The software from GOWIN isn’t bad, but it isn’t open source, and there are a few oddities about it. In addition, simulation is through a third-party simulation package that has undergone some changes since an acquisition. There are tons of free simulation programs that are extremely good, and there is an open-source toolchain for the FPGA.

You could go grab everything you need piece by piece. But you don’t have to. There are several efforts to produce a toolchain from all the different pieces. We’re going to look at APIO.

APIO

APIO isn’t so much an FPGA toolchain project as it is an aggregator of toolchain projects. It reminded us of PlatformIO, and notes that it was inspired by it. It updates the tools you need, includes its own libraries, and gives you a common workflow across the FPGAs it supports.

You can download it for the command line, but you can also install it as a Visual Studio Code extension, which is what I did. You have to create a simple file that describes your project, and that’s about it.

Install Problems

Since APIO has its own libraries, it is possible that you will find some conflicts with your system libraries. In my case, the libreadline.so.8 file (in ~/.apio/bin/_internal) was causing problems that prevented anything from working. I simply renamed it out of the way, or you can just delete it. That took care of the problem.

Keep in mind that APIO just orchestrates a bunch of other tools like Yosys and GTKWave. Even if you have your own versions, APIO expects to use its private copies. For example, GTKWave on my system is a different version than the APIO copy, and if I try to read wave files without using APIO, I get error messages. You can, however, open a shell from the Tools/Misc menu of the APIO panel in Visual Studio Code.
Continue reading “The FPGA Chronicles: Open Source It” →

The FPGA Chronicles: Exploring The Tang Nano 20K

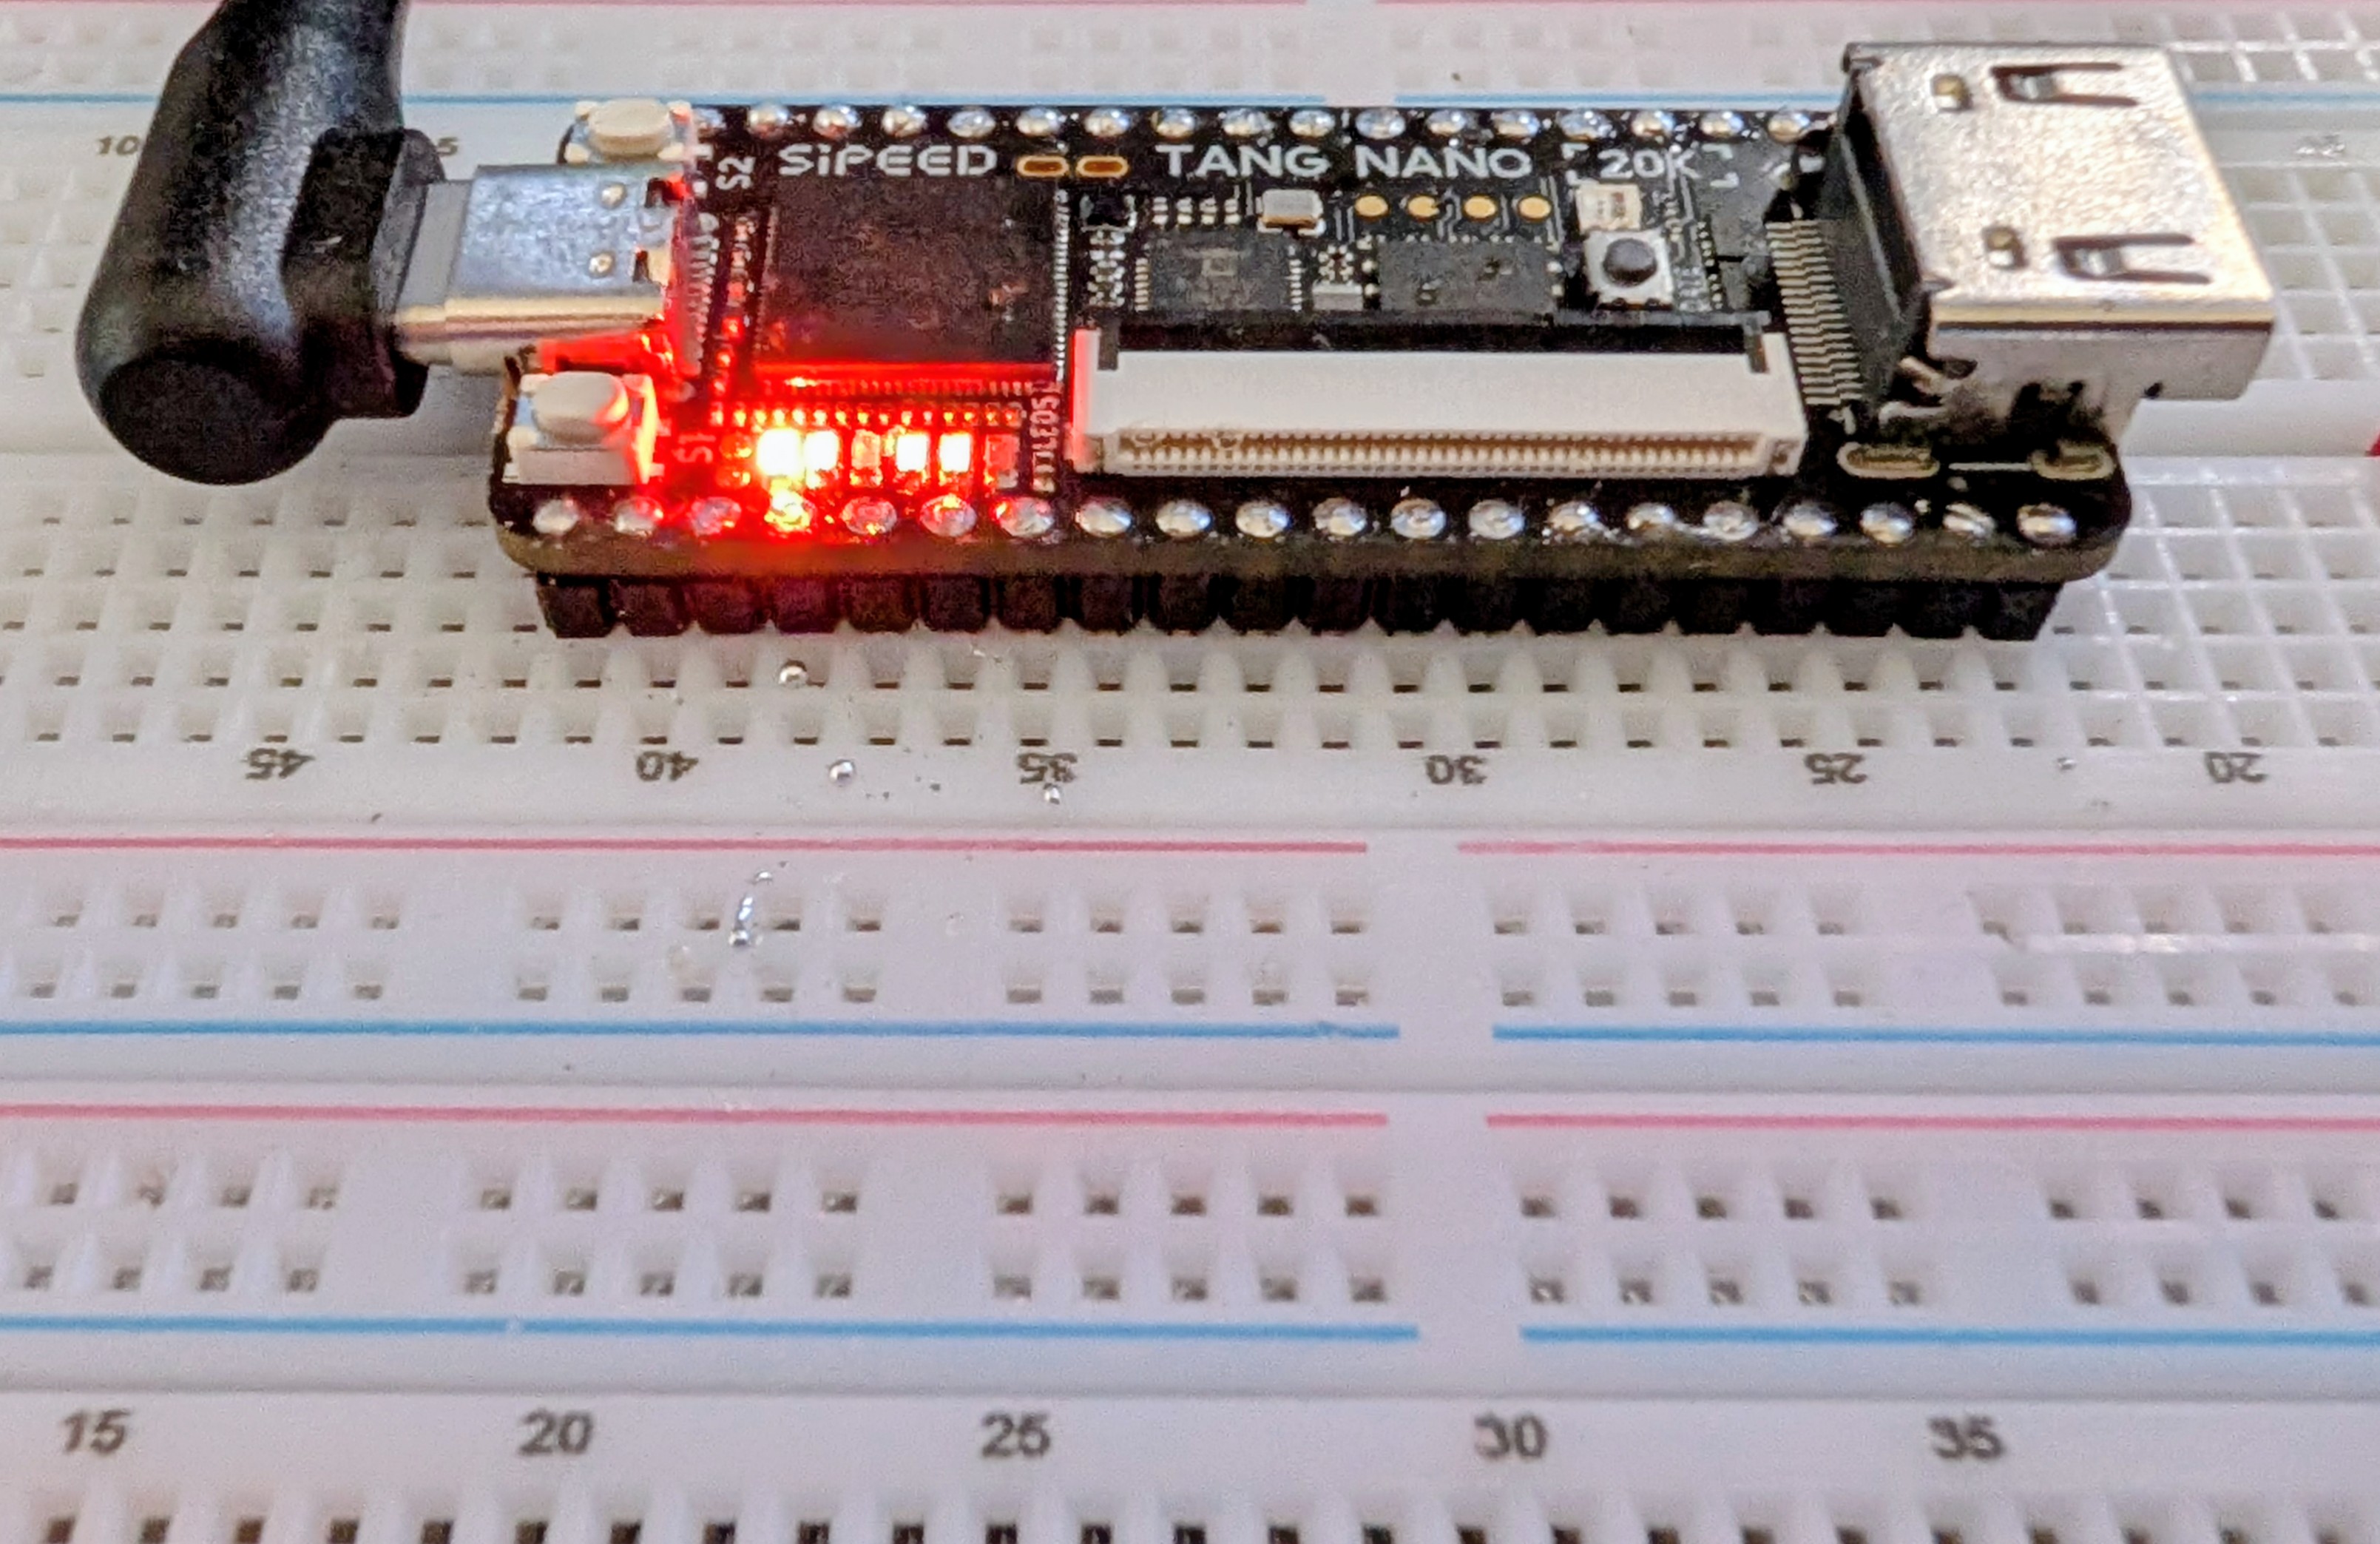
FPGAs used to be mysterious, expensive devices, but these days you can buy surprisingly capable boards for very little money. Some years ago, I did an FPGA Bootcamp over on Hackaday.io. Much of that material still applies, but the hardware is dated. So I decided it was time to update it, using the inexpensive Tang Nano 20K and its GOWIN GW2AR-18 FPGA as the main platform, with perhaps a few excursions into other FPGAs.

History and Motivation

Once upon a time, if you wanted to have a custom IC, you went with a wheelbarrow full of money to a semiconductor company. However, some smart person at a semiconductor fab eventually realized they could make a chip with a lot of uncommitted blocks on it and then, for a custom chip, only design the wiring that connected them together. This still required a wheelbarrow full of money, but it was a smaller wheelbarrow.

Then one day, someone realized they could do the same thing but make the electrical connections between the blocks configurable. Maybe have fuses you can blow, or use EEPROM or RAM cells to remember which blocks are connected to which. It is complicated, sure, but then you can make many of these chips and sell them to people who could, in theory, make their own custom chips without your help.

When do you need an FPGA? A classic classroom exercise for an FPGA, for example, is a traffic light because it shows off how to do state machines, which are important for some kinds of FPGA designs. But other than as a learning example, why would you do this? Even a simple 8-bit CPU can handle a traffic light.

Suppose instead that you have hundreds of digital sensors on a rocket, and any one of them must raise an alarm within a few microseconds. A processor has to sample inputs in groups, service interrupts, or rely on extra hardware. An FPGA can simply implement the equivalent of one enormous OR gate. It watches every input continuously, and unrelated logic elsewhere in the FPGA does not steal execution time from it. Can you do it with a microcontroller? Probably, but not easily. For some classes of problems, an FPGA is the better answer.

Of course, you can also build a CPU on your FPGA and some FPGAs have CPUs in the same package. This is often a sweet spot because then things that are easy to do in software, you do in software. Things that are easier to do in hardware, you do in the FPGA.

Continue reading “The FPGA Chronicles: Exploring The Tang Nano 20K” →

PJON, Open Single-Wire Bus Protocol, Goes Verilog

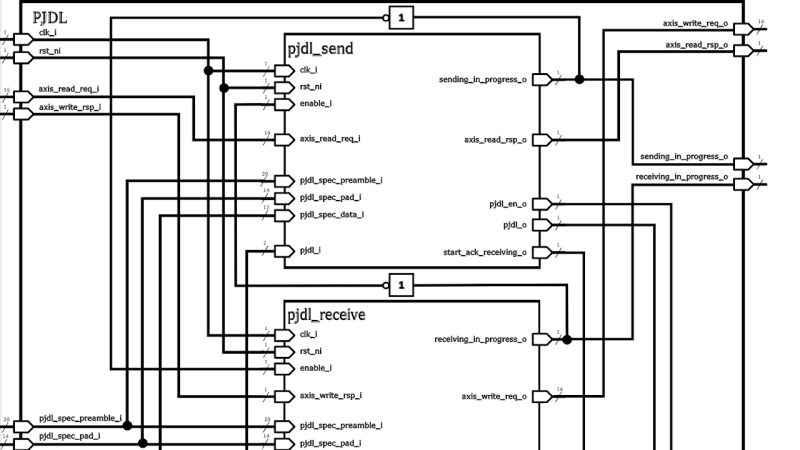
Did OneWire of DS18B20 sensor fame ever fascinate you in its single-data-line simplicity? If so, then you’ll like PJON (Padded Jittering Operative Network) – a single-wire-compatible protocol for up to 255 devices. One disadvantage is that you need to check up on the bus pretty often, trading hardware complexity for software complexity. Now, this is no longer something for the gate wielders of us to worry about – [Giovanni] tells us that there’s a hardware implementation of PJDL (Padded Jittering Data Link), a PJON-based bus.

This implementation is written in Verilog, and allows you to offload a lot of your low-level PJDL tasks, essentially, giving you a PJDL peripheral for all your inter-processor communication needs. Oh, and as [Giovanni] says, this module has recently been taped out as part of the CROC chip project, an educational SoC project. What’s not to love?

PJON is a fun protocol, soon to be a decade old. We’ve previously covered [Giovanni] use PJON to establish a data link through a pair of LEDs, and it’s nice to see this nifty small-footprint protocol gain that much more of a foothold, now, in our hardware-level projects.

We thank [Giovanni Blu Mitolo] for sharing this with us!

Commodore 64 On New FPGA

When it comes to getting retro hardware running again, there are many approaches. On one hand, the easiest path could be to emulate the hardware on something modern, using nothing but software to bring it back to life. On the other, many prefer to restore the original hardware itself and make sure everything is exactly as it was when it was new. A middle way exists, though, thanks to the widespread adoption of FPGAs which allow for programmable hardware emulation and [Jo] has come up with a new implementation of the Commodore 64 by taking this path.

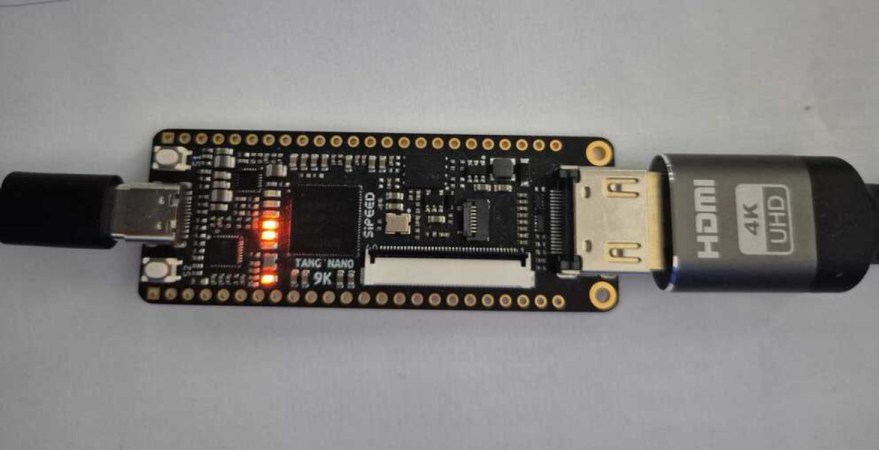
The project is called the VIC64-T9K and is meant as a proof-of-concept that can run the Commodore 64’s VIC-II video chip alongside a 6502 CPU on the inexpensive Tang Nano 9k FPGA. Taking inspiration from the C64_MiSTer project, another FPGA implementation of the C64 based on the DE10-Nano FPGA, it doesn’t implement everything an original Commodore system would have had, but it does provide most of the core hardware needed to run a system. The project supports HDMI video with a custom kernel, and [Jo] has used it to get a few demos running including sprite animations.

Built with a mix of Verilog and VHDL, it was designed as a learning tool for [Jo] to experiment with the retro hardware, and also brings a more affordable FPGA board to the table for Commodore enthusiasts. If you’re in the market for something with more of the original look and feel of the Commodore 64, though, this project uses the original case and keyboard while still using an FPGA recreation for the core of the computer.

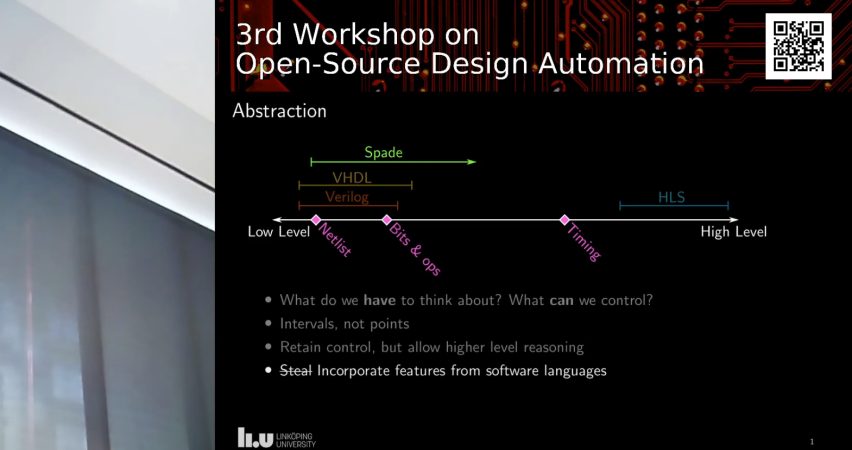
A slide from a talk about Spade language with a diagram about how it fits in with Verilog, VHDL, and HLS.

The Spade Hardware Description Language

Spade is an open-source hardware description language (HDL) developed at Linköping University, Sweden.

Other HDLs you might have heard of include Verilog and VHDL. Hardware engineers use HDLs to define hardware which can be rendered in silicon. Hardware defined in HDLs might look like software, but actually it’s not software, it’s hardware description. This hardware can be realized myriad ways including in an FPGA or with an ASIC.

You have probably heard that your CPU processes instructions in a pipeline. Spade has first-class support for such pipelines. This means that design activities such as re-timing and re-pipelining are much easier than in other HDLs where the designer has to implement these by hand. (Note: backward justification is NP-hard, we’re not sure how Spade supports this, if it does at all. If you know please enlighten us in the comments!)

Spade implements a type system for strong and static typing inspired by the Rust programming language and can do type inference. It supports pattern matching such as you might see in a typical functional programming language. It boasts having user-friendly and helpful error messages and tooling.

Spade is a work in progress so please expect missing features and breaking changes. The documentation is in The Spade Book. If you’re interested you can follow development on GitLab or Discord.

So now that you know about the Spade language, are you planning to take it for a spin? You will find plenty of Verilog/VHDL designs at Hackaday which you could re-implement using Spade, such as an easy one like Breathing LED Done With Raw Logic Synthesized From A Verilog Design (see benchmarks) or a much more challenging one like Game Boy Recreated In Verilog. If you give Spade a go we’d love to see what you come up with!

Continue reading “The Spade Hardware Description Language” →

Did You Know YoSys Knows VHDL Too?

We’ve been fans of the Yosys / Nextpnr open-source FPGA toolchain for a long while now, and like [Michael] we had no idea that their oss-cad-suite installer sets up everything so that you can write in Verilog or VHDL, your choice. Very cool!

Verilog and VHDL are kind of like the C and ADA of the FPGA world. Verilog will seem familiar to you if you’re used to writing code for computers. For instance, it will turn integer variables into wires that carry the binary values for you. VHDL code looks odd from a software programmer’s perspective because it’s closer to the hardware and strongly typed: an 8-bit integer isn’t the same as eight wires in VHDL. VHDL is a bigger jump if you have software in your brain, but it’s also a lot closer to describing how the hardware actually works.

We learned Verilog, because it’s what Yosys supported. But thanks to GHDL, a VHDL analyzer and synthesizer, and the yosys-ghdl-plugin, you can write your logic in VHDL too. Does this put an end to the FPGA-language holy wars? Thanks, Yosys.

[Michael] points out that this isn’t really news, because the oss-cad-suite install has been doing this for a while now, but like him, it was news to us, and we thought we’d share it with you all.

Want to get started with FPGAs and the open-source toolchain? Our own [Al Williams] wrote up a nice FPGA Boot Camp series that’ll take you from bits to blinking in no time.

Tiny Tapeout 4: A PWM Clone Of Covox Speech Thing

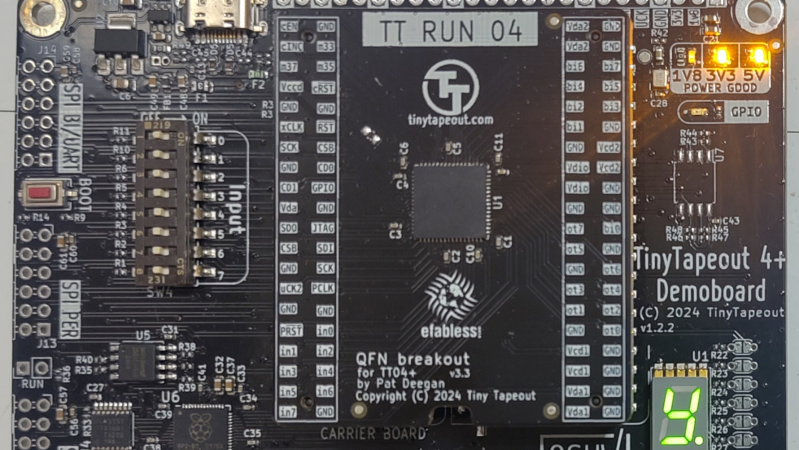
Tiny Tapout is an interesting project, leveraging the power of cloud computing and collaborative purchasing to make the mysterious art of IC design more accessible for hardware hackers. [Yeo Kheng Meng] is one such hacker, and they have produced their very first custom IC for use with their retrocomputing efforts. As they lament, they left it a little late for the shuttle run submission deadline, so they came up with a very simple project with the equivalent behaviour of the Covox Speech Thing, which is just a basic R-2R ladder DAC hanging from a PC parallel port.

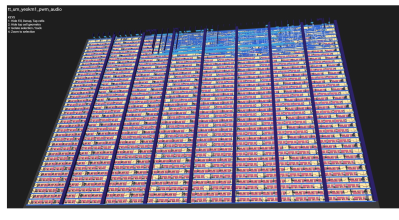
The computed gate-level routing of the ASIC layout

The plan was to capture an 8-bit input bus and compare it against a free-running counter. If the input value is larger than the counter, the output goes high; otherwise, it goes low. This produces a PWM waveform representing the input value. Following the digital output with an RC low-pass filter will generate an analogue representation. It’s all very simple stuff. A few details to contend with are specific to Tiny Tapout, such as taking note of the enable and global resets. These are passed down from the chip-level wrapper to indicate when your design has control of the physical IOs and is selected for operation. [Yeo] noticed that the GitHub post-synthesis simulation failed due to not taking note of the reset condition and initialising those pesky flip-flops.

After throwing the design down onto a Mimas A7 Artix 7 FPGA board for a quick test, data sent from a parallel port-connected PC popped out as a PWM waveform as expected, and some test audio could be played. Whilst it may be true that you don’t have to prototype on an FPGA, and some would argue that it’s a lot of extra effort for many cases, without a good quality graphical simulation and robust testbench, you’re practically working blind. And that’s not how working chips get made.

If you want to read into Tiny Tapeout some more, then we’ve a quick guide for that. Or, perhaps hear it direct from the team instead?

Continue reading “Tiny Tapeout 4: A PWM Clone Of Covox Speech Thing” →