If you had told 12-year-old me that one day I would be able to listen to pretty much any song I wanted to on demand and also pull up the lyrics as fast as I could type the artist’s name and part of the title into a text box, I would have a) really hoped you weren’t kidding and b) would have wanted to grow up even faster than I already did.
The availability of music today, especially in any place with first world Internet access is really kind of astounding. While the technology to make this possible has come about only recently, the freedom of music listening has been fairly wide open in the US. The closest we’ve come to governmental censorship is the parental advisory sticker, and those are just warnings. The only thing that really stands between kids’ ears and the music they want to listen to is parental awareness and/or consent.
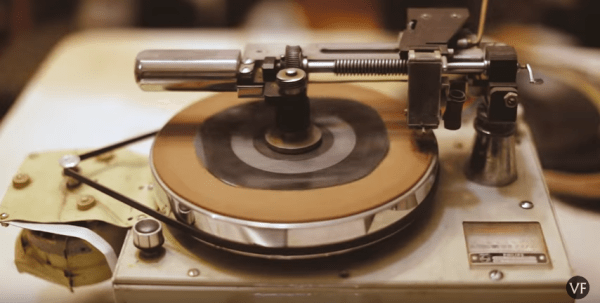
However, the landscape of musical freedom and discovery has been quite different in other corners of the world, especially during the early years of rock ‘n roll. While American teens roller skated and sock-hopped to the new and feverish sounds of Little Richard and Elvis Presley, the kids in Soviet Russia were stuck in a kind of sonic isolation. Stalin’s government had a choke hold on the influx of culture and greatly restricted the music that went out over the airwaves. They viewed Western and other music as a threat, and considered the musicians to be enemies of the USSR.
Continue reading “Retrotechtacular: Examining Music In 1950’s Russia”