Playing the drums requires a lot of practice, but that practice can be incredibly loud. A nice workaround is presented by [PocketBoy], in converting an acoustic kit to electronic operation so you can play with headphones instead.
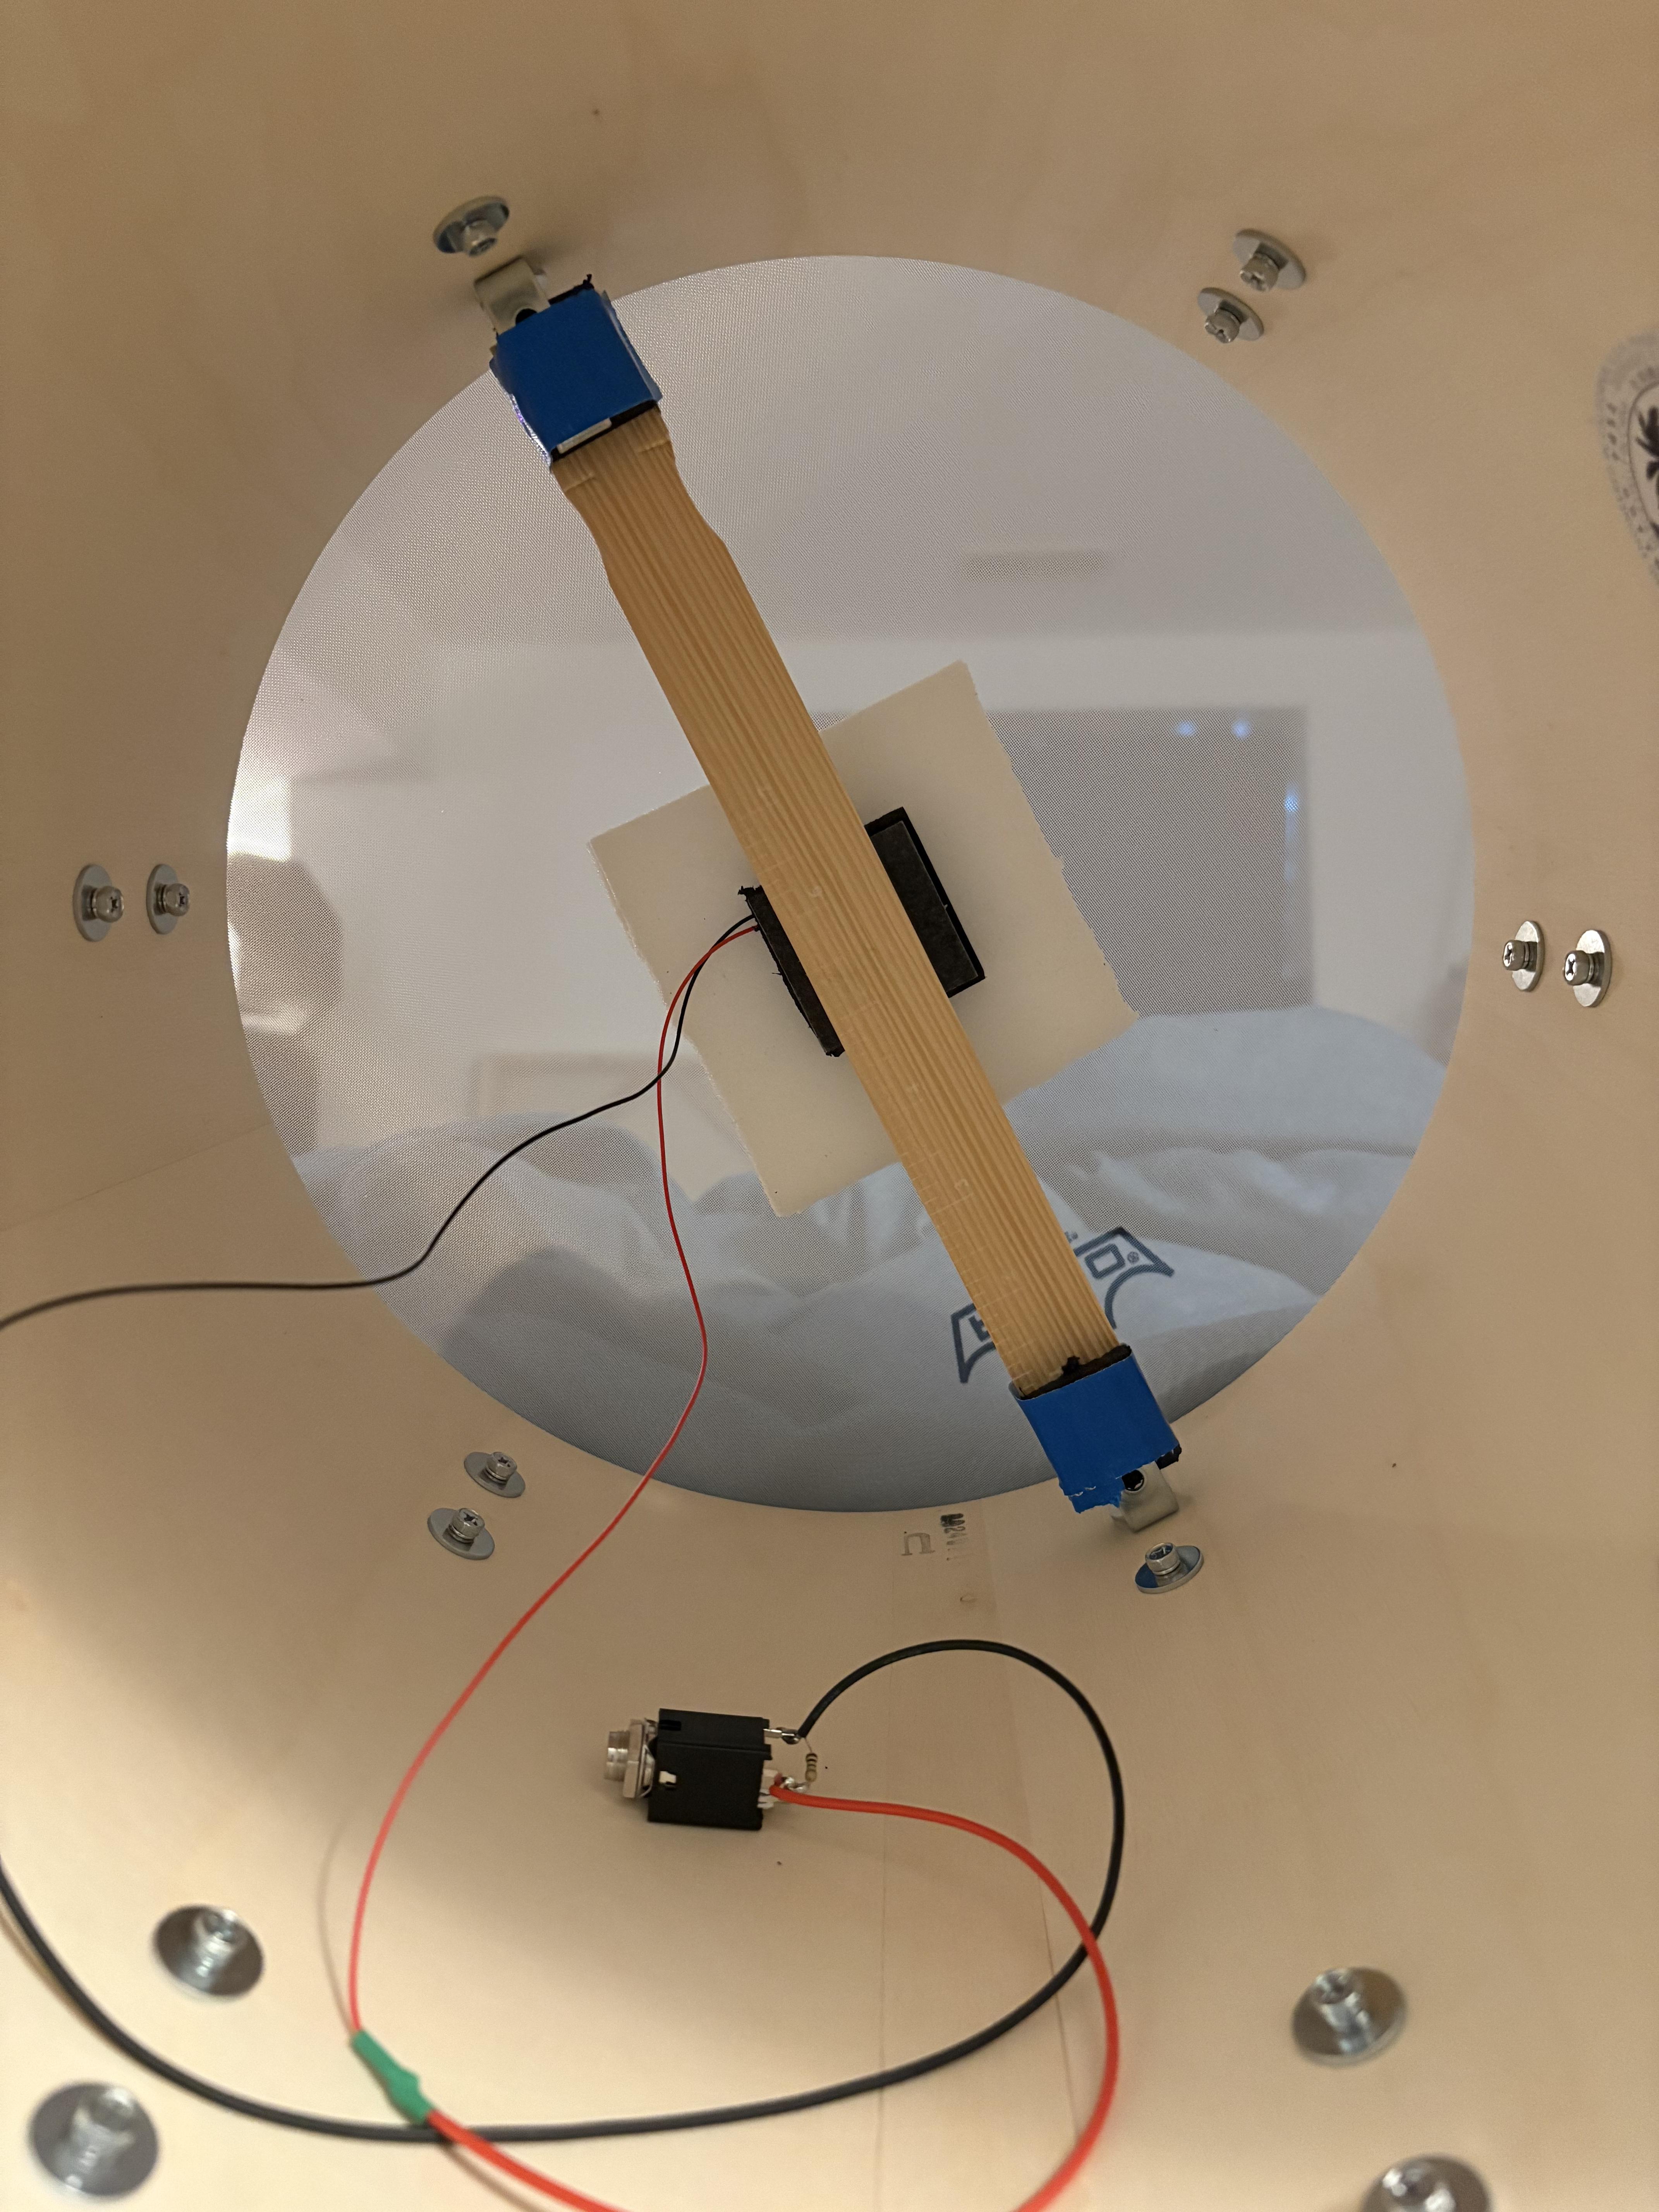
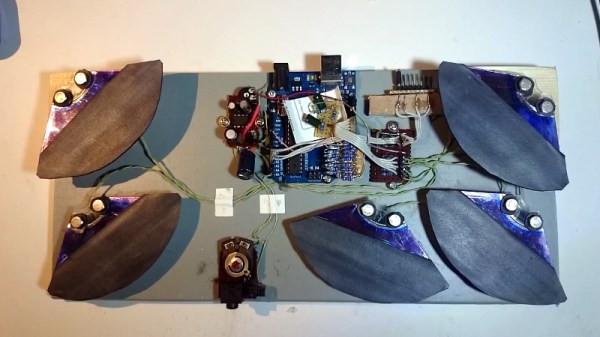
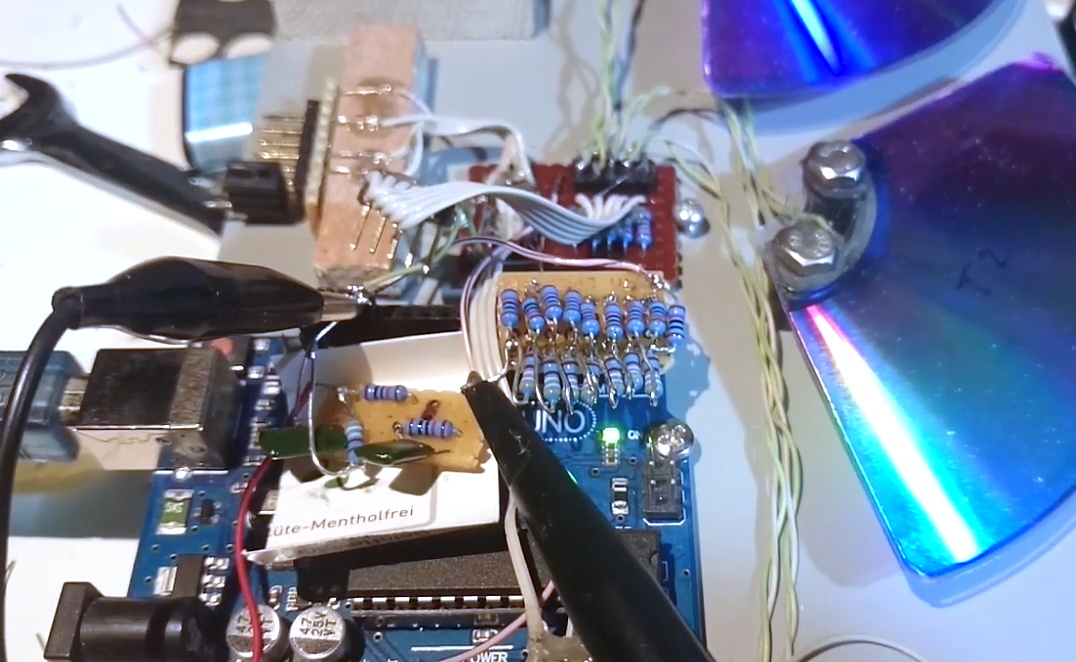
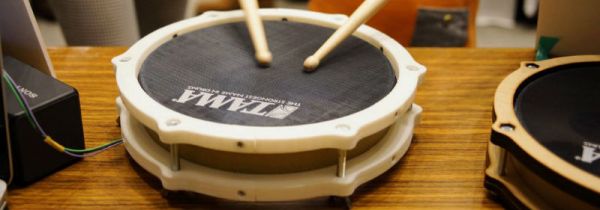
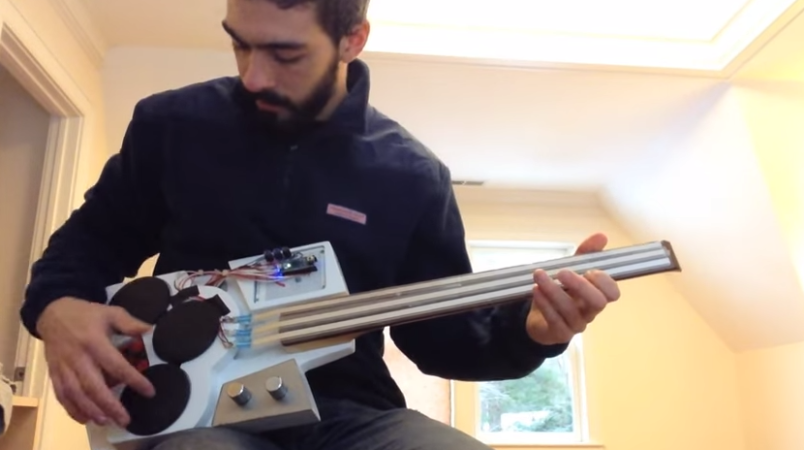
It might sound like a complicated project, but creating a basic set of electronic drums can actually be quite simple if you’ve already got an acoustic kit. You just need to damp all the drums and cymbals to make them quieter, and then fit all the individual elements with their own piezo sensors. These are basically small discs that can pick up vibrations and turn them into electricity—which can be used to trigger an electronic drum module.
[PocketBoy]’s build started with a PDP New Yorker kit, some mesh heads to dull the snares and toms, and some low-volume cymbals sourced off Amazon. Each drum got a small piezo element, which was soldered to a 6.5mm jack for easy hookup. They’re installed inside the drums on foam squares with a simple bracket system [PocketBoy] whipped up from hardware store parts. A DDrum DDti interface picks up the signals from the piezo elements and sends commands to an attached PC. It’s paired with Ableton 12 Lite, which plays the drum sounds as triggered by the drummer.
[PocketBoy] notes it’s a quick and dirty setup, good for quiet practice but not quite gig-ready. You’d want to probably just run it as a regular acoustic kit in that context, but there’s nothing about the conversion that prevents that. Ultimately, it’s a useful project if you find yourself needing to practice the drums quietly and you don’t have space for a second electric-only kit. There’s lots of other fun you can have with those piezos, too. Video after the break.
Continue reading “Quiet Your Drums With An Electronic Setup”