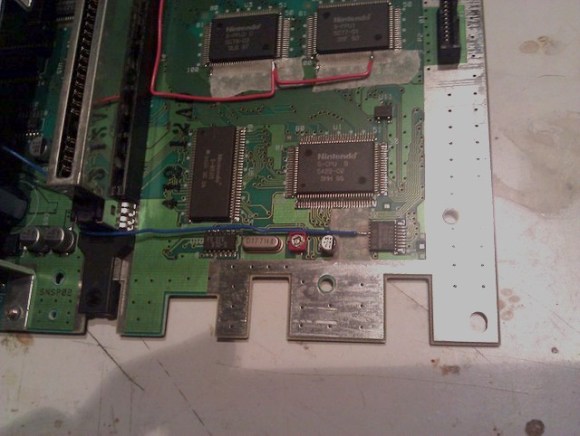
We hope our readers are familiar with the vast number of ROM hacks for the original 1st-gen Pokemon games. With certain sequences of button presses, it’s possible to duplicate items in the player’s inventory, get infinite money, or even catch a glimpse of the elusive MissingNo. [bortreb] is familiar with all these hacks, but his efforts to program a Game Boy from inside Pokemon is by far the greatest Pokemon glitch ever created.
This ‘total control’ ROM hack was inspired by [p4wn3r]’s extremely impressive 1 minute and 36 second long speed run for Pokemon Yellow. The technique used in [p4wn3r]’s run relies on the fact the warp points in Pokemon Yellow are right after the item list in the Game Boy’s memory. By corrupting the item list, [p4wn3r] figured out how to make the front door of his house warp directly to the end of the game resulting in the fastest Pokemon speed run ever.
Realizing this ROM hack is able to control the CPU with only the player’s inventory, [bortreb] wanted to see how far he could push this hack. He ended up writing a bootstrapping program by depositing and discarding items from the in-game PC, and was then able to reprogram the Game Boy with a number of button presses on the D-pad, select, start, A and B buttons.
The resulting hack means [bortreb] can actually make Pong, Pacman, a MIDI player, or even a copy of Pokemon Blue. In the video after the break, you can see all of [bortreb]’s speed run along with the finale of playing a MIDI file of the My Little Pony theme song. [bortreb] has a really amazing hack on his hands here that really pushes the definition of what can be done by tinkering around with a Pokemon ROM.
Continue reading “Programming A Game Boy While Playing Pokemon” →
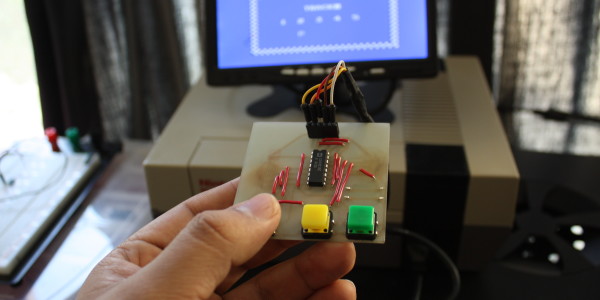


 [Guillermo Amaral’s] NES controller was in great shape. Well, except for the fact that it didn’t work. Upon closer inspection it seems the shift register — which is the only IC on these ancient peripherals — had given up the ghost. But he made it usable again by


