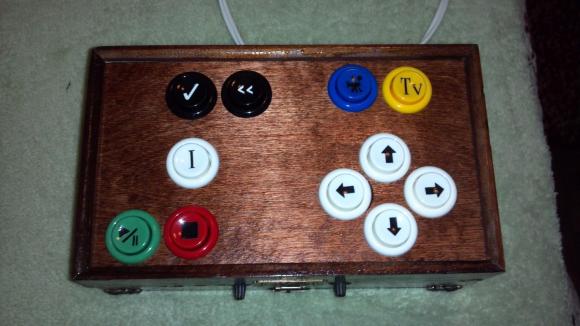
If you’re reading this blog then chances are you have a dead hard drive hanging out somewhere in your house. Here’s a weekend project that will put it back into use. [Andreas] took on the popular project which combines a hard drive and optical mouse to build a scratch controller.
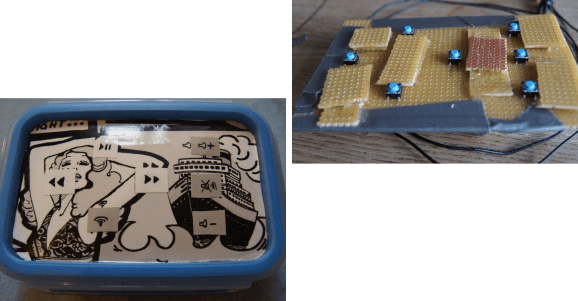
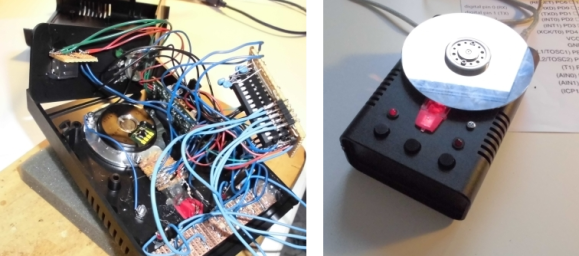
The gist of the build is that you use an optical mouse sensor to track the movement of the platter. But [Andreas] made things harder on himself by not using the USB capability of the mouse and mapping it in software for his needs. Instead he plucked the sensor from the mouse, reading it using an Arduino. After much trial and error with the best way to coat the underside of the platter to play nicely with the sensor he managed to get it up and running. The controller issues commands using the MIDI protocol, forming a strong foundation for future upgrades which could lead to a full-blown DJ console hack.