Plastic Cleanup Via Retrobrighting

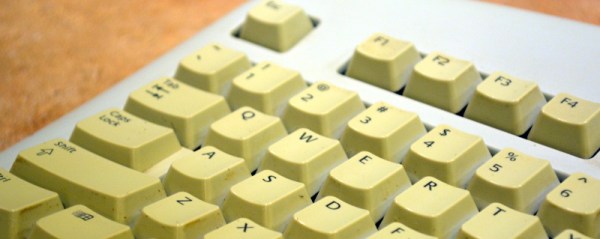
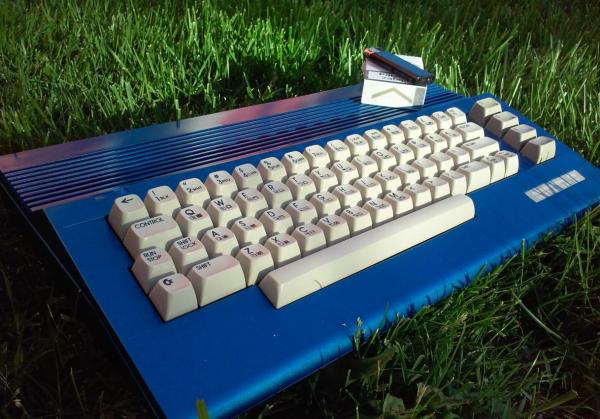
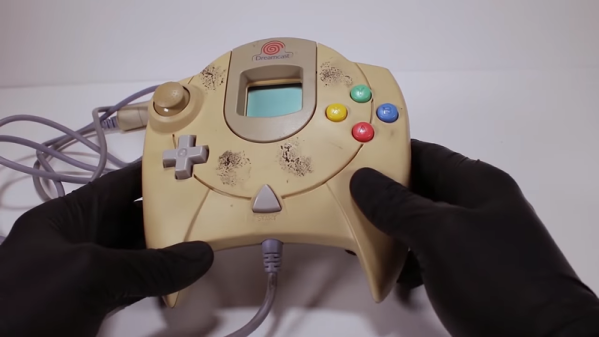
If you work on old radios, electronics is only one of the skills you need. The other is wood or metal working to restore the cabinets and chassis. However, more recent electronics have plastic and old plastic tends to turn yellow. [Odd Experiments] shows how to whiten plastic using a UV light source, aluminum foil, and hydrogen peroxide. Generally, ABS is the plastic at fault, especially those mixed with bromine as a fire retardant. You can see the results in the video below.

Note the peroxide in use was 12% — much stronger than what’s probably in your medicine cabinet. That’s usually only 3% solution, although you can get different strengths including some over 30% if you shop. However, if you search you’ll find that people have used 12%, 6%, and even 3% successfully, although we’d imagine it takes more time with 3%.

Continue reading “Plastic Cleanup Via Retrobrighting”

Yellowing: The Plastic Equivalent Of A Sunburn

Your fancy white electronic brick of consumer electronics started off white, but after some time it yellowed and became brittle. This shouldn’t have happened; plastic is supposed to last forever. It turns out that plastic enclosures are vulnerable to the same things as skin, and the effects are similar. When they are stared at by the sun, the damage is done even though it might not be visible to you for quite some time.

Continue reading “Yellowing: The Plastic Equivalent Of A Sunburn”

Refurbishing Six Commodore 64s In Parallel

[Drygol] found himself with six Commodore 64’s in various states of disrepair. Because batch work is often more efficient, he detailed the process of restoring all of them in parallel in this one-, two-, three-part series.

The first step was to whiten the cases. Old cases turn yellow from the degradation of the fire retardant additives in the plastic. The proven method to fix this is with a paste called Retr0bright. [Drygol] used hair bleaching paste which is very similar. The cases came out nicely whitened from their treatment.

Next he repaired the keyboard PCB and whitened the keys as well. Drinking was involved, but it all came out okay. The circuit boards were cleaned and inspected. There were a few corroded spots, broken chips, and bad solder joints to be repaired. A few common mods were also installed.

In the final part of the series two of the C64s have SD cards installed into them. A few interesting fixes were done to repair broken plastics. Lastly the two worst cases were painted. In the end [Drygol] found himself with six perfectly working and attractive C64s. Who know’s what he’ll do with them, but we all know that was not the point.

Neosporin…the Retrobright For Bench Equipment?

polishing-knobs

[linux-works] picked up an old power supply from eBay, and as it was built back in the 60’s or 70’s, it was in need of a little TLC. One thing that immediately caught his eye was the condition of the knobs, dials, and banana plug receptacles – they were dull and faded, showing off 40+ years of heavy usage.

He started off by simply removing the knobs from the power supply, giving them a thorough cleaning with soapy water before leaving them to air dry. They didn’t look any better afterward, so he decided to take a different approach and apply some triple antibiotic ointment to the knobs. As it turns out, letting the ointment sit for a few minutes then wiping the knobs with a soft cloth really made them shine, as you can see in the image above. [linux-works] attributes the effect to the white petrolatum base of the product rather than the antibiotics, likely making a wide array of products equally suitable for the job.

We know how well Retr0bright has worked for the vintage computer folks, so we’ll be interested to see how long the effects of the triple antibiotic treatment last. It certainly can’t hurt those readers who spend their time perusing flea markets in search of classic electronic equipment.

Overhaul An Old Mechanical Keyboard

Deskthority forum user [lowpoly] recently posted a writeup on his complete overhaul of an Apple M0110  mechanical keyboard.  Any one familiar with the satisfying clack of a good mechanical key under their fingers can appreciate the effort put into this project.

[lowpoly] removed the keyboard’s PCB, rewired the key matrix adding diodes, built in a teensy USB board, broke apart the mechanical switches and fit replacement springs and finally applied a generous portion of retr0bright to all of the aging plastic. Since the teensy has no mounting holes [lowpoly] had to create a mounting assembly out of some spare plastic. A usb mini cable is even fitted into the original RJ-11 connector.  To compensate for the lack of PCB the key assembly was fitting with some rubber washers. To top off the whole thing some nice new rubber feet were taped to the underside of the M0110.

[lowpoly] reports that with the foam, new springs, and lack of PCB the keyboard is much quieter and easy to use.  The end result is a slick retro looking modern keyboard. If you’ll excuse us we have to go rooting through some old storage bins to find our own ancient keyboards.

We have seen our share of vintage keyboard hacks which can be useful, impressive and sometimes just odd. This build keeps it down to a nice simple, functional, useful retrofit. Nice work!

Restoring Yellowed Computer Plastics

retr0brite1

Many of our cherished computers and consoles from the past have not stood up well over time. It’s not the hardware as much as the color. From Commodores, Apples, to Super Nintendos, the machines have slowly drifted towards a sickly yellow and even brown. The culprit appears to be the fire retardant chemicals used in the plastics. Amiga enthusiasts have spent the last year perfecting a technique that restores the plastic of these machines to its original splendor. Dubbed ‘Retr0brite‘ it’s a gel made from hydrogen peroxide, xanthan gum, glycerine, and ‘Oxy’ style laundry booster. The results are really impressive. If you do start restoring your own machines, caution should be used since it requires strong concentrations of hydrogen peroxide typically employed in bleaching hair.

[via Waxy]