The cheap software defined radio platforms that can be built out of a USB TV tuner aren’t getting much love on the Hackaday tip line of late. Thankfully, [Adam] sent in a great guide to cracking sub-GHz wireless protocols wide open, and ringing doorbells, opening cars, and potentially setting houses on fire in the process.
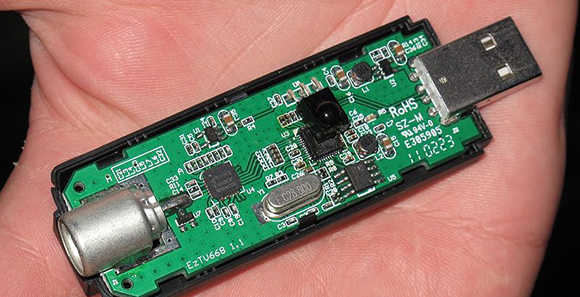
The first wireless hack [Adam] managed to whip up is figuring out how a wireless doorbell transmitter communicates with its receiver. [Adam] connected a FUNcube software defined radio dongle (although any one of the many USB TV tuner dongles we’ve seen would also work) and used GNU Radio to send the radio signals received to a WAV file. When looking at this audio file in Audacity, [Adam] saw the tell-tale signs of digital data, leaving with a string of 1s and 0s that would trigger his wireless doorbell.
The FUNcube dongle doesn’t have the ability to transmit, though, so [Adam] needed a more capable software defined radio to emulate the inner workings of a doorbell transmitter. He found one in the Ettus Research USRP, a software designed radio that’s doing a good job of keeping [Balint], Hackaday SDR extraordinaire, very busy. By sending the data [Adam] decoded with the FUNcube dongle over the USRP, he was able to trigger his wireless doorbell using nothing but a few hundred dollars of radio equipment and software ingenuity.
Doorbells are a low-stakes game, so [Adam] decided to step things up a little and unlock his son’s car by capturing and replaying the signals from a key fob remote. Modern cars use a rolling code for their keyless entry, so that entire endeavour is just a party trick. Other RF-enabled appliances, such as a remote-controlled mains outlet, are a much larger threat to home and office security, but still one [Adam] managed to crack wide open.